Poop's 95 Tacoma Reincarnation -- NDC/Seamless Motorsports
3291 views
50 replies
45 following
Poop's 95 Tacoma Reincarnation -- NDC/Seamless Motorsports

NtotheIZZATEDOG
+1y
Edited: 1/3/2010 6:51:53 PM by NtotheIZZATEDOG
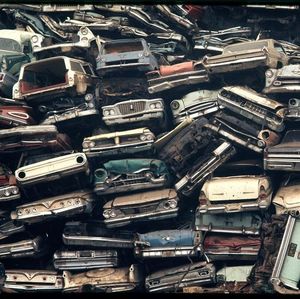
Nat of ///RA, or Poop as he is known by many, wanted to update his truck a bit. Here is where we started.
******************************************************************************************
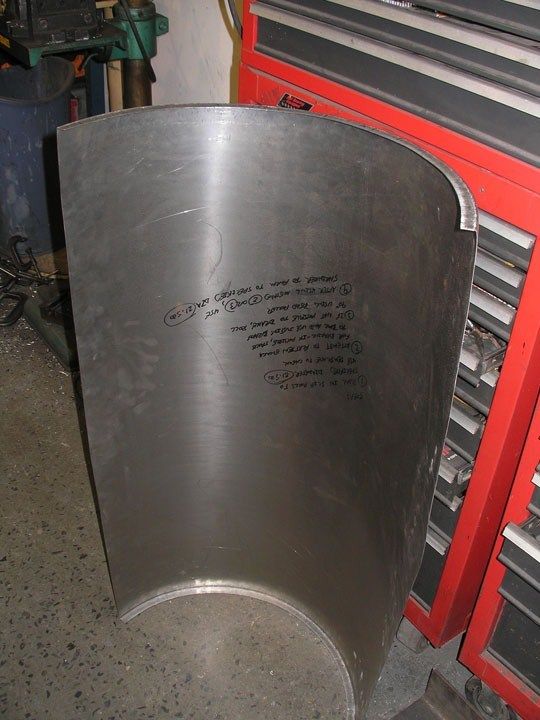
We started by making the inner tubs and filing the welded seam smooth.
******************************************************************************************
Next came the inner bedsides.
******************************************************************************************
A 90* tip-in die was used to add a strength and serve as a welding seam. The die distorts the metal a lot and the next step is to work the panel back to flat again. Otherwise this panel could be a great start for an outer bedside, front fender or quarter panel!
************************************************************************************************************************
Here it is, flat as before we rolled the tip-in.

NtotheIZZATEDOG
+1y
Edited: 1/3/2010 8:10:52 PM by NtotheIZZATEDOG
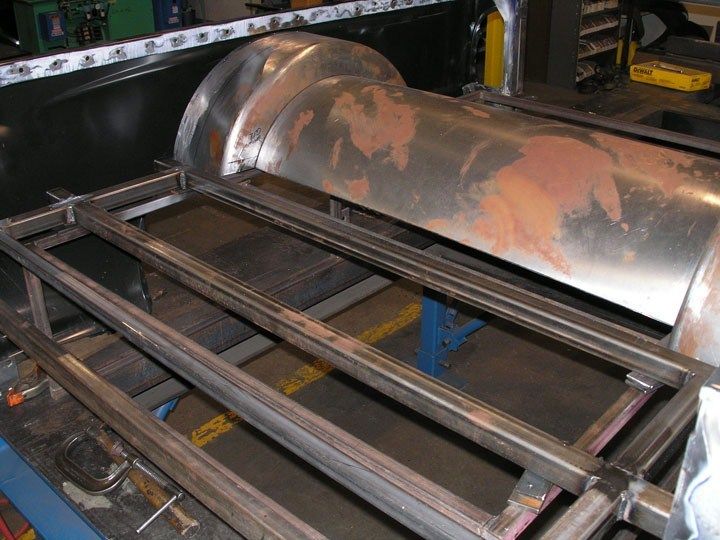
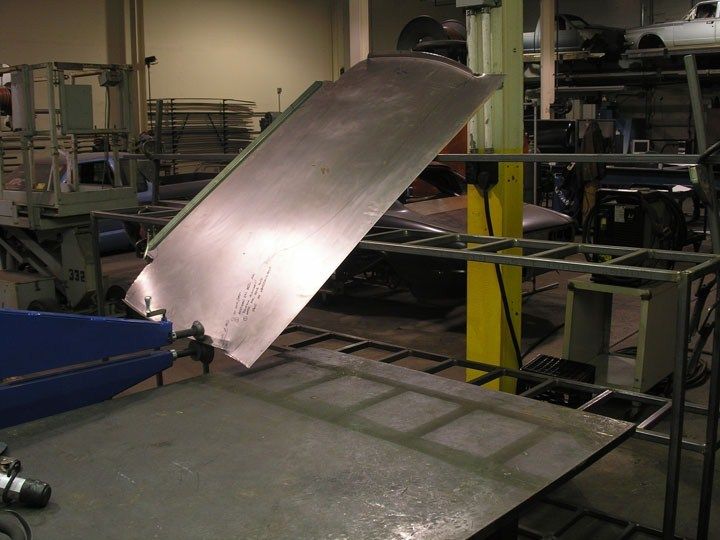
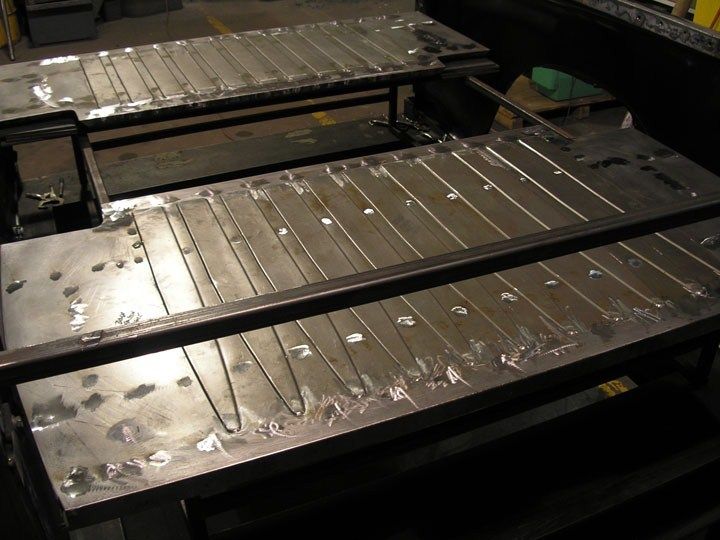
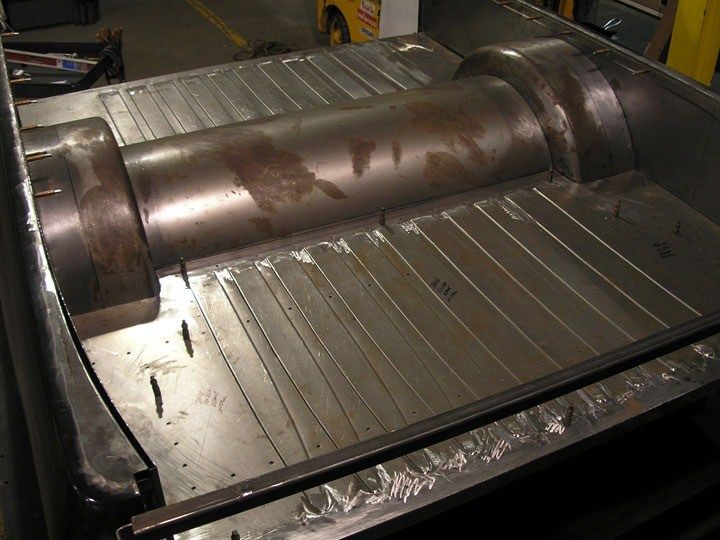
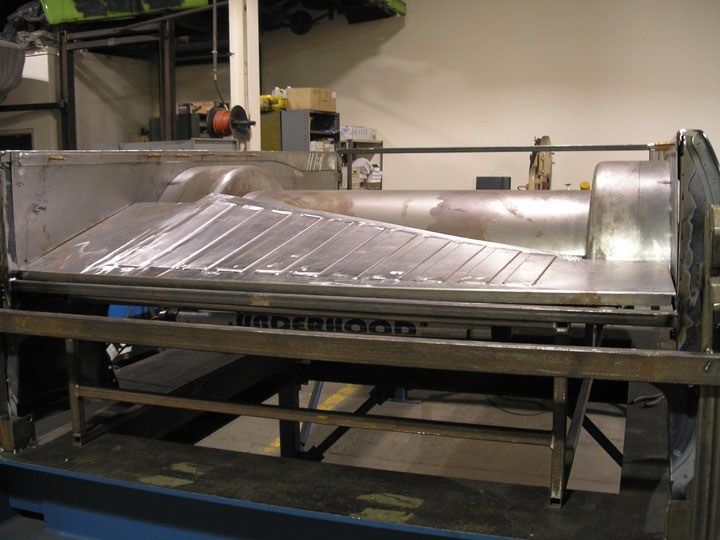
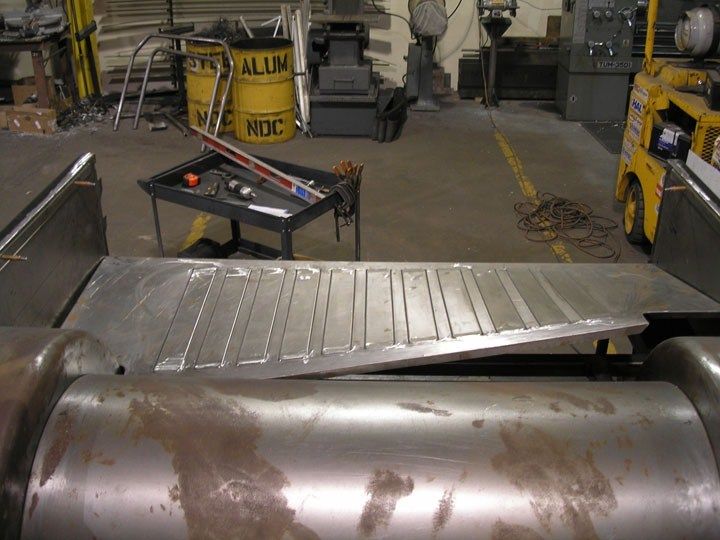
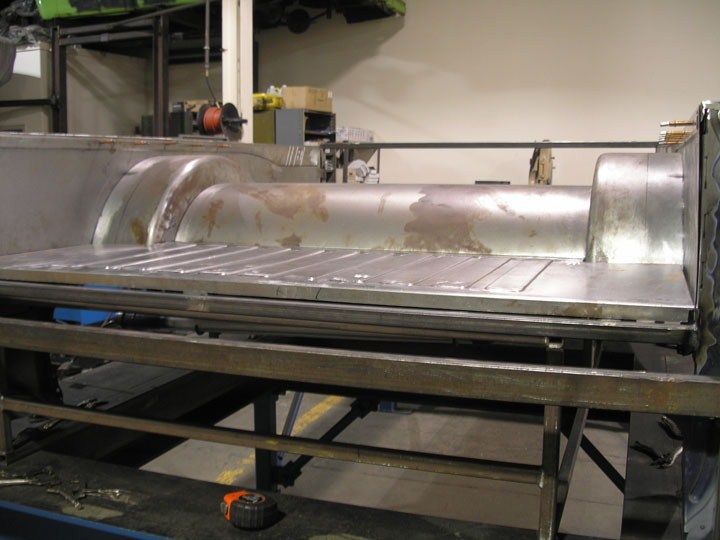
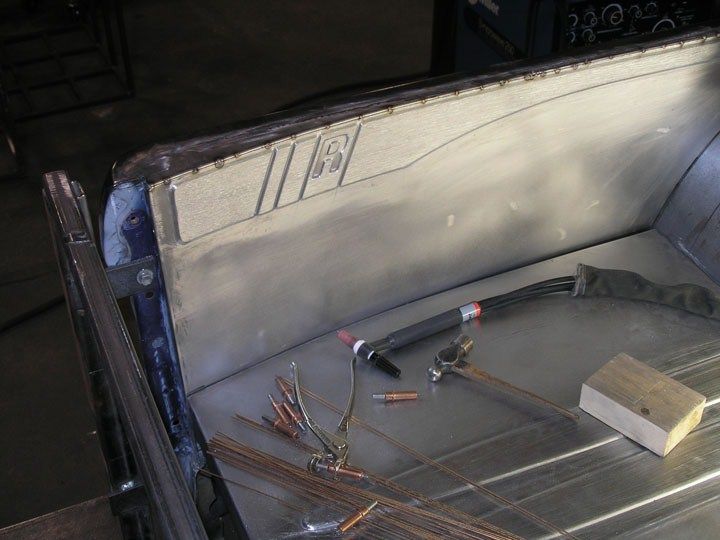
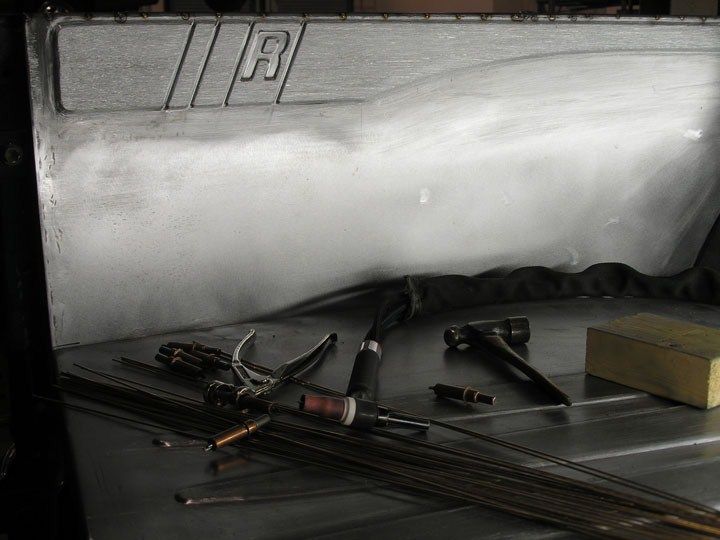
Next we made the center by cutting the sheet to size, rolling the sheet, bent two opposing 90* lips and shrunk the lips to form the needed arch at each end. ******************************************************************************************A shot of the tubs and center waitng for the rest. ****************************************************************************************** The rear floor section getting some love and using the tip-in die again. In this photo the floor is receiving a gradual curve to match an inward taper of the inner bedsides. ******************************************************************************************Lots of work happened in the next photo. Step rolled profiles to mimic a factory floor, but with a twist. The raised sections taper to a rounded point at the rear of the bed floor. ******************************************************************************************This is what happens when you bead roll so much feature into a panel. The panel refused to lay flat at this point and a poopload of work was required for it to co-operate. ******************************************************************************************After pleading with the metal, it now looks much better. The panel now lays flat under its own weight and is ready for attaching to the crossmembers.******************************************************************************************Here is the ///RA logo we added to the inner body line of each pannel. Came out real nice. You can also see the brushed finish on the body line here. The raised sections of the bedfloor will also be brushed and they will be cleared at the same time with the paint. Should look nice with paint surrounding the brushed/raised features in the bed.
Next we made the center by cutting the sheet to size, rolling the sheet, bent two opposing 90* lips and shrunk the lips to form the needed arch at each end. ******************************************************************************************A shot of the tubs and center waitng for the rest. ****************************************************************************************** The rear floor section getting some love and using the tip-in die again. In this photo the floor is receiving a gradual curve to match an inward taper of the inner bedsides. ******************************************************************************************Lots of work happened in the next photo. Step rolled profiles to mimic a factory floor, but with a twist. The raised sections taper to a rounded point at the rear of the bed floor. ******************************************************************************************This is what happens when you bead roll so much feature into a panel. The panel refused to lay flat at this point and a poopload of work was required for it to co-operate. ******************************************************************************************After pleading with the metal, it now looks much better. The panel now lays flat under its own weight and is ready for attaching to the crossmembers.******************************************************************************************Here is the ///RA logo we added to the inner body line of each pannel. Came out real nice. You can also see the brushed finish on the body line here. The raised sections of the bedfloor will also be brushed and they will be cleared at the same time with the paint. Should look nice with paint surrounding the brushed/raised features in the bed.

///RA PooP
+1y
woooooohoooooooo!!!!!!!!! Lookin badass !!

disfiguredS10
+1y
thats pooptacular! looks awesome

slammedcivicsi
+1y
looks like poo.....and I love it Nate !!

KEEF
+1y
SIC!!!!!!!!!!!!!!!!

tre5
+1y
DANG!!!!

///RA PooP
+1y
i also like how on picture 10 ( one of you rolling the bedfloor) i can see my S-10 about 20 feet in the air on a rack above the cnc machine... one day sir.. one day

slammed89s10
+1y
i was just gonna mention the fact you could see the poor thing back there..... the bedwork is sick man!!!!

FCKNLOW
+1y
That looks great man!!!!!
Related Discussions in Build-Ups
Thread
Posts
Last Post
32

last post by
baha 2 mo
0
V
last post by
Vic 7 mo
168

last post by
truck action +1y

