My 2003 Ram build.. lots of pics..Updated 1-18-09
6731 views
104 replies
59 following

My 2003 Ram build.. lots of pics..Updated 1-18-09

mindlissmetalfab
+1y
Originally posted by Chopped Mazda
Originally posted by iLLblazer
Hey TaylorWhats the story on the fuel pump rings?
Im not sure that there is a story of not.
I ended up using the aluminum ones. I offered to pay for the second set you sent out, but you never charged me. I offered to drop ship them to anyone for you...still havent heard from you. I offered to pay you for them right off the bat....im not sure what story your looking for. contact me if you want them back, of if you want me to ship them, or if you want me to pay for them.
let me know
Taylor
Yeah I was just gonna get you to pay me for shipping the steel ones once I found someone for you to drop ship the aluminum ones too, or the next time you ordered anything from me. I'll check my shipping bills and get back to you. Not a huge deal, just kinda confused cuz last I heard you were using the steel ones.
WF
Wicked Fantacies
+1y
Nice welding helmet I got the same one...copy cat j/k

LaidNeon
+1y
very nice work

jeebus @ mmw
+1y
thanks guys.
yea, i got that helmet for free a few weeks ago!!!
yea, i got that helmet for free a few weeks ago!!!

jdauer02
+1y
looking good Taylor, your moving right along on this one.

jeebus @ mmw
+1y
thanks man,
im hoping to be done really soon, so i can start another full frame build.
Taylor
im hoping to be done really soon, so i can start another full frame build.
Taylor

FullSizeRST
+1y
looks killer B

zadaddy
+1y
lookin good man...cant wait to see it finished! Keep the updated pics coming!

bdydrppup
+1y
i likey

jeebus @ mmw
+1y
Ok, i havent updated in a few weeks, but progress has been made.
First things first.
I wanted to flip my balljoints, and run them from the bottom side, to gain alittle bit more drop, and still beable to run my stock spindles, and still use my stock lower control arms, since i dont have time to build a set of tubulars for myself these days
Heres what i came up with.
Got a Reamer from Snap on, and went to town. turnd them from mounting like this, stock:[/IMG]
To this:
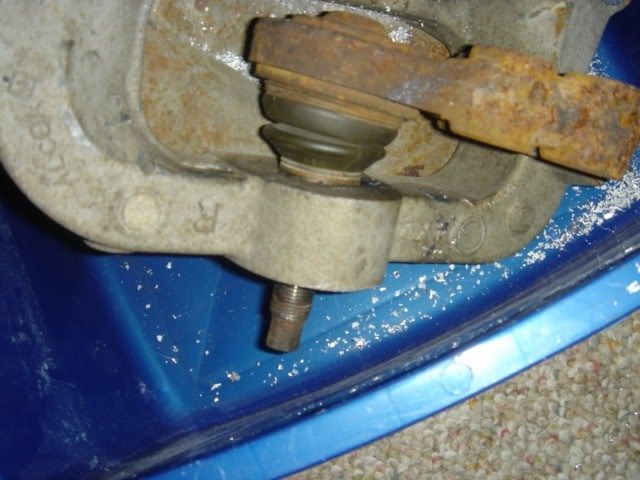
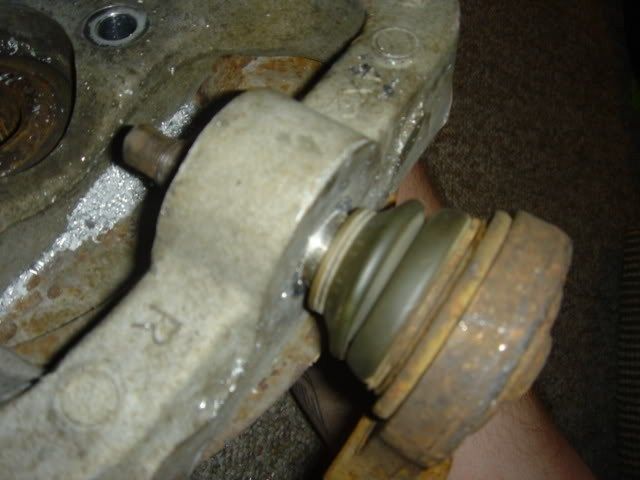
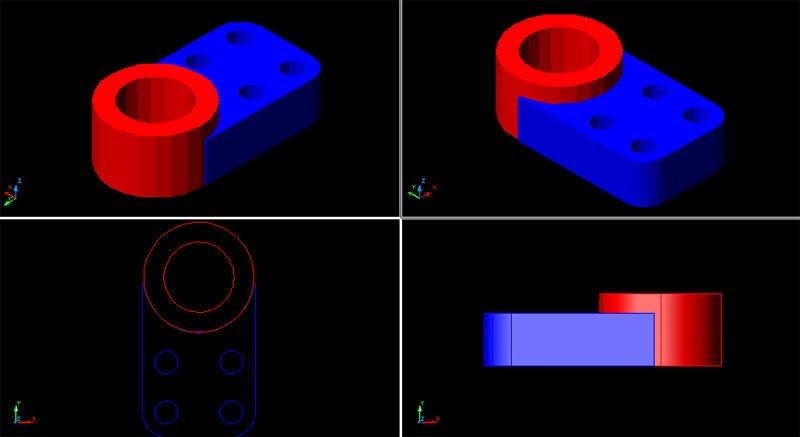
Now since, you cant use your stock dodge balljoint from the bottom, because it will probably seperate, you have to go with a balljoint from a chevy truck, because they are made to mount from the bottom side of the spindle. I machined a cup for the chevy balljoint to press into, then cut out a bracket with the same bolt pattern the stock balljoint had, then welded the bracket to the cup, so that i could bolt the balljoint to the control arm, and be good to go.
This is what my autocad rendering of the part looked like:
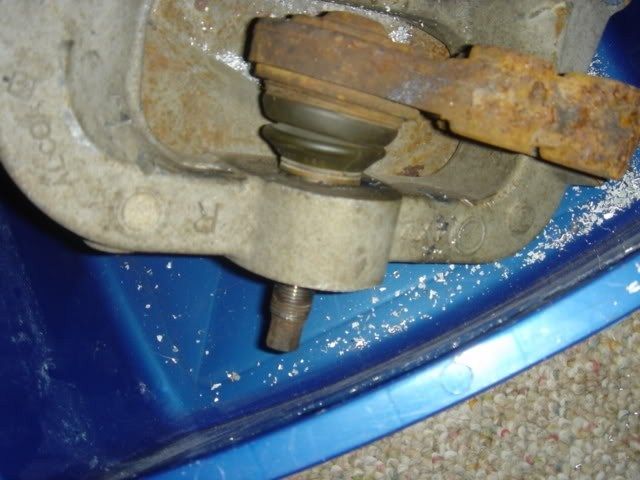
This is what the stock balljoint looked like:
This is the part i made, to flip the balljoint to the bottom, and gain a few extra inches of drop.
Heres what they look like partially installed, havent tigheted them down yet, still doing final work, may need to remove them to powder coat them.
Ok, with that done, i needed to mount my front bags. I wanted to use my stock lower control arm, just for simplicity i suppose, and becaues i have no time to make myself a tubular these days lol
Anyways. Cut out a 6.75" diamiater plate from .250 mild steel and welded it to my control arm. It sits inside the spring pocket, and sits flush with the rest of the arm, and gives a good weldable surface.
I wanted the bag to sit slightly off the arm, so i cut a .750 thick piece of 5.5diamiater pipe, then cut a 5.5" diamiater plate out of .250 plate steel, and put a hole in the middle of it, to mount the bag to. This piece gets welded to the control arm, and the bag mounts on top of it. In the second pic you can see how it mounts to the stock control arm.
Next was the front bag mounts. Again, i cut a bag bracket from .250 plate steel, and then also cut some gussets to match. Tacked it all in place, then welded it fully.
Fogged some paint on it so it dosent rust.
Got my valves installed along the rear section of my frame. Plumbed them and wired them up, then ran the wires into the cab.
Mounted the compressors, and wired them all up, mounted the relays and all that good shit. Their ready to go.
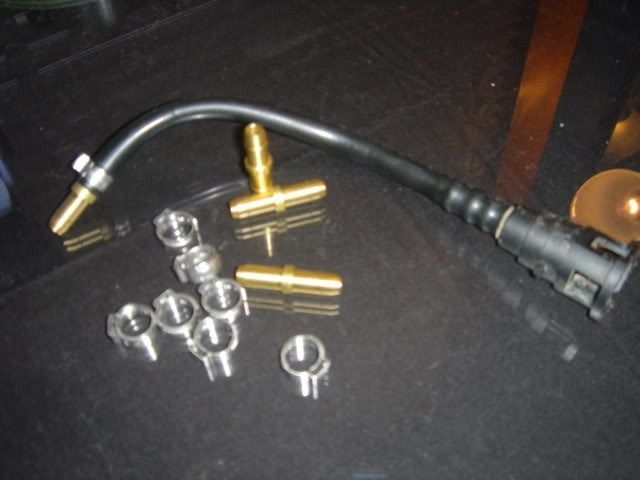
And i finally got all my stuff to exted my fuel lines.
I plan on setting it on the ground for the first time next weekend.Hoping to have it driveable in about 3-4 weeks.
