
1952 Studebaker Pickup Build

FXDGRND
+1y
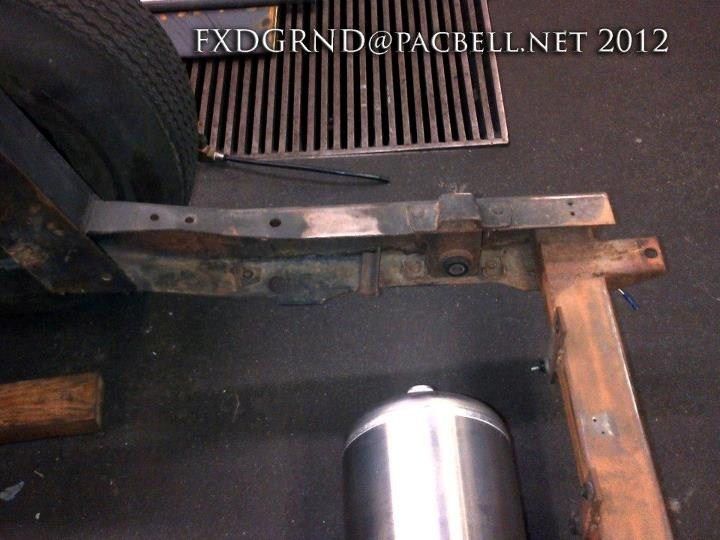
Before cleaning
After cleaning off old remnants of mounts and crossmembers
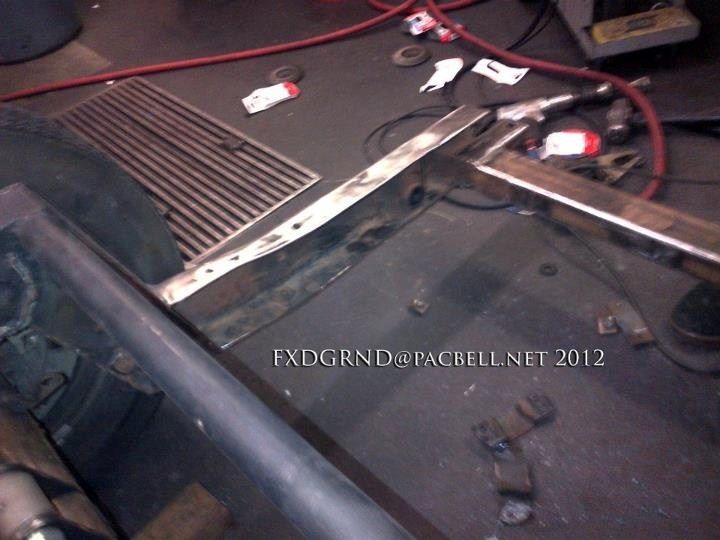
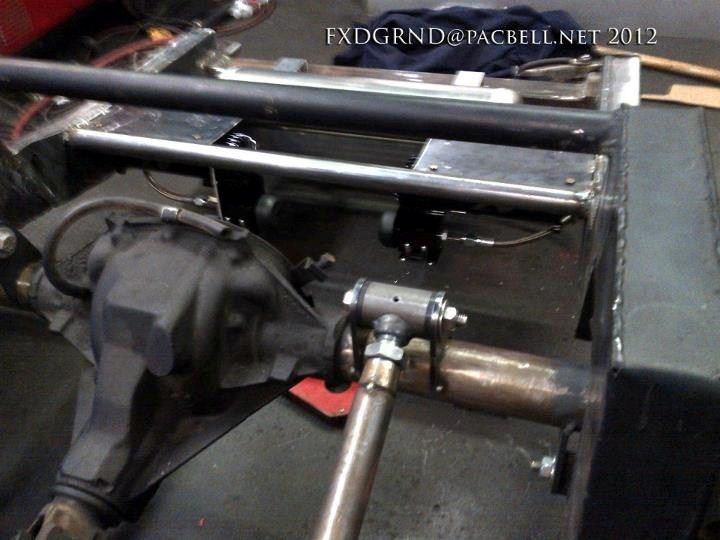
Frame rails boxed. Top holes filled
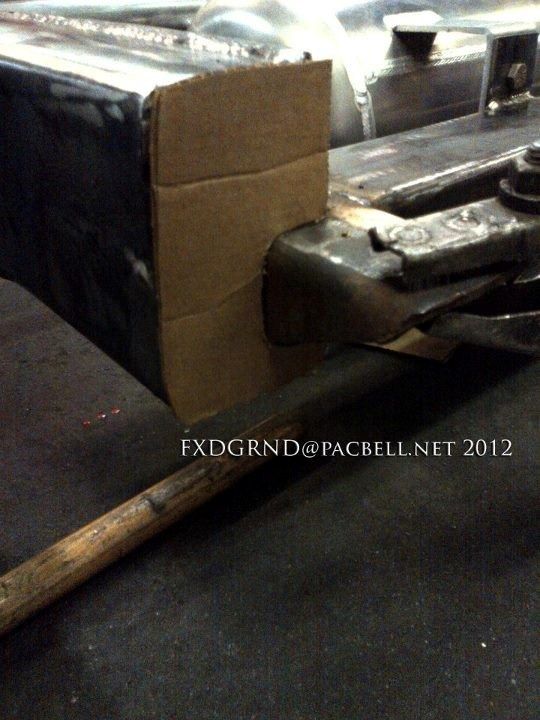
Template for capping the frame
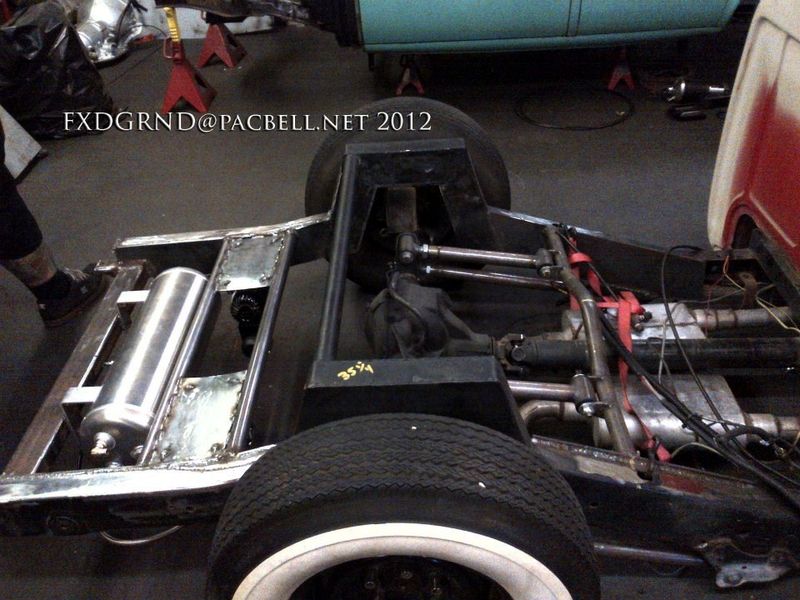
Air Zeniths Mounted
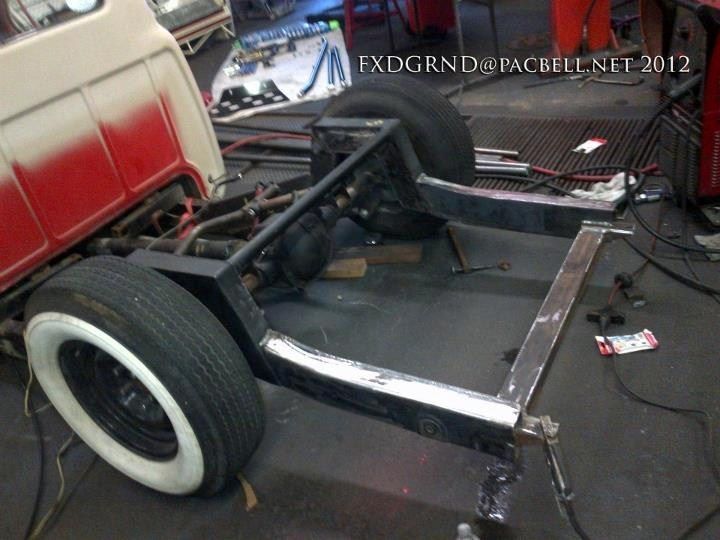
Notch back done.
After cleaning off old remnants of mounts and crossmembers
Frame rails boxed. Top holes filled
Template for capping the frame
Air Zeniths Mounted
Notch back done.

FXDGRND
+1y
Engine work time.
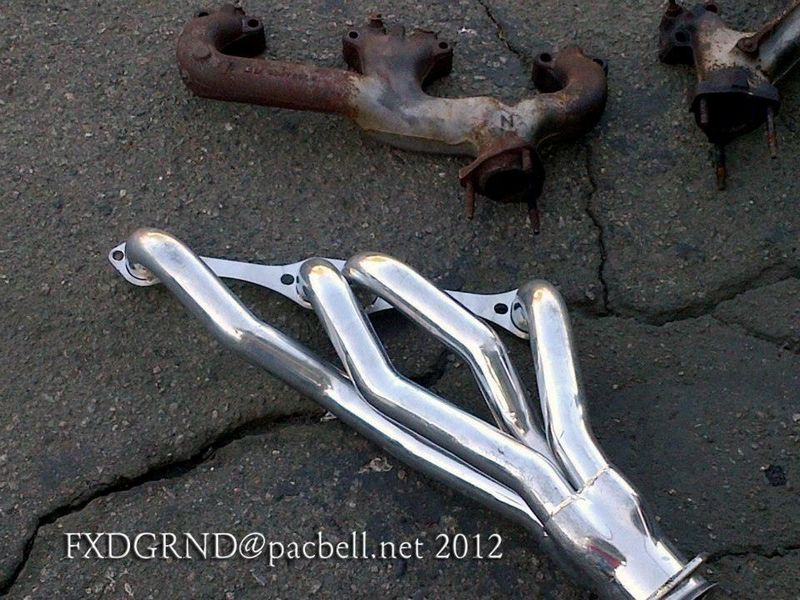
Before Passenger side
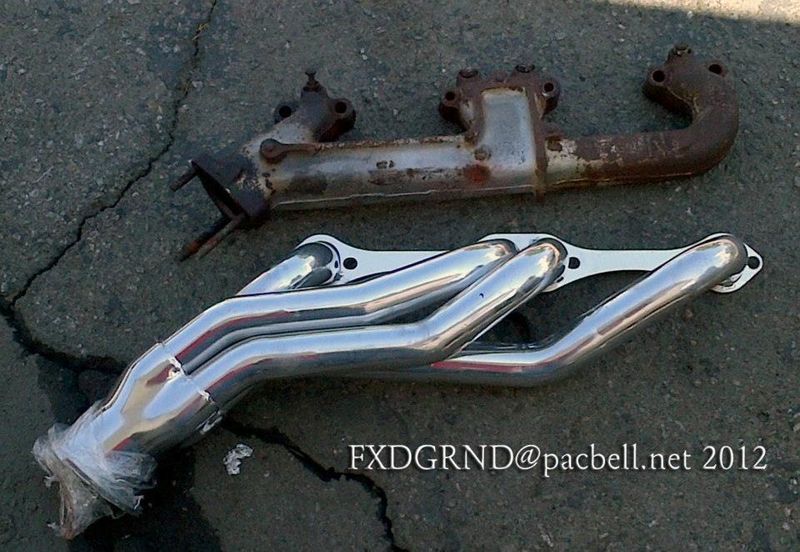
Comparison
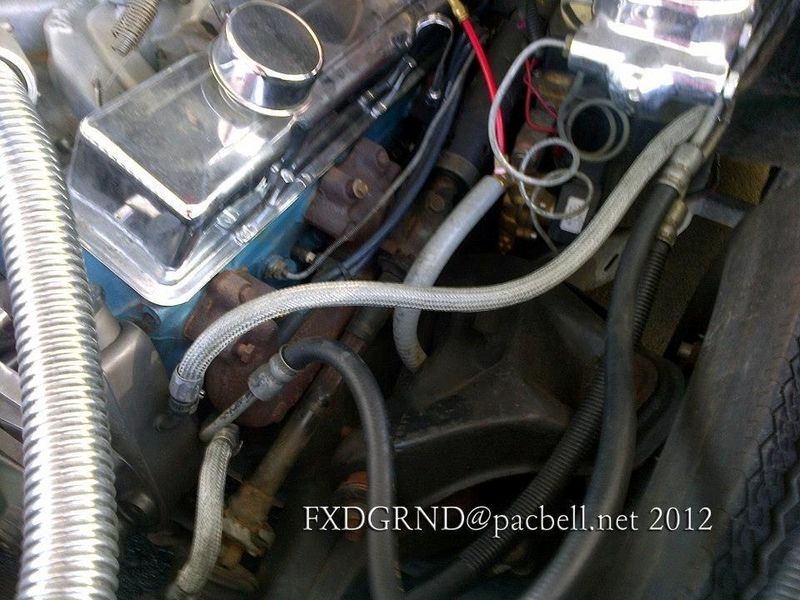
After Passenger side
Pretty straight forward on the passenger side. I will be relocating the valves and battery to clean up that side.
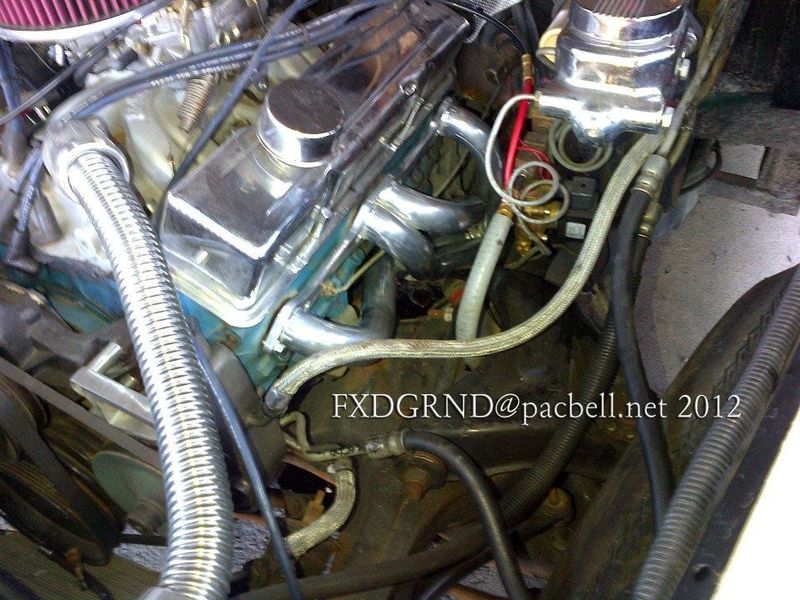
Driver side
Comparison
Header in
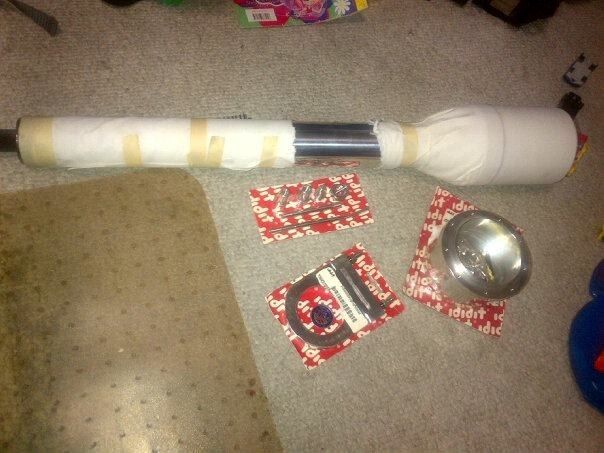
Driver side is more interesting. I had to pull the column and do some clearance work on the frame. But the column was getting removed and the shaft redone anyways. This will be going in place.

L
LoWpSi
+1y
nic3

FXDGRND
+1y
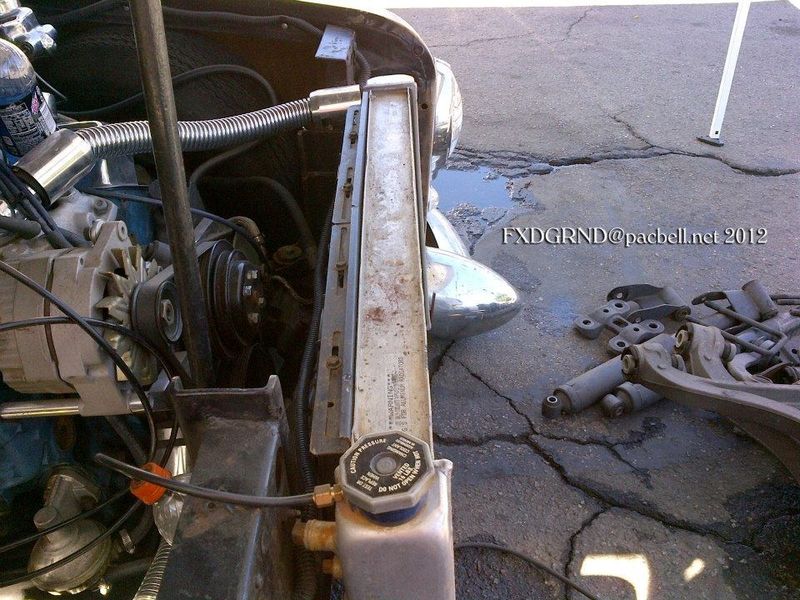
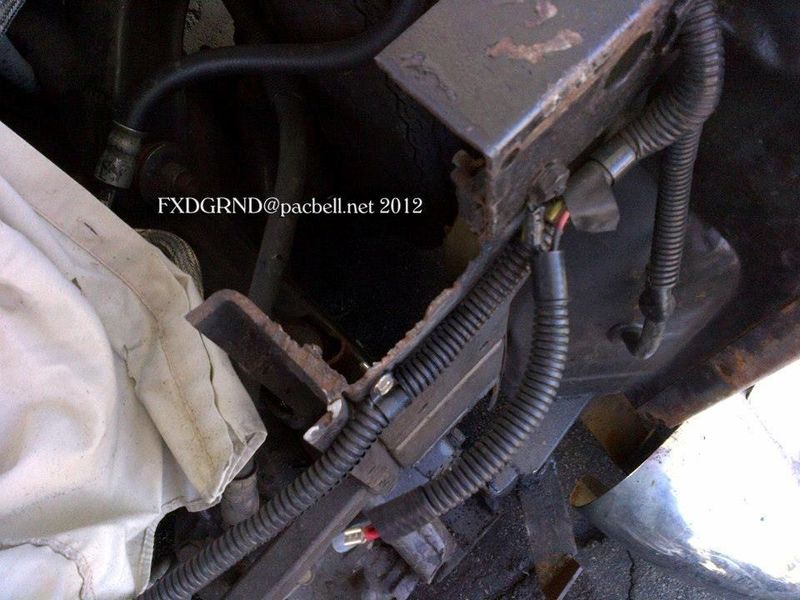
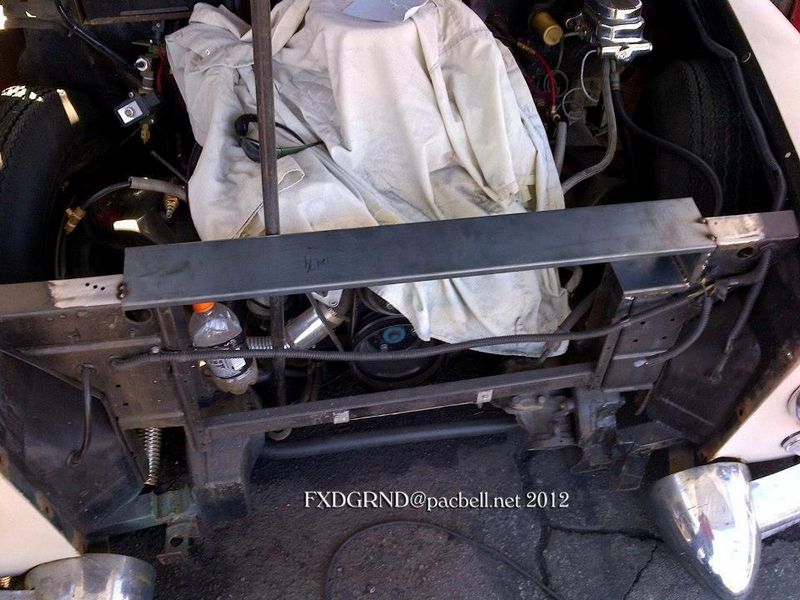
Core support and radiator mount work
Before
Flattening any old materials
Metal tacked in and plating reinforcing old cut areas
Next up is redoing the upper and lower radiator mounts.
Before
Flattening any old materials
Metal tacked in and plating reinforcing old cut areas
Next up is redoing the upper and lower radiator mounts.



FXDGRND
+1y
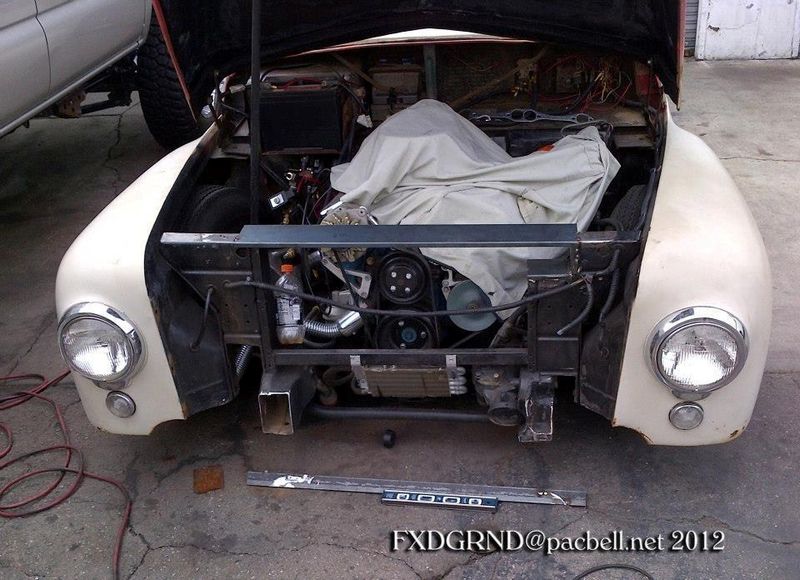
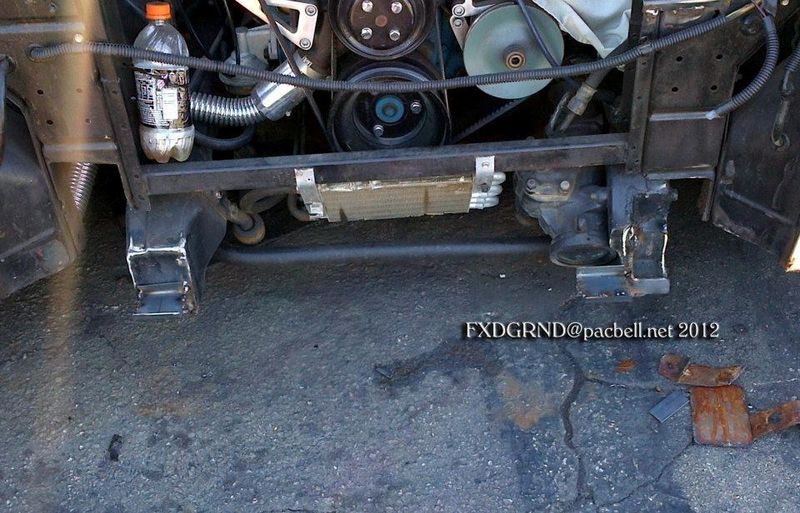
Today was lower radiator mount and some frame work day.Redoing passenger side cap
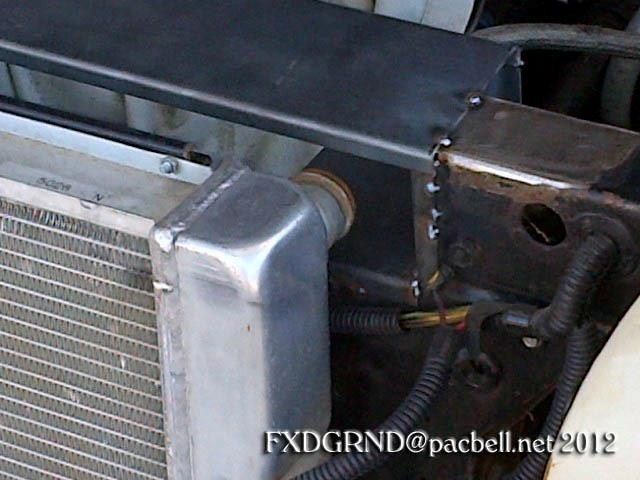
New cap in place. Radiator lower mounts in. Bent some sheet metal into C channel for the lower mount then L channel to reinforce it. Just need some clean up sealer and paint for the lowers
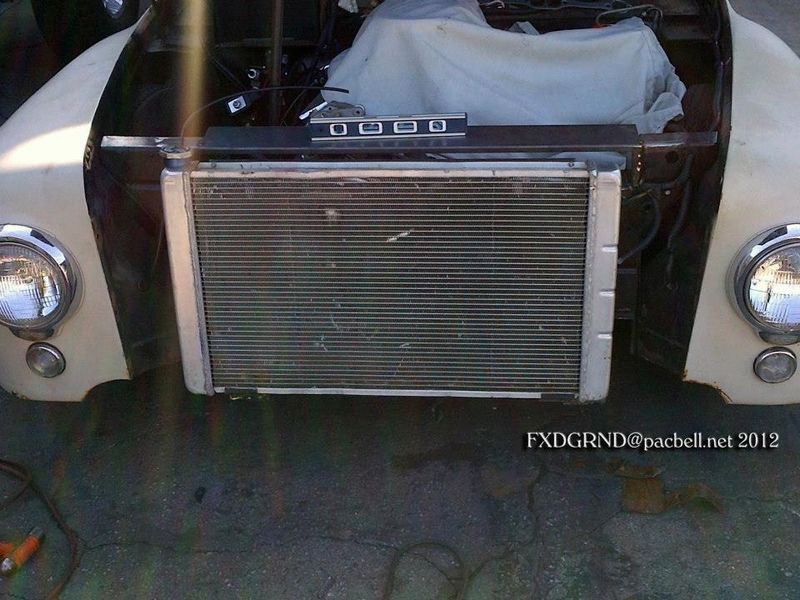
Radiator fit test. now on to the upper and some cleanup work on the upper core support reinforcement
Bullets will be reinstalled with new mounts and the fenders clearanced.

FXDGRND
+1y
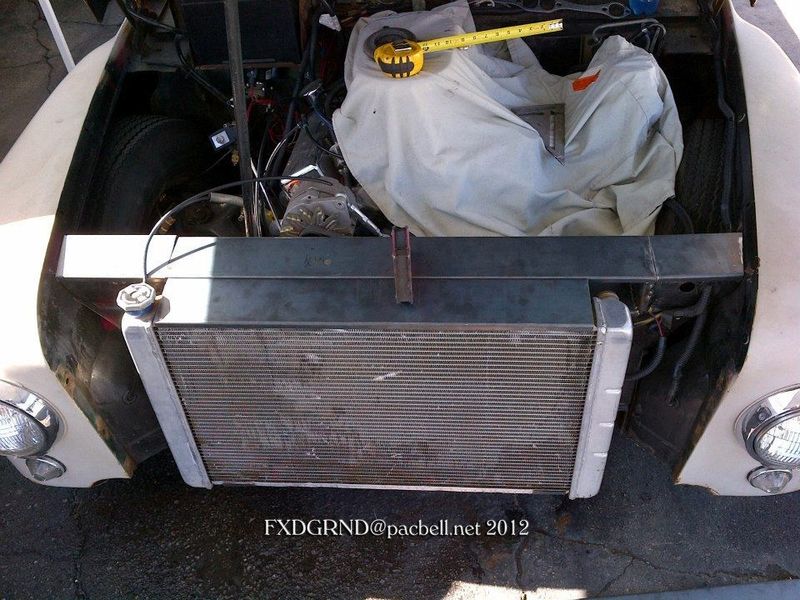
Core support / upper radiator mount round 1
Brandt I need another green AoN hat
Core support / upper radiator mount round 2All one piece on the core support and new radiator piece. Holes drilled to secure the panel with 4 stainless 5/16 boltsThe whole panel will be removable for servicing the radiator, fans and engine.
Brandt I need another green AoN hat
Core support / upper radiator mount round 2All one piece on the core support and new radiator piece. Holes drilled to secure the panel with 4 stainless 5/16 boltsThe whole panel will be removable for servicing the radiator, fans and engine.


FXDGRND
+1y
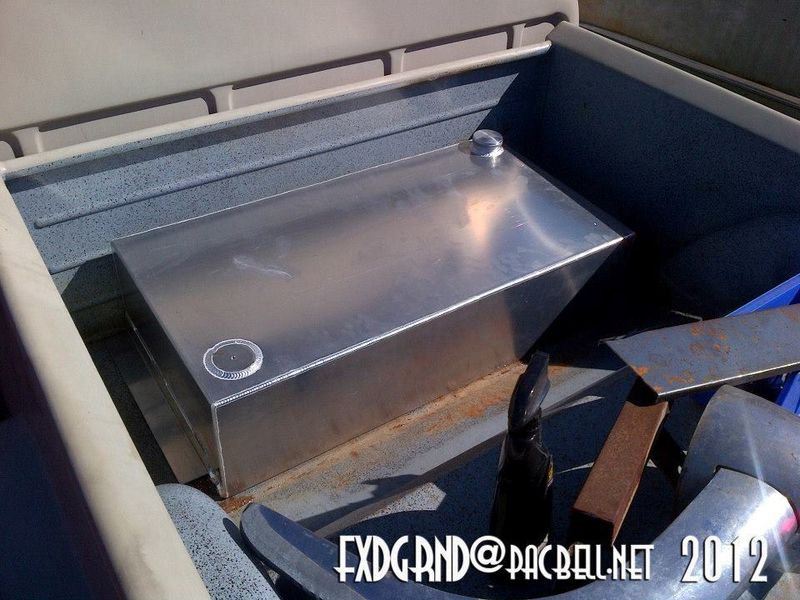
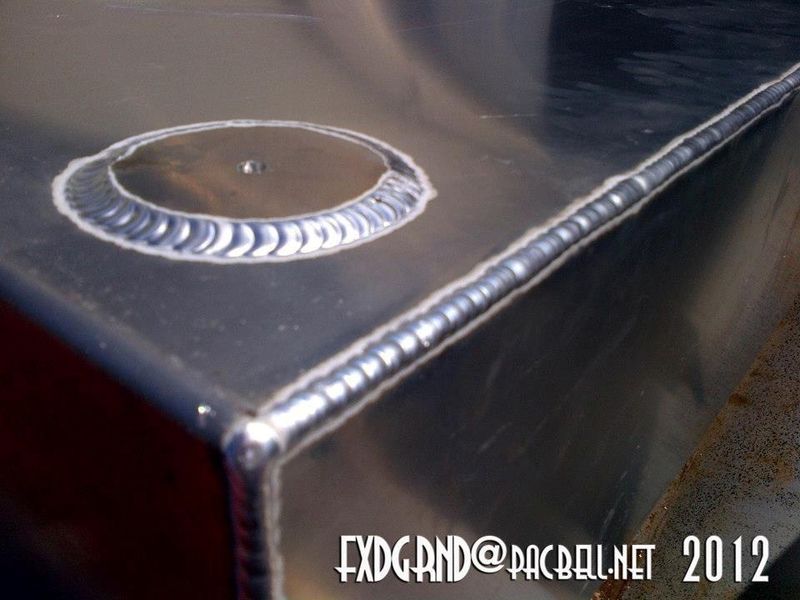
The gas tank has arrived. It does have baffles inside for reinforcement and help with sloshing.
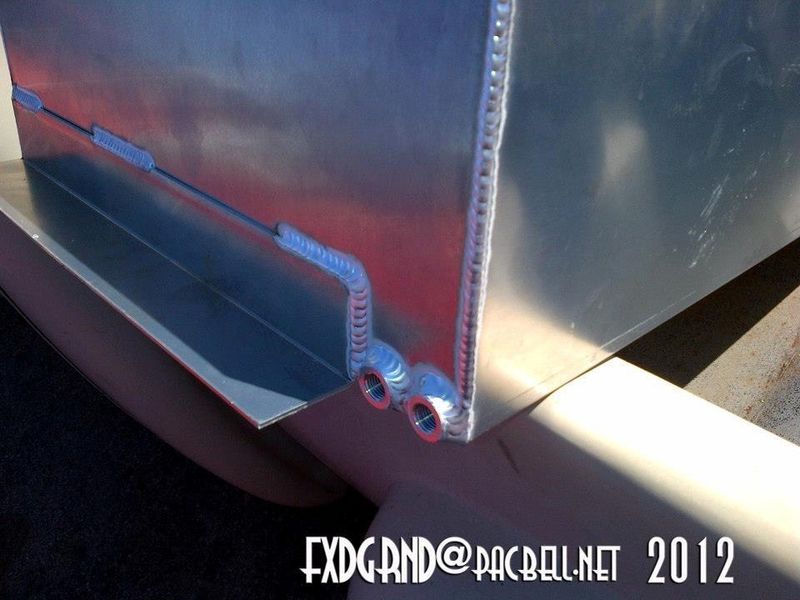
Bungs for fuel linesthe pad is for the sending unit.
Bungs for fuel linesthe pad is for the sending unit.

FXDGRND
+1y
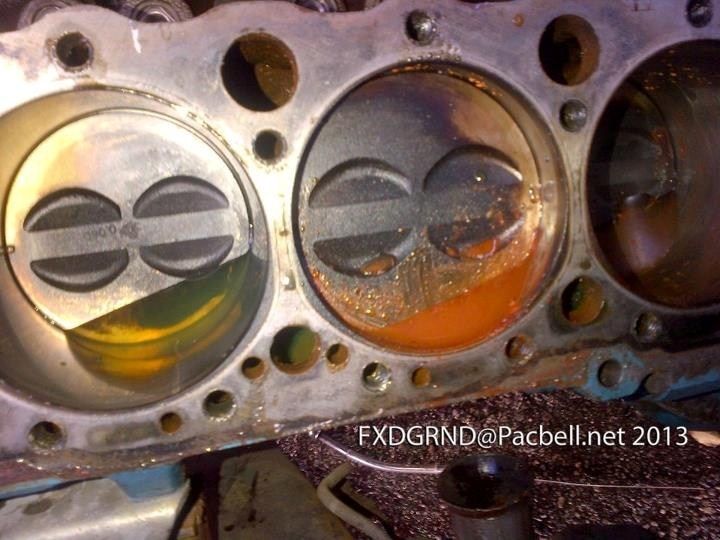
Since I had some issues on the way to the shop decided to tear down the top end. Learned a few things about the bottom end. It's a .60 over engine
Turns out cylinder 3 on the driver side had the bonus rusty water. Cycled the engine a few times and doesn't look like any permanent buildup there.
[IMG]http://sphotos-b.xx.fbcdn.net/hphotos-ash3/s720x720/550139_481586198564601_1754281053_n.jpg[/IMG]
Passenger side looked good.
[IMG]http://sphotos-a.xx.fbcdn.net/hphotos-ash3/s720x720/528918_481586381897916_1512285305_n.jpg[/IMG]
Torker 2 intake and the heads will be getting blasted clean tomorrow.
[IMG]http://sphotos-b.xx.fbcdn.net/hphotos-prn1/s720x720/542280_481587435231144_392015898_n.jpg[/IMG]
Firewall, trans and anything else will be getting blasted clean tomorrow as well. Then some new paint.
[IMG]http://sphotos-b.xx.fbcdn.net/hphotos-prn1/s720x720/73735_481587295231158_959118361_n.jpg[/IMG]
Short day today but learned a good bit about some items that will be addressed on the truck.


sicsan
+1y
have you drove it any since you put headers on it? if so was there alot of power difference? i m putting a bigger motor in my car and the steering box is on inside of frame rail. was curious if its worth reworking for a set of headers?

FXDGRND
+1y
I haven't driven it with the headers yet. Looks wise no comparison. They 'should' help it out some since the old logs were rusty and don't flow as well.
Related Discussions in Build-Ups
Thread
Posts
Last Post
32

last post by
baha 4 mo
0
V
last post by
Vic 8 mo
168

last post by
truck action +1y
