
75 Dually Project - 22s and stylin

75dually
+1y
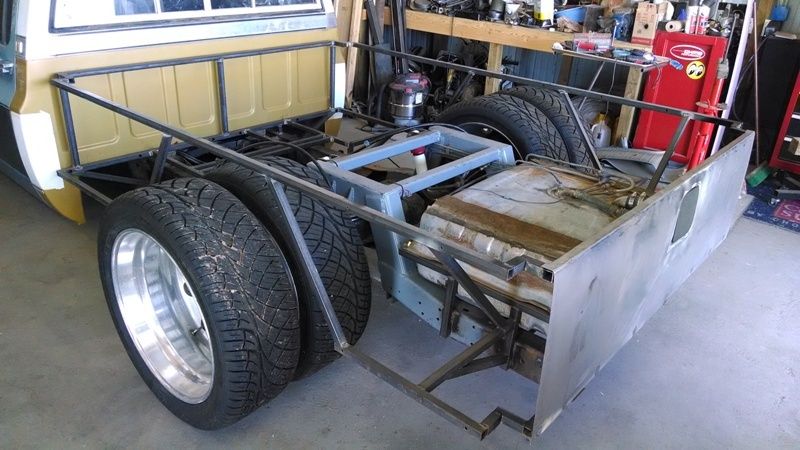
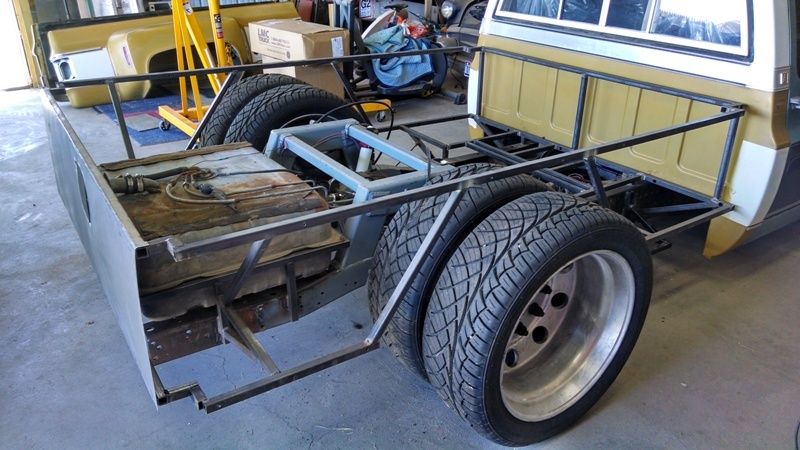
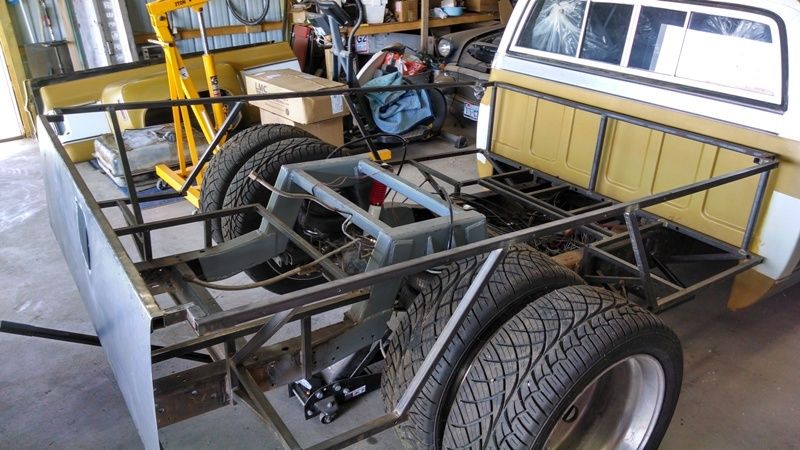
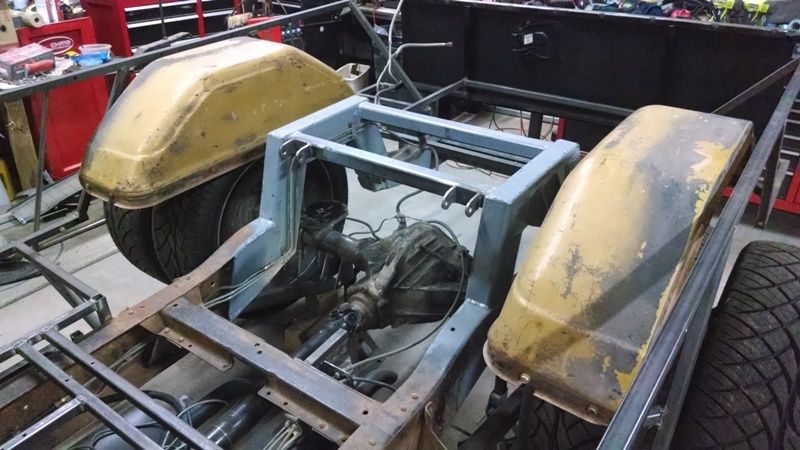
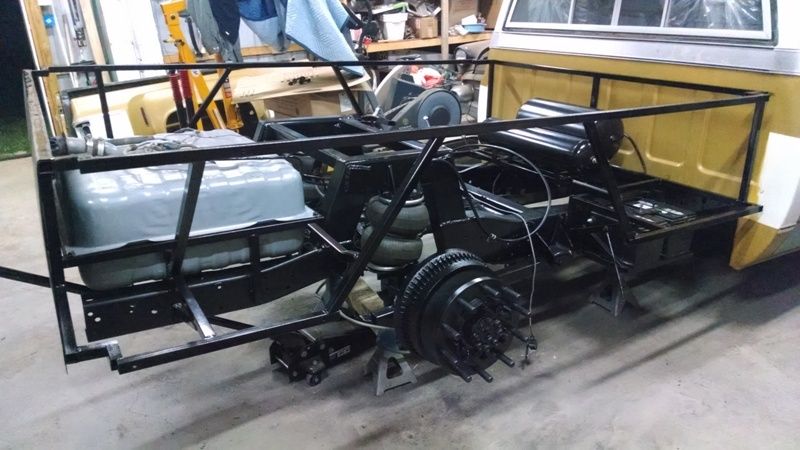
Got busy today and took both of the rear fenders and the front of the bed off. My son helped me get it done quicker than I could have alone, and those bed sides are a bugger to handle alone so I was glad for his help.
As you can see it is a naked bed area now. In one of the shots I have pulled the tank out. I am getting ready to finish this portion of the build. All I need to do right now is do the inner fenders, clean up the welds, and wire brush everything down getting ready for paint. I am going to do the tubes in black and the inner portion of the fenders in black bed liner.
After all that I am going to start on the body work on the rear fenders and the tail gate. If that goes well I will most likely shoot the primer coats, and then a color coat before reassembly. I will do the final color coats once I have everything back in place. That way I won't risk scratching everything up.

75dually
+1y
So last night I was in the shop doing some tear down on the rear end and suspension getting ready for paint. I also did some finish welding on the bottom of the notch. Stuff I had told myself I would get to eventually, so last night I procrastinated no longer!
Funny thing was that we have had some actual rain in Lubbock recently (Gasp! I know right!!) So my 13 year old son came out to the shop to keep me company and talk my ear off (naturally while I am trying to weld!) And due to the rain we now have mosquito's and some flying ants. Well these guys just love bright lights! And every time I was using the welder my son was noticing how I was attracting an entire congregation of mosquito's and flying ants. They were not messing with me at all, but were just hanging around. So when I crawled out from under the truck there was a ton of these critter's crawling around. Most of them I helped out the door with my big shop broom, no rent check no stay! Man the things I put up with to build hot rods!!
Oh well it is a thousand times better than sitting on my rump watching ESPN!

75dually
+1y
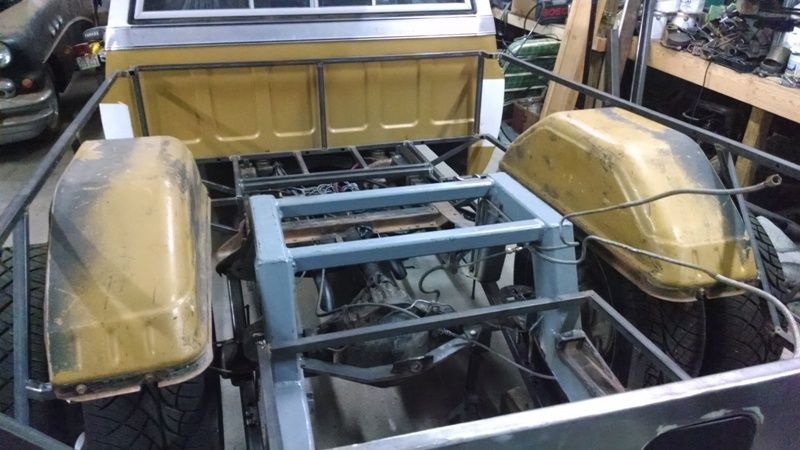
Tonight I got the inner fenders installed. I now need to fill in the gap with sheet metal, but that is tomorrows job.
Been getting a lot of small parts painted up. Now I just need to wire brush everything, shoot the black paint, and get this rear end buttoned up!
Stay tuned...
Been getting a lot of small parts painted up. Now I just need to wire brush everything, shoot the black paint, and get this rear end buttoned up!
Stay tuned...
L
leedogg
+1y
Maybe I missed it(re-went thru all 20+pages yesterday)...but how does the bed mount to the framework? Awesome work BTW.

75dually
+1y
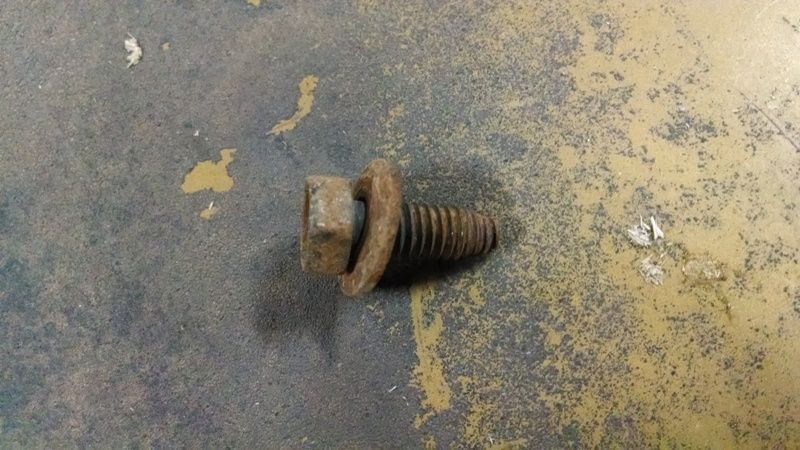
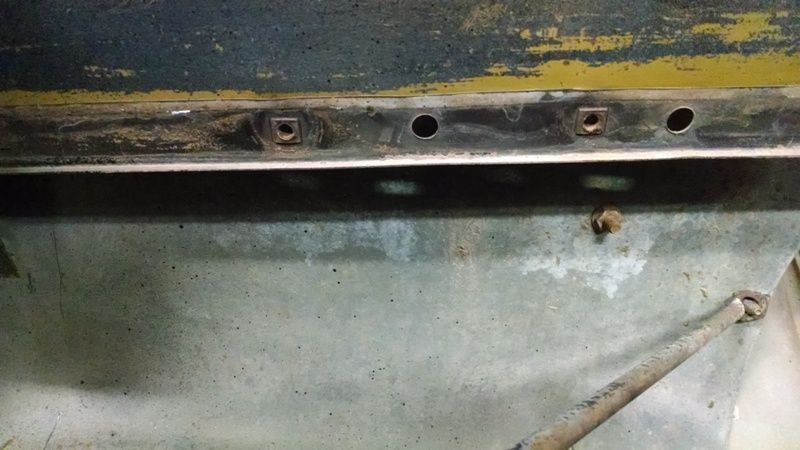
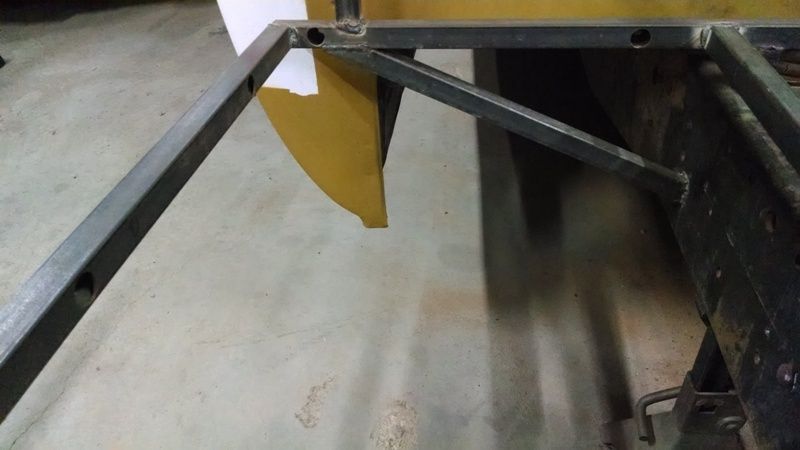
Leedog that is a good question. Below are 3 pics. The top pic shows the bottom 1" box tubing, where I machined a 3/4" hole, and a 5/16" hole on the inside which the bolt goes through. A 3/4" hole is the perfect size for a 1/2" socket to just barley fit in there to tighten the mounting bolt. Each hole lines up with the nutserts in the bed side (pic #2) in the lower portion of the bed where the old bed floor mounted to. I am using the stock hardware shown in the bottom pic.
With this system I am using the OEM mounting locations and the strength of the nutserts to secure the bed sides and the front of the bed as well. The top 1" box tubing has a similar mounting to the bottom.
Hope that helps. If not let me know.
L
leedogg
+1y
That is pretty slick...way less complicated that I was expecting.LOL

75dually
+1y
Yeah and surprisingly rigid, so it keeps the bed right where it needs to be with no drama.

75dually
+1y
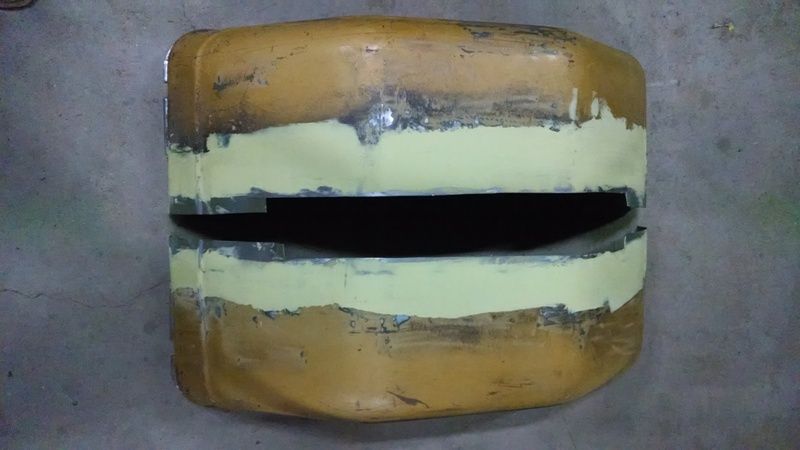
Got the inner fenders just about completed. Bought a new electric metal sheer this morning and put it to use immediately. I cut out the filler plates for the inner fenders. Man you talk about a tool you wish you had 10 years ago... All I have left to do is sand the Bondo down and shoot the bed liner on them.
Tomorrow I will shoot the rear frame, rear end, and bed area. Whew I am ready to be done with this portion of the build...
Tomorrow I will shoot the rear frame, rear end, and bed area. Whew I am ready to be done with this portion of the build...

75dually
+1y
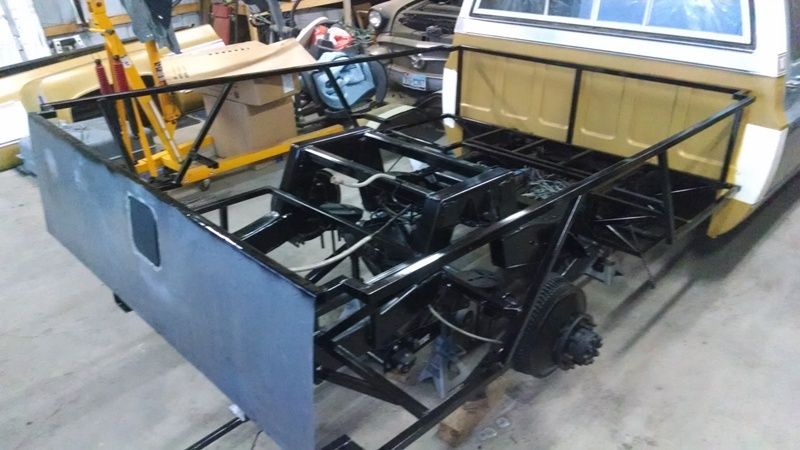
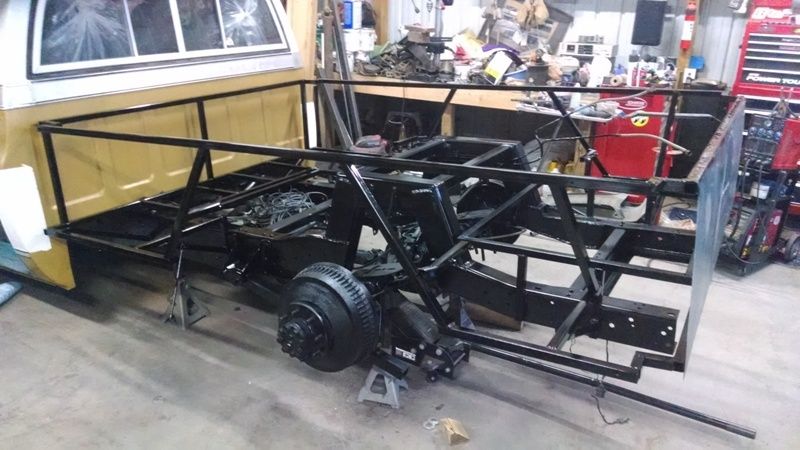
PAINT SHINNY PAINT! Another major milestone for my ride! Now to let it dry and then put everything back together.
Whew it was HOT this weekend and the shop was even hotter! Lucky we had a nice breeze the whole time. I finished up the couple of last items and then shot the black. Glad to have this behind me and moving on to the body work and finishing the interior.
Ready to drive this beast!
Whew it was HOT this weekend and the shop was even hotter! Lucky we had a nice breeze the whole time. I finished up the couple of last items and then shot the black. Glad to have this behind me and moving on to the body work and finishing the interior.
Ready to drive this beast!

75dually
+1y
Progress, progress, progress... I tell ya there is nothing better than having all your tools laid out, the shop locked so no one can bother you, and the right tunes cranked up. I can make some serious progress if that is the case!
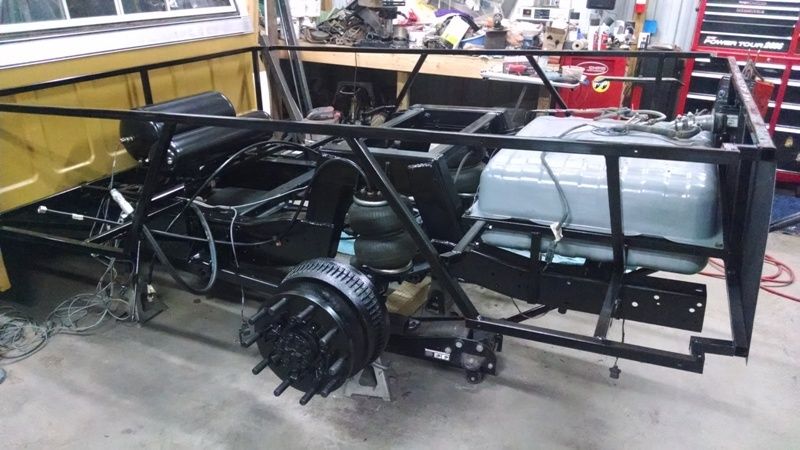
Well as you can see I got a lot of the major items put back on. The tank got some paint thrown at it, the air tanks have a new home, and the rear end is back together.
Tomorrow will be the rest of the small items and getting the air system all hooked back up.
Getting closer...
Well as you can see I got a lot of the major items put back on. The tank got some paint thrown at it, the air tanks have a new home, and the rear end is back together.
Tomorrow will be the rest of the small items and getting the air system all hooked back up.
Getting closer...
Related Discussions in Dually Projects
Thread
Posts
Last Post
546
A
last post by
Airnewb91 +1y
193

last post by
Airnewb91 +1y