S
Flush tonneau

greenguy83
+1y
I have pics of every step I did because I was planning on doing a write up on how to build it but have never figured out how to put pictures up on replys. I can put them up on my personal page but thats all I know how to do. Photo bucket doesnt hold very many pictures for free. Im cheep like that. What other ways are you guys posting pics. Sorry Im not trying to hyjack a thred.

toddluck
+1y
upload to photobucket then copy and img link paste it to the post

mazdawg(mikey)
+1y
I've got hundreds of pics in photobucket and I'm still using it for free. Just use the links that photobucket provides. If you can't figure out each one then copy one and preview the thread to see if it posted the pic until you get the right one.

greenguy83
+1y
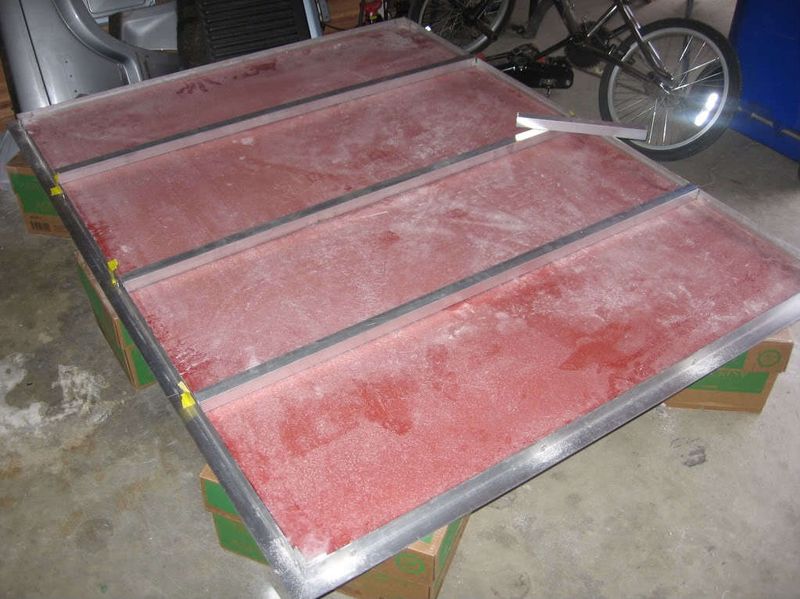
Bottom side of tonneau (middle bars are just mocked up not attached in picture)


greenguy83
+1y
^^^HECK YA IT WORKED!!!^^^ Woo Hoo this sight is about to be so much more fun. Thanks for the help!
V
v8mazda4ever
+1y
nice is there any pics of the top side and how are you attaching all of it together

greenguy83
+1y
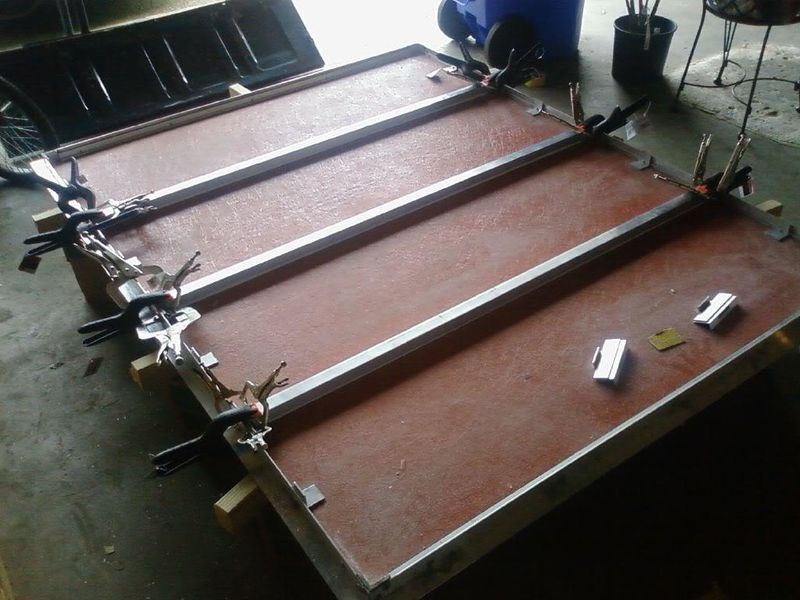
Attaching the middle bars with fusor, let it cure for two days then unclamped it and rivited the brackets for added support. Vice-Grips are your friend. Those are the "fast release" hinges that I made on top of the tonneau. Used left over 1.5" x 1.5" angle.

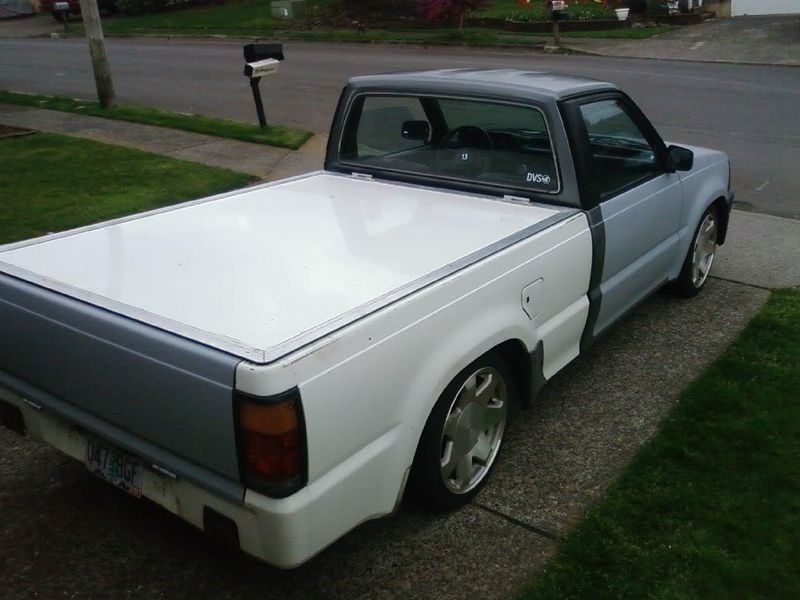
Jump a few weeks and this is the tonneau on my truck. Workin full time and having a girlfriend doesnt leave a lot of extra time to pley with my truck so everything is a slow process. So this is how it sits now. I will finish cleaning it up when I get the rest of my truck ready for paint, but as for now its functional and thats all I need.


Jump a few weeks and this is the tonneau on my truck. Workin full time and having a girlfriend doesnt leave a lot of extra time to pley with my truck so everything is a slow process. So this is how it sits now. I will finish cleaning it up when I get the rest of my truck ready for paint, but as for now its functional and thats all I need.

Post was last edited on Jul 05, 2010 11:56. Edited 1
time.
V
v8mazda4ever
+1y
that looks sweet looks danm close to a bought one danm bro i have to start making them up here for a few friends that i know will want one. Now i just got to figure out where or who to make the fiberglass tops and the one I got ya it needs a good sand you can see the fiberglass strands a littlle bit

greenguy83
+1y
Everything is glued together using "Lord Fusor 108". You get a 2 hour work time with this one. The other versions (110 and 112) either give you a 5 min play time which isn't really enough, or a 4 hour work time, which didn't seem like it would cure to a full hard strength and left too larg of a window of opprotunity for some one to walk into the garage, bump it, and wreck it. Everything that was glued together was then rivited to help hold in place and add support.

greenguy83
+1y
Ya do a search for any local fiberglass fabricators. Making a flat panel is easy compared to some of the things that they have to make. I went to Miles Fiberglass and Composit. They made the faces for our MAX trains (light rail). They are really nice people to deal with. I would recomend them for sure to anyone that lives around here and are going to tackle this project.


