L
It's a truck, but not a Mazda.
M
mazdatweaker
+1y
Since there seems to be some interest in all things truck. . . here is some pictures of the work as it starts.
Picture taking weather hasn't been ideal, and neither is the camera I used. . .but it provides an idea of what the starting point is with this rolling wreck.
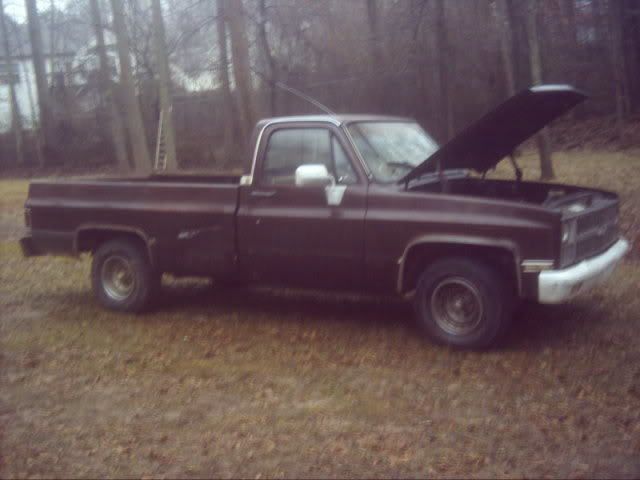
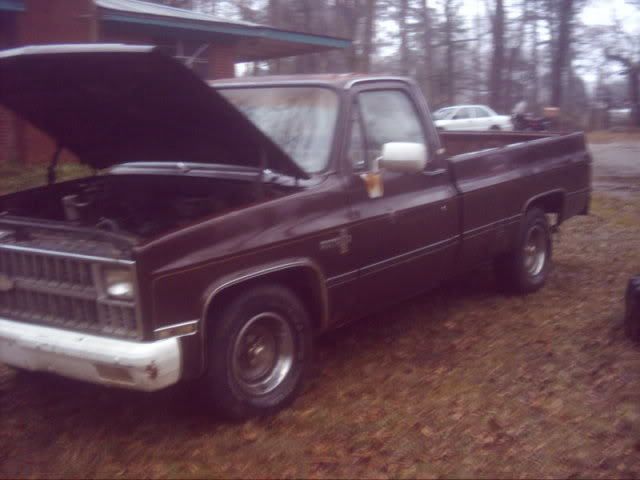
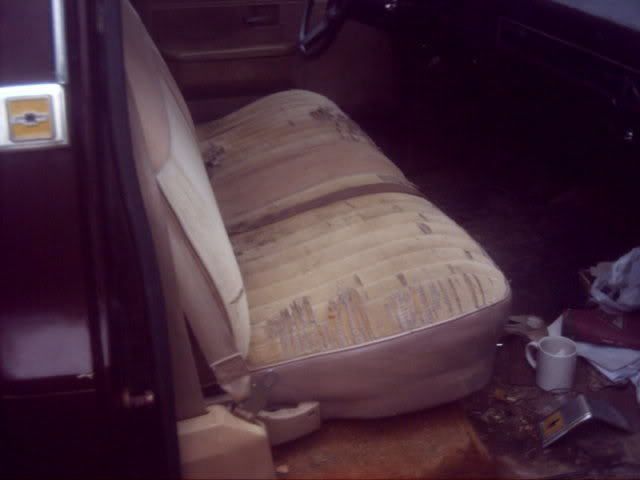
Notice the sleek, aerodynamic antenna:
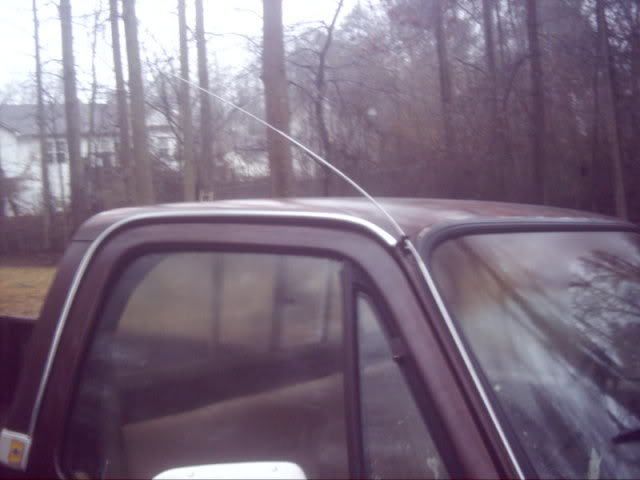
Cracked dash and windshield:
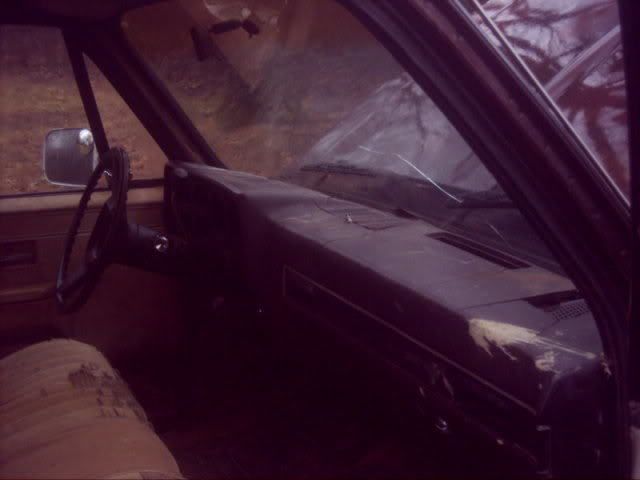
One or two, not too much to look at rear view:
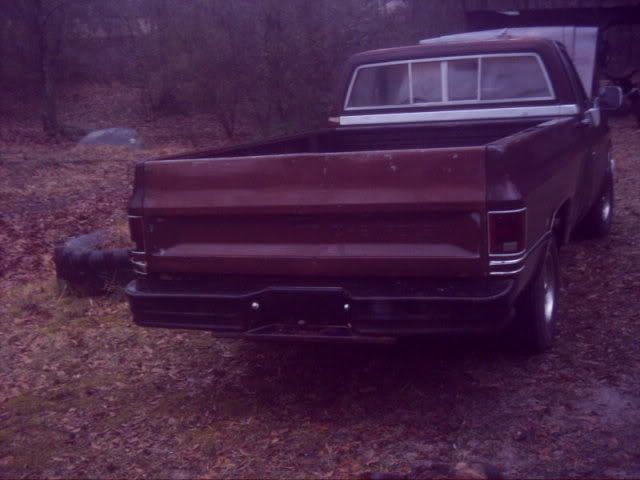
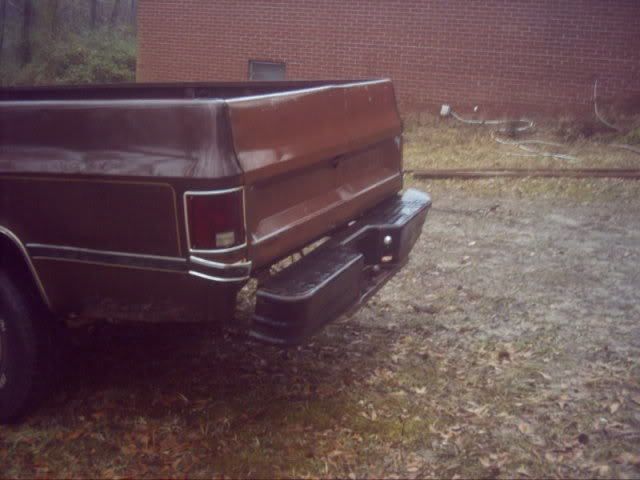
A caved in side of the bed. . .which I think I can push out when the weather is better for outdoor work.
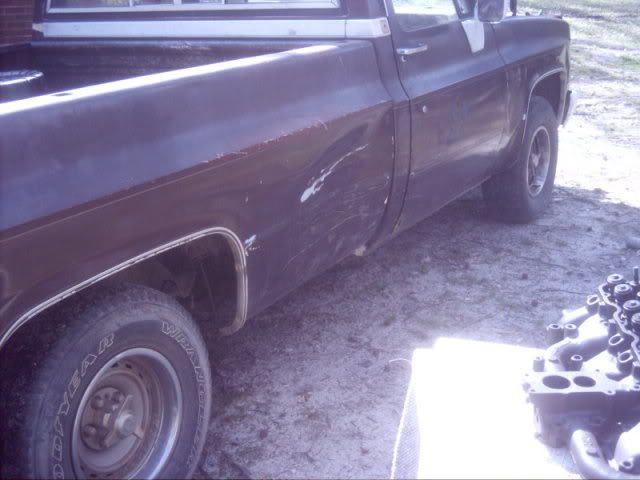
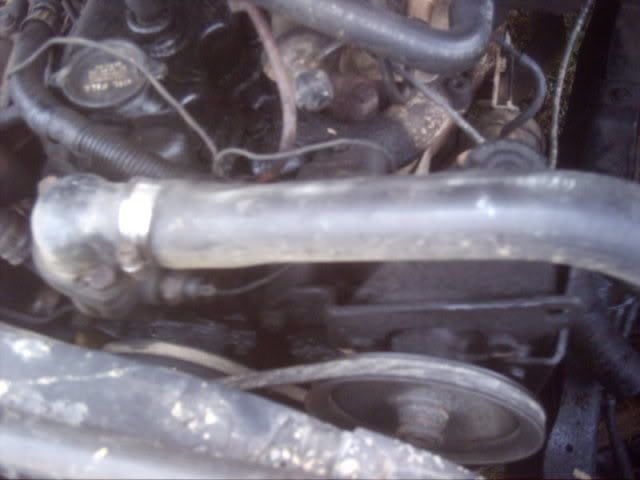
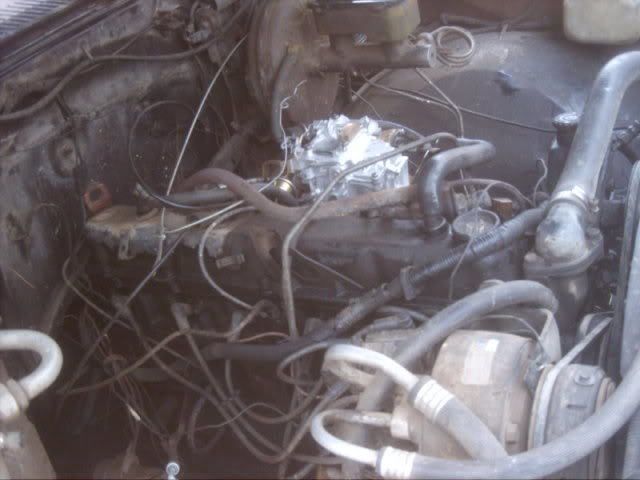
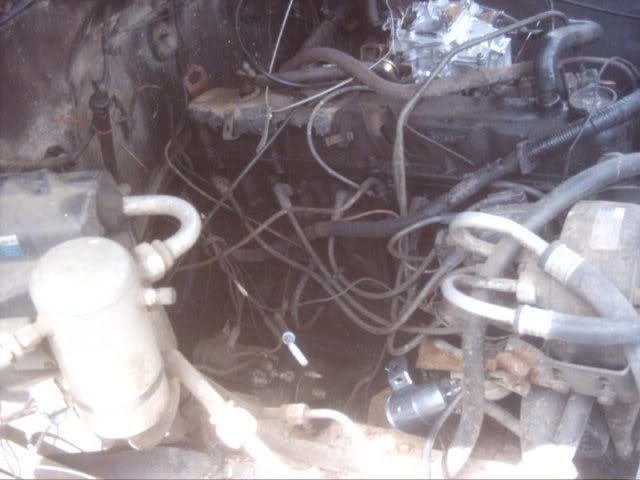
Here's a couple of underhood pictures:
(needs belts)
A reman carb amongst the years of neglect.
You can see what I will get to deal with.
-------
As it turns out . . . Sunday 03-28 I got the truck to run and start consistently with the reman carb, so I think the next thing to deal with is the loud exhaust. The exhaust flanges were loose on the downpipes, so I spend way too much money for replacement nuts for the exhaust studs. I get them installed and start thinking the problem is solved. I start the truck and instead of quiet I hear everything but. As it turns out, when I tightened the downpipe with the wrench, it opens the gap from what turns out to be 5 broken exhaust manifold bolts.
In looking at this problem, it seems as though the exhaust manifold could be removed by kind of sliding it out from underneath the intake, after removal of the securing bolts. Because I didn't know about the two that come in from underneath, in addition to the 12 (minus the broken 5) that go in from the top, I of course couldn't get the manifold out. Still thinking there just wasn't a big enough gap to slide it out, (maybe due to the broken bolts) I try loosening what appears to be an intake manifold bolt. When I get IT out, I see ANTIFREEZE in the hole. I have just removed a HEAD BOLT.
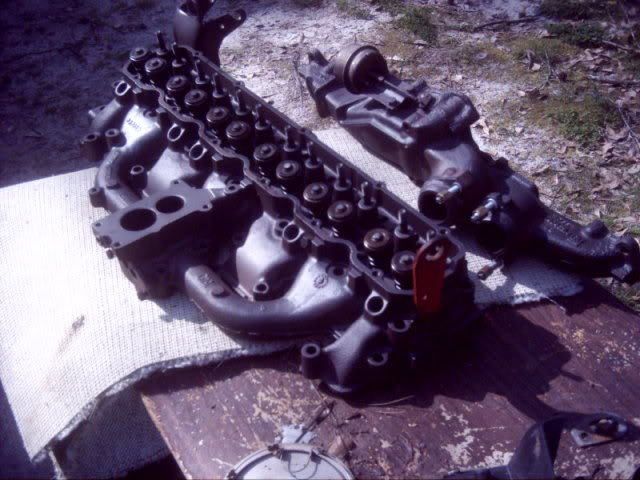
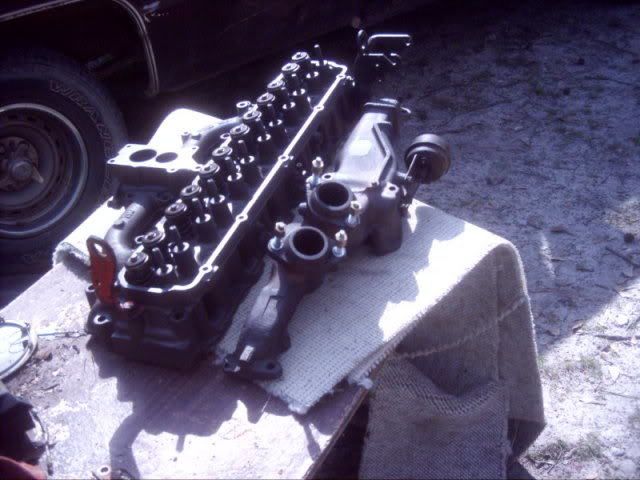
When I look closer, I realize that the 6 cylinder cast-iron head and intake manifold are all one casting, Which is still bolted to a 6 cylinder cast-iron exhaust manifold. Do you have ANY idea just how heavy all of this weighs? I end up finding out it's REALLY HEAVY.
I figure the exhaust is going to have to go to the machinist to get the broken bolts out, so he might as well go through the head and fix anything he finds it might need. Besides removing the air injection tubes, he replaces the valve seals for me. He also replaces the four exhaust studs that the downpipes bolt to. My thinking is do it all now. That way I avoid a visit from Doitover U. Dumass.
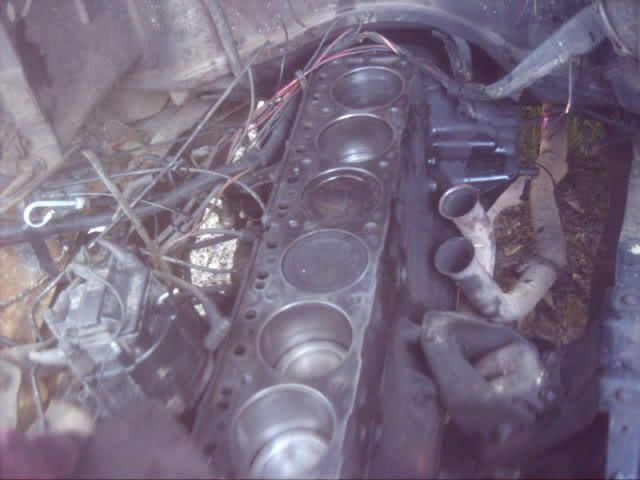
I picked the head up today 4-2-2010, and found out that someone had already installed hardened exhaust seats and new guides in this head previously. With the new hardware and repairs in the head and manifold I'm good to go. Hopefully I will have some help placing the head back on the block. Freaking huge slab of iron. It would be a lot easier if I had an engine hoist handy.
Now I know what GM means when they say "LIKE A ROCK"
--------
4-3-2010
After waiting until after 2 pm for the help to show up, I figure out a way to reinstall this cast-iron 6 cylinder head without the help, since it is non-existant. Looking closely at the cylinder block, I see a portion which extends further back than the head gasket which is sitting on it. I already had placed the exhaust manifold back into where it normally sits, figuring that it will bolt up once the head is back in place. . .less weight to manuver. . .although that isn't saying much.
I take a 1 x 6 x 4 and slant it from the radiator cowl (core support) to the back of the block, where the firewall stops the wood from moving.
Then I get three spring-loaded rachet straps. Two go end to end, with the front one hooking the hood and going over the hood to the second strap, which carries a hook into the engine bay at the rear. That one is for later.
The third rachet strap is run from the hood at the hold down to the rear pick up point at the back of the head. Once I get the head on the radiator core support, I put a rag between the head at the back point and the board. I start sliding the head down the incline, using the rachet strap spring release to allow the weight of the head to slide the head slowly down the ramp.
Once the head was down the ramp, kind of in position, I use the back hook at the back pick up point, and move the front strap to the front pick up point. I snug up the straps to pull the weight off the board, and then pull the board. I then release the front strap a little bit at a time to slowly let the front of the head down onto the block, and then do the same at the back of the head.
This was so easy I didn't even need a Staples button. I did have to brace the hood open though, I don't think GM expected a Chevy hood to be used as a cylinder head gantry hoist.
Next. . . how to deal with a leaking Saginaw power steering pump. The goo has to go.
4-11-2010
Let me let you in on a secret. Saginaw power steering pumps are just about the easiest thing on the planet to rebuild, but as cheap as they are, unless you want the experience, like I did, you can buy a reman unit for about 40 dollars, unless you want the resevoir too, then they are about 60. That being said, the rebuild "kit" costs about 17 dollars at NAPA, and comes with a really big o-ring, two sort of big o-rings, one shaft seal, and about 6 small o-rings. . .all you need to reseal a leaker pump and restore the high pressure needed to make a heavy truck like this C-10 able to steer at slow speeds.
Once you have the pump off the vehicle, you remove every bolt and bracket attached to the pump which would prevent the resevoir from being removed. Brackets attached only to the front of the pump can stay attached. Unually on the back of the pump there are 2 studs going into the housing and the high pressure hose outlet port. The port is a 1" nut. The studs are maybe 11/16 but I used an 18mm. Once they are out, you can pry the resevoir off the pump any way carfully done. To get the faseners to loosen required me to stick a bar in the fill hole on the resevoir, and lay it over to stop the pump from moving while I loosened the hareware. An air impact would have been easier but this is old school. Not every one has air power.
Once you have the pump separated from the housing, you can drop in a reman unit and put it all back together, or you can keep taking things apart to replace internal o-rings (seals). The internal pump parts are held inside by a big circular snap ring that holds a metal disc in place. Don't make the mistake I did when putting it back together, and not make sure the ring is seated in the groove it fits into when you put it back together. If you don't, like I didn't, when you get it all back together and start the truck, the internal pressure inside the pump will push the disc out of place and you won't have any pressure because the pump is leaking internally. That is where I got my visit from Doitover.
Picture taking weather hasn't been ideal, and neither is the camera I used. . .but it provides an idea of what the starting point is with this rolling wreck.


Notice the sleek, aerodynamic antenna:

Cracked dash and windshield:

One or two, not too much to look at rear view:


A caved in side of the bed. . .which I think I can push out when the weather is better for outdoor work.

Here's a couple of underhood pictures:
(needs belts)

A reman carb amongst the years of neglect.

You can see what I will get to deal with.

-------
As it turns out . . . Sunday 03-28 I got the truck to run and start consistently with the reman carb, so I think the next thing to deal with is the loud exhaust. The exhaust flanges were loose on the downpipes, so I spend way too much money for replacement nuts for the exhaust studs. I get them installed and start thinking the problem is solved. I start the truck and instead of quiet I hear everything but. As it turns out, when I tightened the downpipe with the wrench, it opens the gap from what turns out to be 5 broken exhaust manifold bolts.
In looking at this problem, it seems as though the exhaust manifold could be removed by kind of sliding it out from underneath the intake, after removal of the securing bolts. Because I didn't know about the two that come in from underneath, in addition to the 12 (minus the broken 5) that go in from the top, I of course couldn't get the manifold out. Still thinking there just wasn't a big enough gap to slide it out, (maybe due to the broken bolts) I try loosening what appears to be an intake manifold bolt. When I get IT out, I see ANTIFREEZE in the hole. I have just removed a HEAD BOLT.
When I look closer, I realize that the 6 cylinder cast-iron head and intake manifold are all one casting, Which is still bolted to a 6 cylinder cast-iron exhaust manifold. Do you have ANY idea just how heavy all of this weighs? I end up finding out it's REALLY HEAVY.
I figure the exhaust is going to have to go to the machinist to get the broken bolts out, so he might as well go through the head and fix anything he finds it might need. Besides removing the air injection tubes, he replaces the valve seals for me. He also replaces the four exhaust studs that the downpipes bolt to. My thinking is do it all now. That way I avoid a visit from Doitover U. Dumass.
I picked the head up today 4-2-2010, and found out that someone had already installed hardened exhaust seats and new guides in this head previously. With the new hardware and repairs in the head and manifold I'm good to go. Hopefully I will have some help placing the head back on the block. Freaking huge slab of iron. It would be a lot easier if I had an engine hoist handy.
Now I know what GM means when they say "LIKE A ROCK"


--------
4-3-2010
After waiting until after 2 pm for the help to show up, I figure out a way to reinstall this cast-iron 6 cylinder head without the help, since it is non-existant. Looking closely at the cylinder block, I see a portion which extends further back than the head gasket which is sitting on it. I already had placed the exhaust manifold back into where it normally sits, figuring that it will bolt up once the head is back in place. . .less weight to manuver. . .although that isn't saying much.
I take a 1 x 6 x 4 and slant it from the radiator cowl (core support) to the back of the block, where the firewall stops the wood from moving.
Then I get three spring-loaded rachet straps. Two go end to end, with the front one hooking the hood and going over the hood to the second strap, which carries a hook into the engine bay at the rear. That one is for later.
The third rachet strap is run from the hood at the hold down to the rear pick up point at the back of the head. Once I get the head on the radiator core support, I put a rag between the head at the back point and the board. I start sliding the head down the incline, using the rachet strap spring release to allow the weight of the head to slide the head slowly down the ramp.
Once the head was down the ramp, kind of in position, I use the back hook at the back pick up point, and move the front strap to the front pick up point. I snug up the straps to pull the weight off the board, and then pull the board. I then release the front strap a little bit at a time to slowly let the front of the head down onto the block, and then do the same at the back of the head.
This was so easy I didn't even need a Staples button. I did have to brace the hood open though, I don't think GM expected a Chevy hood to be used as a cylinder head gantry hoist.
Next. . . how to deal with a leaking Saginaw power steering pump. The goo has to go.
4-11-2010
Let me let you in on a secret. Saginaw power steering pumps are just about the easiest thing on the planet to rebuild, but as cheap as they are, unless you want the experience, like I did, you can buy a reman unit for about 40 dollars, unless you want the resevoir too, then they are about 60. That being said, the rebuild "kit" costs about 17 dollars at NAPA, and comes with a really big o-ring, two sort of big o-rings, one shaft seal, and about 6 small o-rings. . .all you need to reseal a leaker pump and restore the high pressure needed to make a heavy truck like this C-10 able to steer at slow speeds.
Once you have the pump off the vehicle, you remove every bolt and bracket attached to the pump which would prevent the resevoir from being removed. Brackets attached only to the front of the pump can stay attached. Unually on the back of the pump there are 2 studs going into the housing and the high pressure hose outlet port. The port is a 1" nut. The studs are maybe 11/16 but I used an 18mm. Once they are out, you can pry the resevoir off the pump any way carfully done. To get the faseners to loosen required me to stick a bar in the fill hole on the resevoir, and lay it over to stop the pump from moving while I loosened the hareware. An air impact would have been easier but this is old school. Not every one has air power.
Once you have the pump separated from the housing, you can drop in a reman unit and put it all back together, or you can keep taking things apart to replace internal o-rings (seals). The internal pump parts are held inside by a big circular snap ring that holds a metal disc in place. Don't make the mistake I did when putting it back together, and not make sure the ring is seated in the groove it fits into when you put it back together. If you don't, like I didn't, when you get it all back together and start the truck, the internal pressure inside the pump will push the disc out of place and you won't have any pressure because the pump is leaking internally. That is where I got my visit from Doitover.

baha
+1y
Nice project Tweaker excellent write up. I love that body style!
![90-b22dawg [andrew]'s avatar](https://static.streetsource.com/userphotos/2014/328/16283/s.jpg)
90-b22dawg [andrew]
+1y
hopefully it will all work out for you. one thing i noticed is the dual tube exhaust manifold, i know its stock, never seen (or noticed) an exhaust mani like that befor now. do they make an aftermarket header to maybe open that thing up and get some more hp out of it. or would a 6 tube exhaust mani be overkill?
Related Discussions in Mazda Projects
Thread
Posts
Last Post
852

last post by
skrapinsask +1y
150

last post by
cherokeed +1y