
B2200 Rebuilt top to bottom and going low!

itslikewhooa
+1y
ok here is the body mount pics....
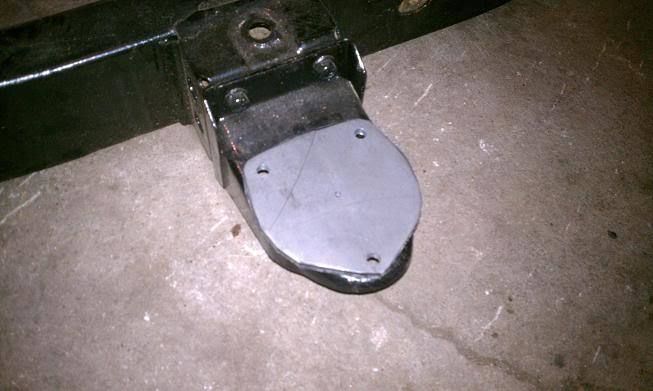
here is the base plate that is the same shape as the original body mount.
with the rubber bushing plate, this is going to get welded to the base plate.
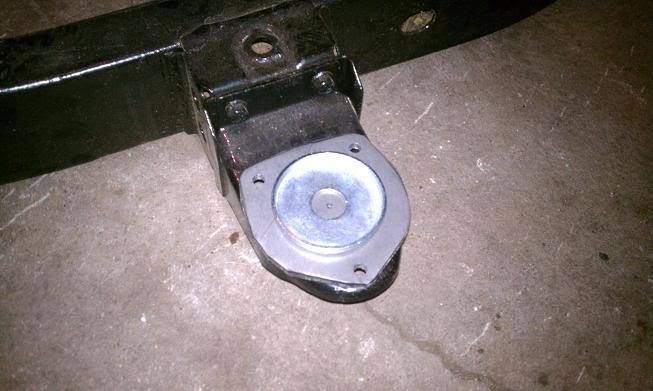
different view
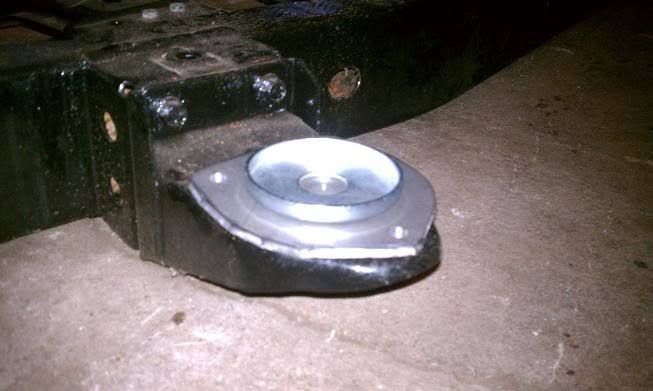
with the rubber bushing
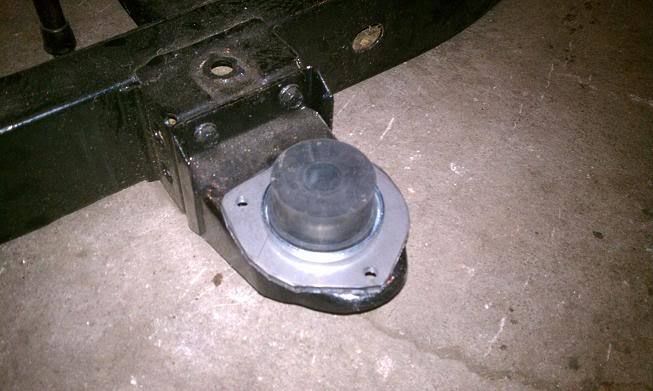
a different view
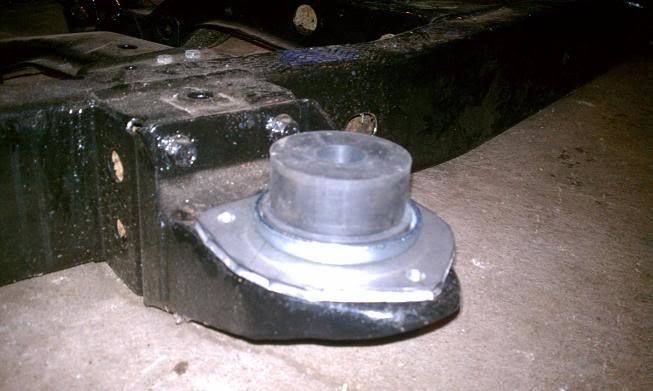
then with the top bushing plate.... this will have a tube welded to it so it slide about 1/2in into the bushing to help stable the bushing as the plate is slightly bigger the the top of the bushing... this top plate will be welded to the body of the truck. then a bolt will pass through the whole assembly bolting the body to the frame.
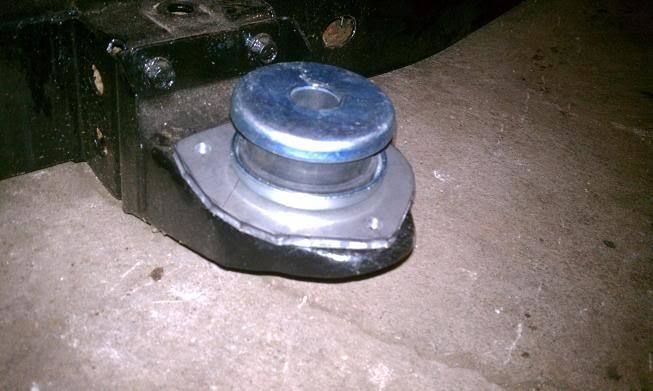
here is the comparison between the original body mount and the one I'm building.
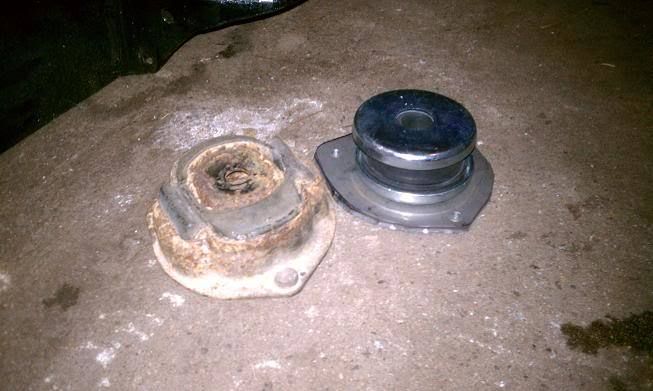
here is the base plate that is the same shape as the original body mount.

with the rubber bushing plate, this is going to get welded to the base plate.

different view

with the rubber bushing

a different view

then with the top bushing plate.... this will have a tube welded to it so it slide about 1/2in into the bushing to help stable the bushing as the plate is slightly bigger the the top of the bushing... this top plate will be welded to the body of the truck. then a bolt will pass through the whole assembly bolting the body to the frame.

here is the comparison between the original body mount and the one I'm building.


paparoach1983
+1y
deffinetely an improvement in my 2 cents. how much to build me a set lol.

immortal1 (linn)
+1y
Nice looking body mounts!

itslikewhooa
+1y
got the body mounts all welded up and the body on the frame... need to do a little shimming and what not to make it fit perfect...but ill have a bunch of pics up later today.....
and paparoach unfortunately the parts and pieces that i used to build the mounts were things my dad was able to get from his work... if I could get my hands on that stuff regularly, I would deff build them for people that needed them...
and paparoach unfortunately the parts and pieces that i used to build the mounts were things my dad was able to get from his work... if I could get my hands on that stuff regularly, I would deff build them for people that needed them...

itslikewhooa
+1y
ok heres the pics...
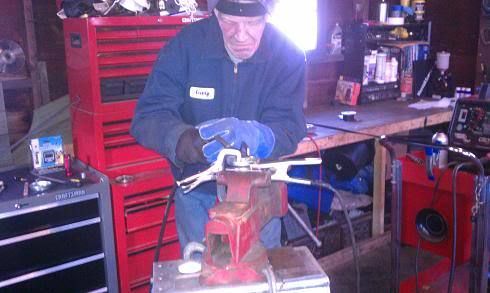
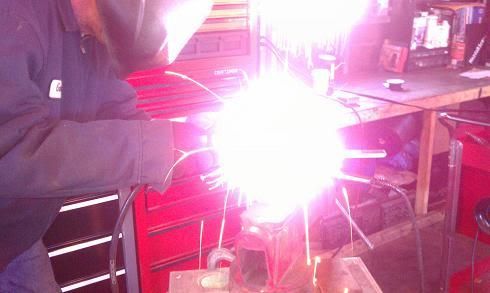
heres my dad welding the upper part of the mount together...
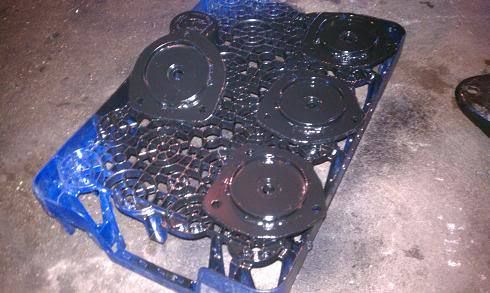
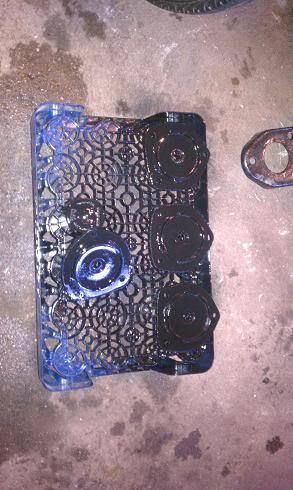
and the finished upper part of the mount that will get welded to the body....
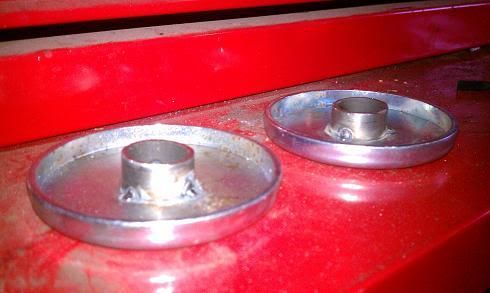
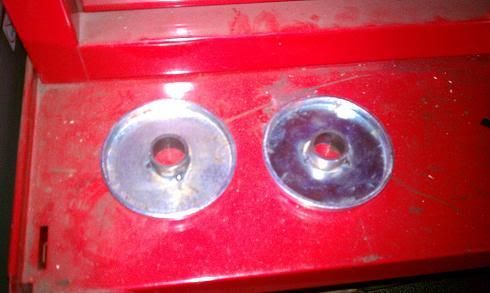
then we welded them to the body of the truck where the original bolt holes were for the stock mounts.
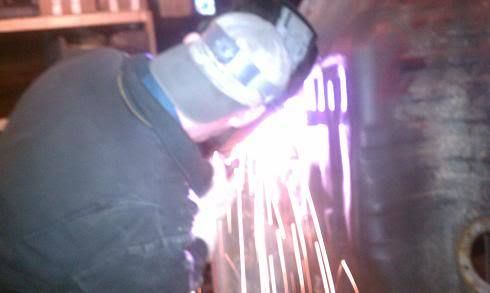
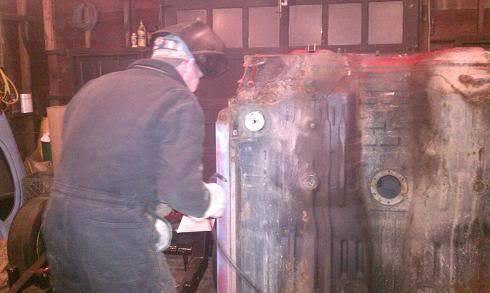
while my dad was welding the upper mount parts I painted the lower part of the mount...
then we put the body on the frame...
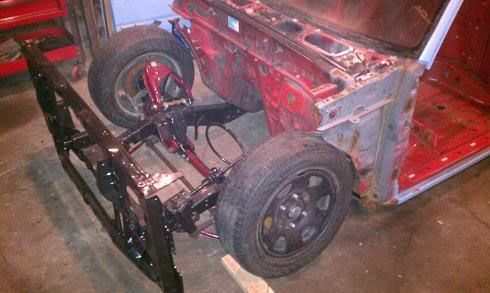
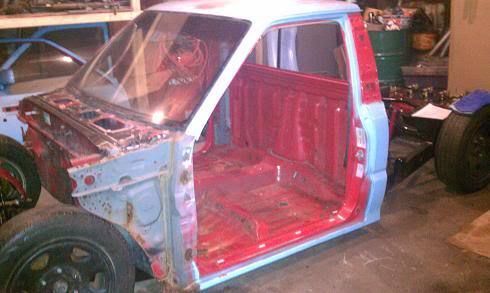
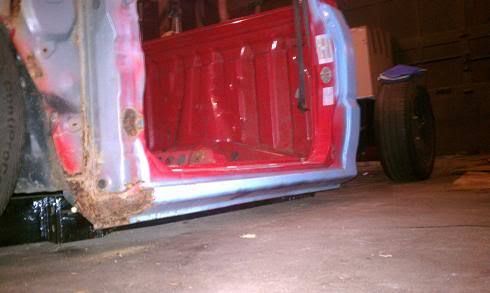
then I put the doors and fenders on to make sure that the mounts were the right height to keep the fenders aligned with the doors when put together... because if the body was the wrong height then the top or bottom of the fender would have a bigger/smaller gap and not be consistent... fortunately the driver side was aligned up perfect... the pass. side needs to be shimmed slightly...
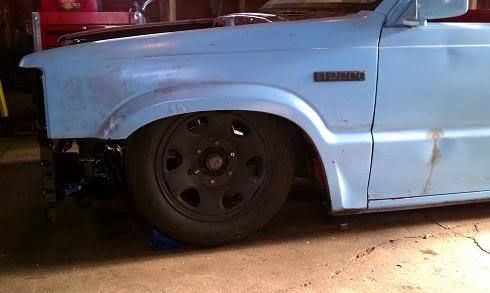
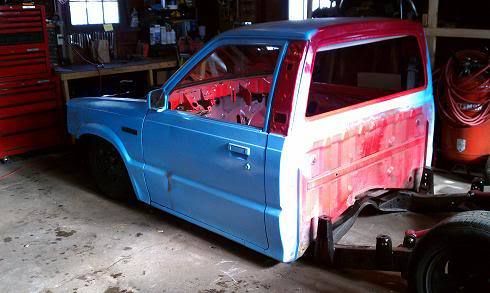
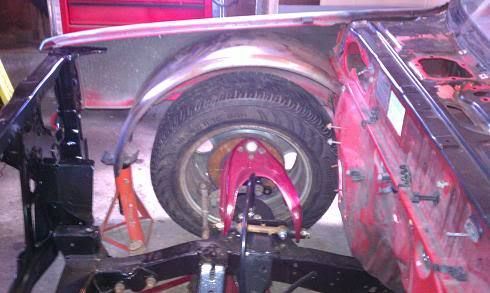
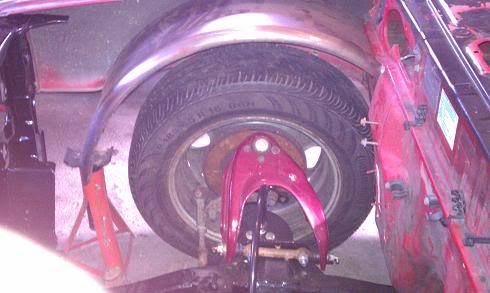
and here is where I'm thinking i want to position the wheel well.
heres my dad welding the upper part of the mount together...


and the finished upper part of the mount that will get welded to the body....


then we welded them to the body of the truck where the original bolt holes were for the stock mounts.


while my dad was welding the upper mount parts I painted the lower part of the mount...


then we put the body on the frame...


then I put the doors and fenders on to make sure that the mounts were the right height to keep the fenders aligned with the doors when put together... because if the body was the wrong height then the top or bottom of the fender would have a bigger/smaller gap and not be consistent... fortunately the driver side was aligned up perfect... the pass. side needs to be shimmed slightly...


and here is where I'm thinking i want to position the wheel well.


paparoach1983
+1y
dang man progress is looking good.

itslikewhooa
+1y
thanks man... I just got to order my new front fenders, and get it shimmed the little i need to on the pass. side, weld the front together with the wheel wells, then with my tax return, I'm sending the body and doors out to get sandblasted, so i don't have to worry about any rust spots i may miss sanding it, then I'm throwing it in primer and starting the body work ..
hopefully someone knows the answer to this, but with all the weight on the "front" of the truck right now when i go to lift it, the back lifts first and then the front comes up... is there a way to make it so they both come up at the same time evenly??
hopefully someone knows the answer to this, but with all the weight on the "front" of the truck right now when i go to lift it, the back lifts first and then the front comes up... is there a way to make it so they both come up at the same time evenly??

immortal1 (linn)
+1y
Nice bit of work there! Kinda cool seeing another "Dad" helping out.

itslikewhooa
+1y
Hey everyone, ok so Ive been gone for quite a while now.... just over a year i had to move out of the place i was living due to its sale, and in having to do so I lost my garage my truck has been under a tarp at the girlfriends parents house... all my tools in a shed, I've been living with the girlfriend in a 1 bedroom apartment with no where to work on anything, were currently in the process of looking for a house to buy, so I'm hoping soon to get a garage again....until then I convinced my dad to let me work on the engine in his basement. so the rebuild has commenced.
here's a few pics of the engine before I started taking anything off and after a couple hours of disassemble.
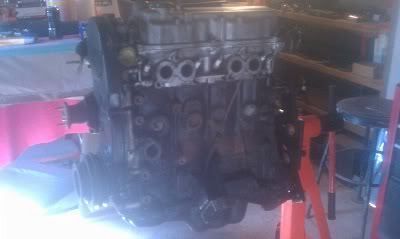
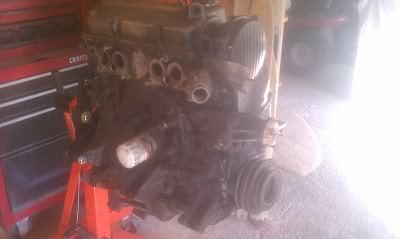

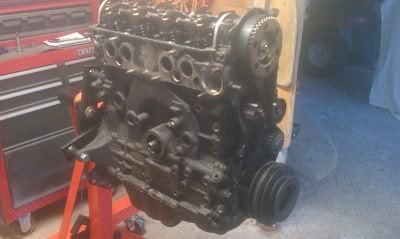
here's a few pics of the engine before I started taking anything off and after a couple hours of disassemble.


reed_bryant
+1y
i just read this whole thread during class lol. now i got to the end and idk what happened to it!! it is a great thread for info
Related Discussions in Mazda Projects
Thread
Posts
Last Post
852

last post by
skrapinsask +1y
150

last post by
cherokeed +1y