T
1986 B2000 2.5 T Diesel FOR SALE $750obo
E
emjay
+1y
power steering is hooked up. quite easily actually. I just needed to use a 1/4" threaded nipple at the end of the MB pressure line right into the Mazda gear box The line is quite long, but I was able to tuck it in nice and neat. Custom lines will come at a later date when better funding permits, however this will work
working on the radiator plumbing right now. The Mazda radiator has the fittings on the opposite side (same as the RF diesel, minus the extra space I had on that engine ) and the Mercedes radiator is too tall without modifying the body some. I'm probably going to use the Mercedes setup as it is a thicker radiator.
This also means that I'm planning out the plumbing for my AC system as well. I haven't even LOOKED at the fittings as of yet, I know that this will be a friggin nightmare (custom lines anyone???) but I would at least like to figure out how my condenser is going to sit. Since my motor is further up, I'm stuck with having to cut into the core support for the radiator, and hope that my condenser setup is thin enough to allow the grille to fit nicely. I would LOVE to use the MB condenser, it is almost twice the size of the Mazda condenser, means more capacity and faster cooling of refrigerant. Unfortunately I can not use the very nice fan setup for the Mercedes condenser, as it sticks out way too far. I might have a secret idea for this though, I'll need to see if I can pull this off
E
emjay
+1y
Radiator is mocked up. We had some severe thunder storms hit us today, so work was cut short on the truck.
The radiator does need to be straightened up a little bit, most of the damage to it is cosmetic (looks worse in person) but it does flow good and cooled well. I wasn't able to get the mounting tabs put in (will have to be welded.)
Pics will come later for mods that I had to do to the bumper as well as the front clip.
E
emjay
+1y


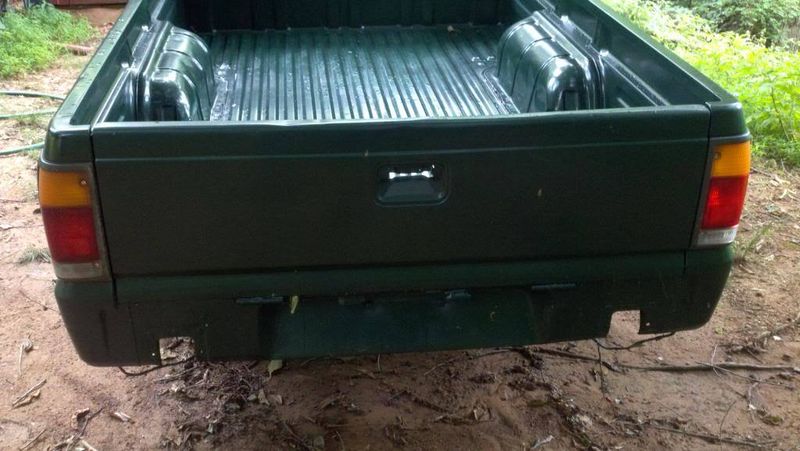
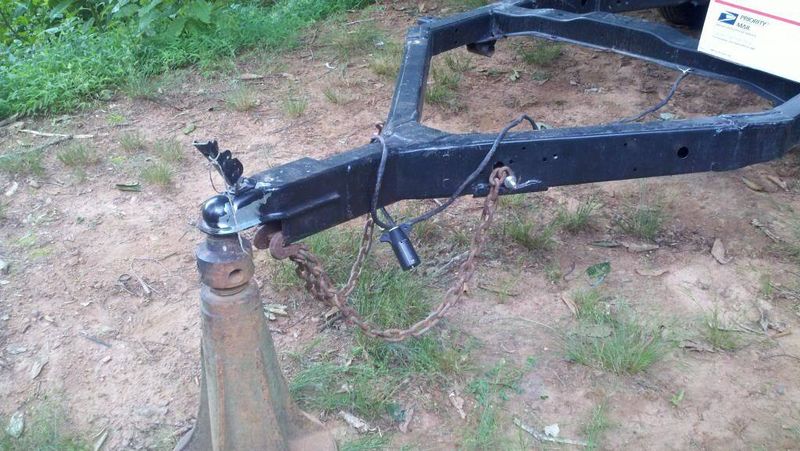
Safety chains bolted on, using a grade 5 bolt. Tail lights bolted in, all bulbs work. I still need to fix the license tag lights, the wires were cut at some point in the past, should be a simple fix. I also need to get it registered, but that is an easy task. Also to put the chrome 6 lug LX wheels on it and to get some new trailer tires for it (eventually) I will eventually have the rear re-drilled to match the MB wheel pattern to match Redemption.

mymmeryloss
+1y
Lookin solid!
E
emjay
+1y
Well it's been a while, but the radiator is in place. I still have a lot to clean up on it, I may take my time on that one though.
Condenser. I still need to do the lower mounts, but this will work for lining everything up.
Going to have to do something with the lower hose, probably notch the cross member for the hose to clear nicely, or find a lower hose with a sharp angle right from the rad. Hose needs to be replaced anyways, it's about toast.
Upper hose too is kinda bound, but this might be a non-issue after I raise the height of the motor and redo the motor mounts. Also notice that the wiring that is usually under the core support had to be relocated. It won't fit there anymore. This won't hit a fan but looks ugly, I'll see what I can come up with for concealment.
Approximately where I will be locating the fill point/coolant reservoir for the radiator. I won't be able to do it physically until I complete the strut mounts.
AC lines, right next to the exhaust. I will need to utilize the MB heat shield or otherwise relocate/reroute the AC lines. On the MB they are both on the driver side.
E
emjay
+1y
Ok, so I decided to get back into this, as I was needing to have the strut mounts in place so I could work on the rest of the plumbing and the location for the batteries. After a bit of thinking, a lot of looking, and some measuring I realized that installing struts on the sheet metal for the B series might not be the best idea.
The logic, the Mercedes sheet metal is thicker than that of the B, it has to be as there is no frame (uni-body.) Even then there is an additional brace, and a mount that would be required to support the weight. To use the wheel hubs of the Mercedes, I would need to use the strut, or find a way to be able to utilize a ball joint and use Mazda shocks, and both control arms. This will require me to see what all can actually be fabricated.
This is how the strut mounts to the back of the MB wheel hub
I wish it were as simple to just use the strut in the shock tower, it looks plenty solid, however the MB struts are significantly longer, about a 5" total difference between the strut and the shock.
8 inch difference from strut to shock
However the lower ball joint mount on the MB is about 3 inches lower from the center of the hub to the ball joint mount.
Again, the reasons:
#1 bigger rotors
#2 ABS
#3 matching wheels for the rear (has IRS setup.)
E
emjay
+1y
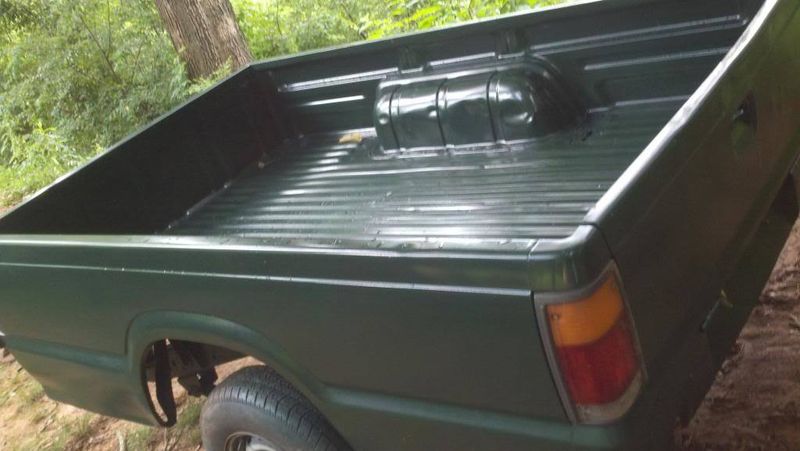
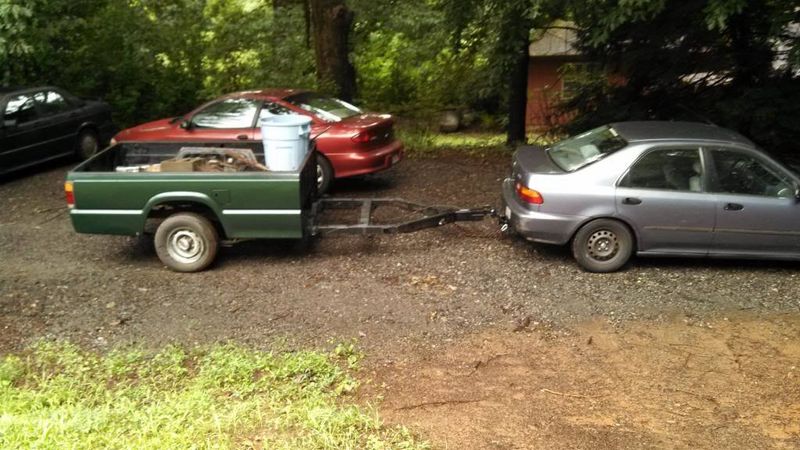
I got a lot of looks today towing this today

It tows pretty nice, it doesn't sway at all, and the extra length from the rear makes it easier to back into spaces. It is pretty bouncy though, so I'm thinking more about removing a leaf and putting on some sort of shock setup. For now though it works very nicely and does what I need it to do.
Truck is still down, but I'm getting closer (slowly.) Recently I've been working on the cooling system and integrating the electrical components of the 602 to the truck.
E
emjay
+1y
shifter time!
Mercedes shifter mounted, stock console (my old, damaged one) in position. Note that I took the boot off.
Mocked with the piece from the MB console. The shifter in the MB sits higher than the one for the Mazda, so something is going to need fabrication
and here it is
Ran out of hardener, so that is going to have to wait until the paychecks start to roll in again.
E
emjay
+1y
Rear mount for the IRS suspension completed. Don't ask where the beam came from, I won't tell
Still need to do the coil springs, shocks, sway bar, and brakes. Other than that, the rear end is nearly complete. Then I'll be able to figure out how I'm going to stuff a fuel tank in there.
For the problem with the hood not closing all the way, I decided to do a 2" body lift. Since I'm already fabricating a lot for this swap, I'm going to make the lift points out of solid aluminum with a proper sized hole drilled in the center. I can get round stock aluminum 2 1/2" in diameter for cheap enough, cheaper than the kit is concerned. I know that the only other concern will be the steering linkage. I'll figure that out.
Also it has become painfully clear that I won't be able to use my Mazda grille with the condenser in front of the radiator. So I'm thinking about doing a rear mount condenser similar to what Sincitylocal did on his swap. That might actually make some of the engine bay issues easier.
I did connect the throttle cable (with a temporary setup) the ignition switch and the glow plug system. Some of my mechanical gauges are also hooked up (boost, vacuum system, and coolant.) Still need to do the oil pressure gauge.
E
emjay
+1y
I did some more today. Got the fuel tank and the AC condenser mounted. I had to weld in a new cross member and cut an old one out. No more spare tire holder
Condenser in. I'm using the MB condenser, for reasons that will become clear later in the build, but the fans were a contributing factor.
New rear cross member welded in. I had to use flux wire as I ran out of MIG wire and darn near out of 75/25.
Old cross member out. Not too bad for not having a functioning angle grinder. Circular saw with metal blade FTW.
Fuel tank in position
And getting rid of that nasty orange
Coil over kit should be here in a week. In the mean time my next project is going to be getting the brake lines and cables run.
Related Discussions in Mazda Projects
Thread
Posts
Last Post
852

last post by
skrapinsask +1y
150

last post by
cherokeed +1y