
Sparky Mazda (Finished Pg. 31)

slammedyota91
+1y
hoe much did you bd it? i dont member and i dont feel like going back and reading

twisted minis
+1y
2 1/4". That is exactly the amount needed to go to the rocker, no more.

slammedyota91
+1y

dropped90(justin)
+1y
sup seth come to check out that axle info.
-justin
-justin

twisted minis
+1y
Okay for anyone wanting to swap the narrower axle into their truck I have pretty much all the info you would need. I got a little bit done today after work/school. For some reason all my pictures turned out like shit today so ignore that, probably dead batteries. The pre-85 Mazda and Courier axle is about 4.5" narrower than the stock 86+ axle. Here they are side by side.
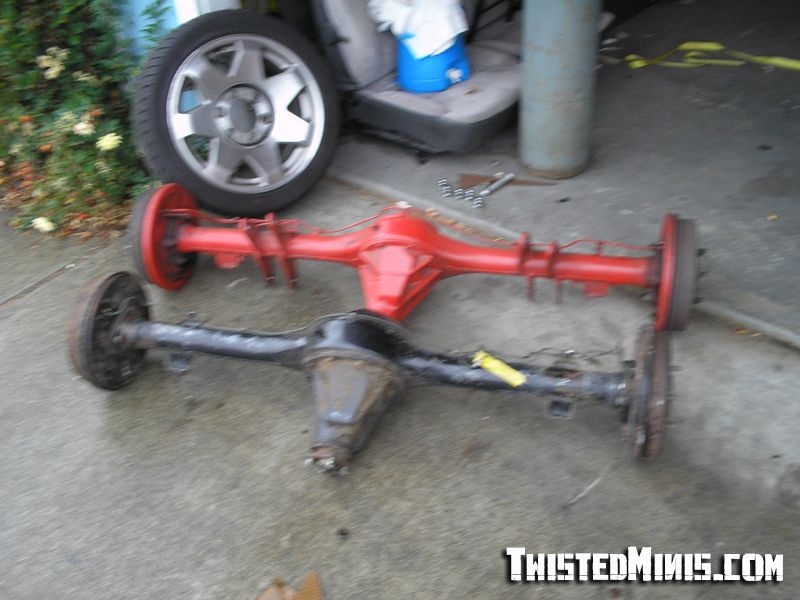
You will have to put the bleeder nipple onto the opposite side on the early axle, and put the hardline off the stock axle (that connects to the flex line) onto the early axle because it is backwards to the 86+. The axle will provide plenty of clearance for the bed.
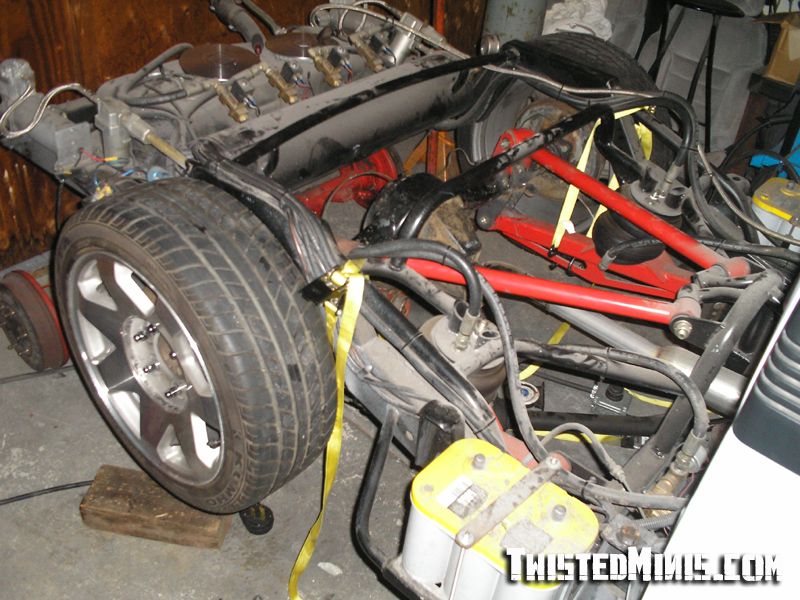
With Escalade wheels there is about 3/4" on each side of the frame. With a traditional notch you will loose about 1/4" of space here.
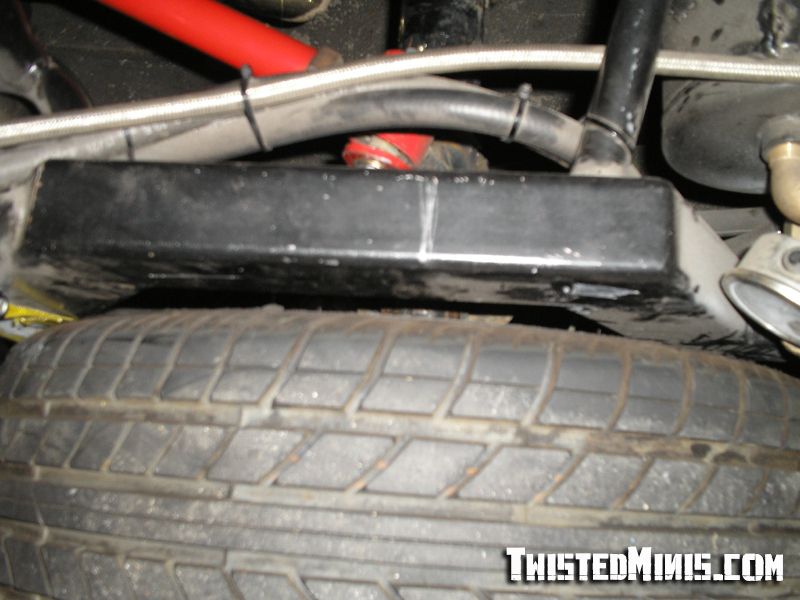
This would allow you to run a few different wheels out back, maybe with about a 1" lip.
The driveline is pretty simple. The slip yoke is the same as the 86+ and you are using the early axle so the axle yoke will bolt up. The driveline just needs to be shortened. This one needed 5.65" removed, but you should check yours as not everyones axle ends up in the same place. Unfortunately in this situation, there was a rather large dent right in the center of the driveline, that apparently cannot be balanced out, and over time would take everything out with it. So it has to be retubed. It also had a seized U-joint in one end, that ovaled out some holes on the driveshaft, so that piece needs to be replaced with a new one, that they believe they have on the shelf. So it adds up a bit. But in the end it will be a brand new driveshaft..
If anyone has any questions let me know. I'm not sure exactly how much will need to be removed from the cab yet, so I will cover that later, but this should get you started.
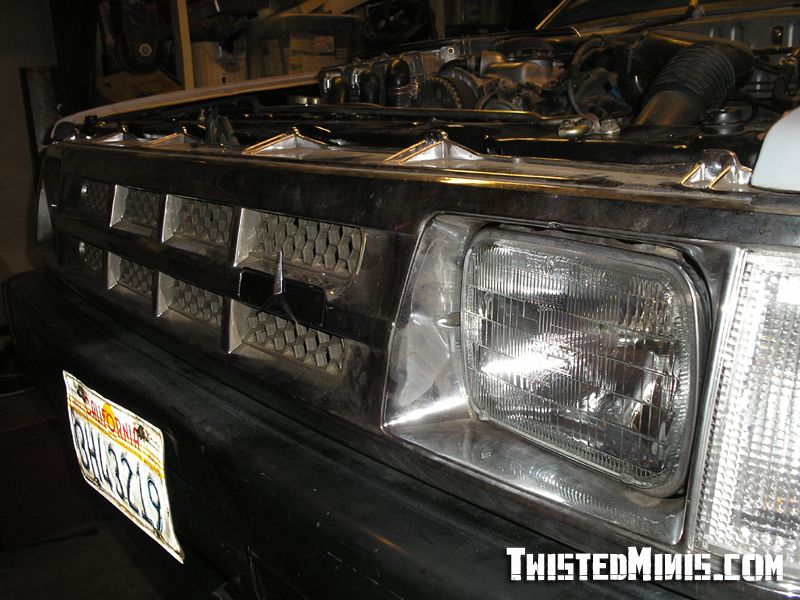
Also, he had a 3-point star stuck into the grill where the Mazda goes. It was just kind of there, so I made a filler and mounted it in the center where the mazda emblem goes, and it is removeable. I will try to take a better picture later, I think its too dark.

You will have to put the bleeder nipple onto the opposite side on the early axle, and put the hardline off the stock axle (that connects to the flex line) onto the early axle because it is backwards to the 86+. The axle will provide plenty of clearance for the bed.

With Escalade wheels there is about 3/4" on each side of the frame. With a traditional notch you will loose about 1/4" of space here.

This would allow you to run a few different wheels out back, maybe with about a 1" lip.
The driveline is pretty simple. The slip yoke is the same as the 86+ and you are using the early axle so the axle yoke will bolt up. The driveline just needs to be shortened. This one needed 5.65" removed, but you should check yours as not everyones axle ends up in the same place. Unfortunately in this situation, there was a rather large dent right in the center of the driveline, that apparently cannot be balanced out, and over time would take everything out with it. So it has to be retubed. It also had a seized U-joint in one end, that ovaled out some holes on the driveshaft, so that piece needs to be replaced with a new one, that they believe they have on the shelf. So it adds up a bit. But in the end it will be a brand new driveshaft..
If anyone has any questions let me know. I'm not sure exactly how much will need to be removed from the cab yet, so I will cover that later, but this should get you started.
Also, he had a 3-point star stuck into the grill where the Mazda goes. It was just kind of there, so I made a filler and mounted it in the center where the mazda emblem goes, and it is removeable. I will try to take a better picture later, I think its too dark.


dropped90(justin)
+1y
sweet deal man. im goin to locate me one locally here shortly. that is exactly what i am looking for. thanks. and ofcourse more pics and info is always appreciated.
-justin
-justin

twisted minis
+1y
Oh yeah, if you were planning on doing the swap before bagging it, forget it. The leaf spring perches are close together by like 2-3 inches per side.

speedster93b
+1y
^^^that was an important piece of info right there. u know someone'd try it sooner or later, and be pissed off.

mazdawg(mikey)
+1y
you know something we never got a pic of is the back cab wall. where did you cut it at?
B
blare
+1y
Wow. That courier axle comes in really close. How much clearance is between the frame and the tire. If I remember correctly the bed is body dropped, It looks like the inside of the tire might be really close to the wheel wells or even rub.
Related Discussions in Mazda Projects
Thread
Posts
Last Post
852

last post by
skrapinsask +1y
150

last post by
cherokeed +1y
