how to remove flywheel... engine turning..
5896 views
41 replies
10 following
B
how to remove flywheel... engine turning..

axel breaker earl
+1y
If I were doing this, here's what I would do......
Pull the pan, remove the oil strainer and tube, pull the windage tray, and clean all of the old RTV off of all of it.
Use a hammer to flatten the bolt hole areas on the oil pan.......when using a gasket they will have a "flared" edge that will hold the pan off of the oil pan rail of the engine block........if you flatten those areas, the oil pan hugs the engine block a little better.
For the final cleaning before applying new grey RTV, wipe the oil pan, block, and both sides of the windage tray with lacquer thinner or Brake Cleaner to remove all traces of oil.
Apply the grey RTV along the block, as the picture shows above, with your index finger.........DON'T squeeze a 1/4" bead all the way around the oil pan rail of the block!!
Then do the same thing to the top side of the windage tray and install it to the block.......torque the 10mm bolts to spec.
Install the oil pick-up tube and strainer without any RTV on it's flange where it connects to the oil pump........there is a gasket there, and that's all you need........if it is a new gasket that you just put on there a couple of weeks ago, then re-use it. Torque all 3 bolts to spec.
Apply RTV to the bottom of the windage tray, and to the oil pan......I WOULD NOT USE A GASKET HERE!! Then install the oil pan and torque the bolts to spec while crisscrossing back and forth from one side to the other and back to front.
I usually take my finger and run it around the seam where any of the RTV has squeezed out and smear it flat. Wait a good 8 hours or so before you crank the truck back up so the RTV is fully cured.
Don't forget to add oil before you crank it though!
If you apply the RTV with your finger, you shouldn't have much squeeze out at all.....and that's what your after. It doesn't take much to make a good seal, and you don't want this!!
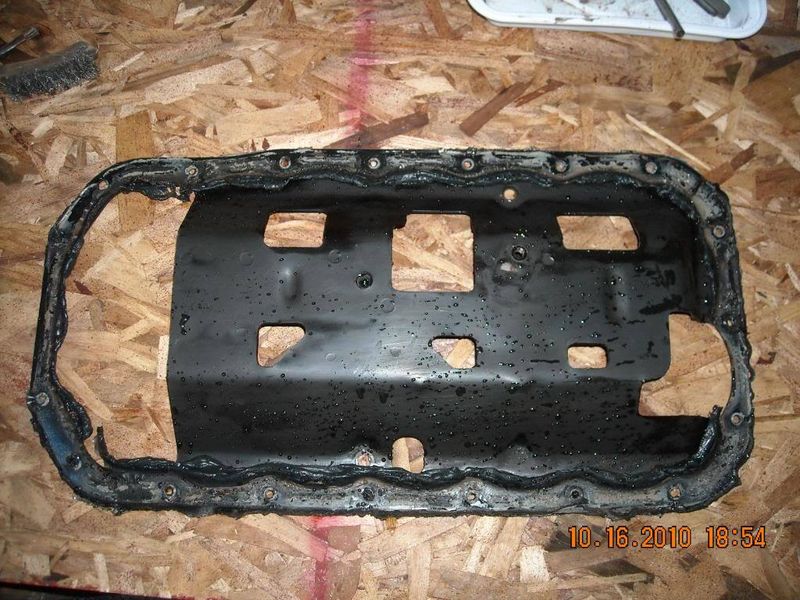
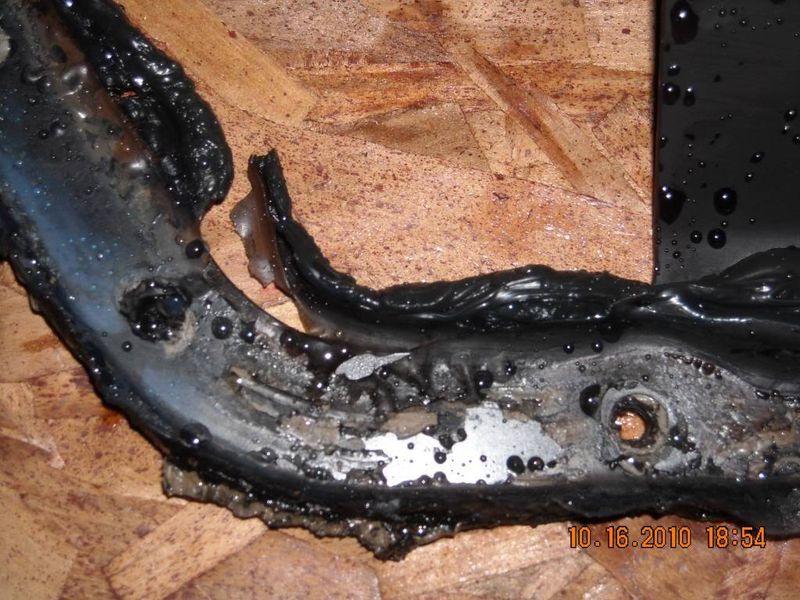
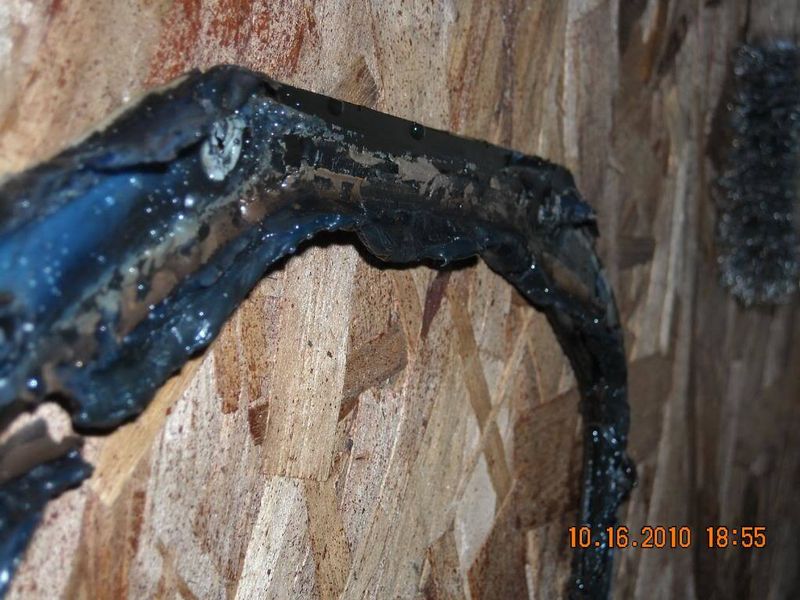
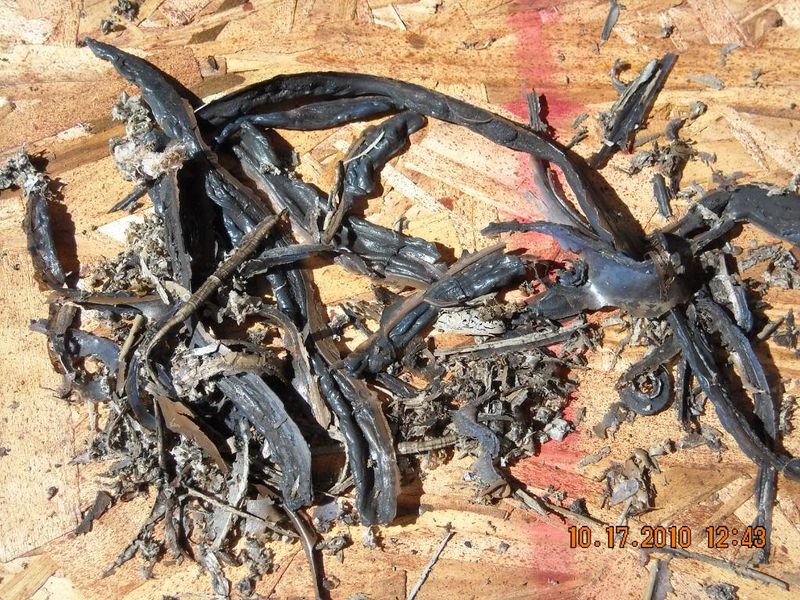
And you don't want this!!
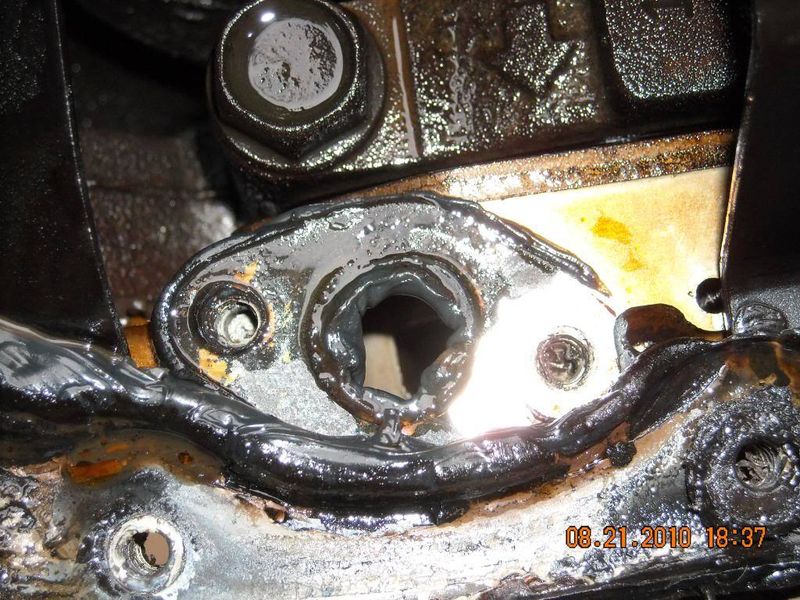
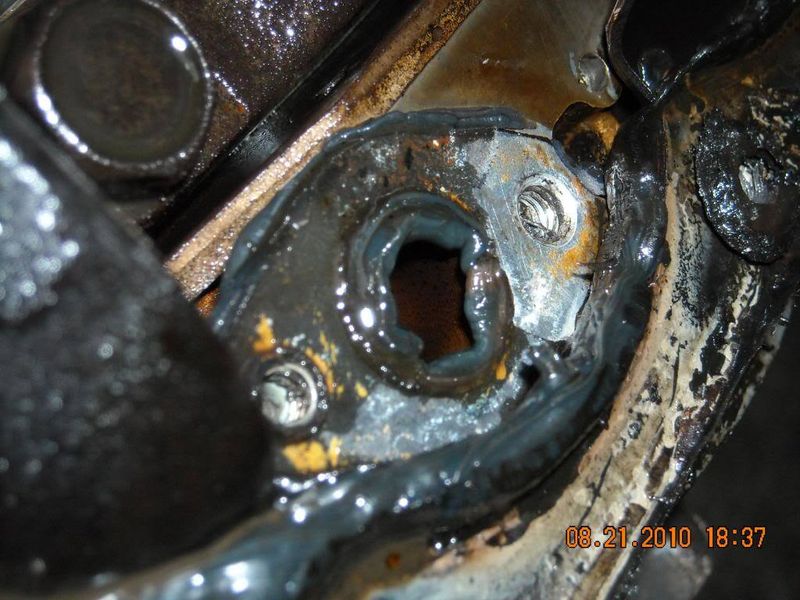

axel breaker earl
+1y
No problem Jacob, if Mazda would have done it that way, the oil seal would have to be a 2 piece seal since it would be a smaller diameter close to the main journal size probably like a small block Chevy or such.
I have built a few Mazda motors now and never have oil leak issues, so I must be doing something right here.....and the main thing is to NOT use that oil pan gasket that most of the gasket kits come with. Mazda didn't use one, and if you've ever tried to get the pan off of a stock Mazda engine, it can be a task! That thing is on there good! That grey RTV is perfect for sealing the oil pans.
Also, I usually don't put any RTV on a rubber gasket like the valve cover gasket. I do put a dab in the 90 degree corners as the factory manual suggests. The rear cam plug in the back of the Mazda 2.0 & 2.2 engines is a steel disc that is covered with rubber........a lot of people will put RTV on this cam plug and then wonder why it squeezes out........RTV will make rubber slipperier than Owl shitz!
Some Chevy engine builders throw those rubber seals for the front and rear of the intake manifold in the garbage as they will push out when the manifold is tightened down, but if they just clean the metal so it is oil free and DON'T put RTV on those seals, then they work just as they are supposed to. I've never had a problem with using the rubber front & rear seals on a SBC or a BBC.
M
matt88brewer
+1y
Sounds good.
M
matt88brewer
+1y
so i couldnt take the anticipation so i went out and took this thing out. there deff seemed to be a leak in that back corner. i cleaned all the surfaces with a wire brush. i do have one concern tho... around every bolt hole the pan bevels upwards towards the windage tray. is this factory or is it an issue? also i went ahead and cut my xmember out... it has been drug really thin so i figured may as well redo it whilst im down there...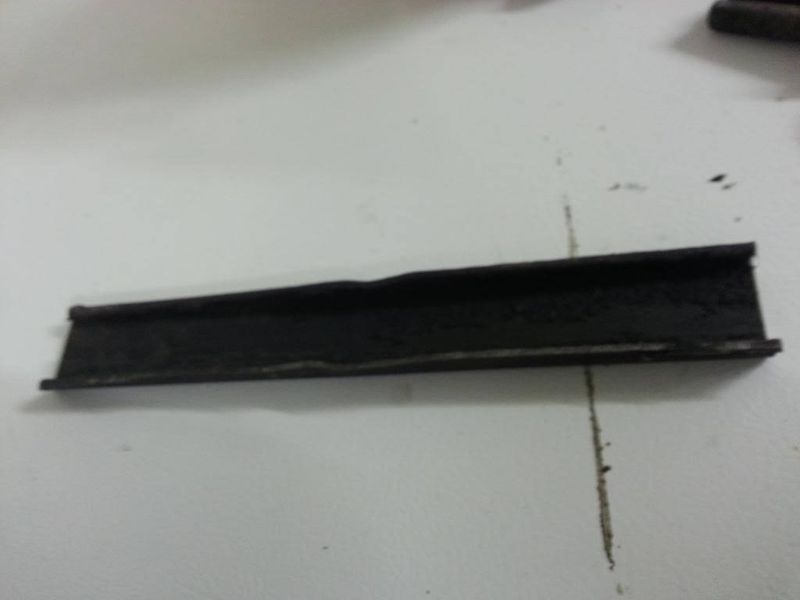

M
matt88brewer
+1y
ok i just read where you said to hammer those areas flat... any recommendations on best way to do this without warping or ruining my pan?
M
matt88brewer
+1y
ok small update.. got the pan hammered nice and flat.. and got the ball joints taken apart to get the pan in easier.decided to use the black rtv after doing a little reading. hopefully have this thing bolted back up tommorw.would it be wise to torque it a little less than spec and let the rtv set up and then come back afterwards and finish torquing it down..or just go all the way at once?

axel breaker earl
+1y
Hey Matt, sorry, I didn't check back on this....
I just lay the rail of the oil pan on my bench vise's flat top of the anvil and use a small ball peen hammer to rap on the bolt hole area so it no longer has that concave depression from the bolt head. When you have a pan gasket between the block and the pan, the bolt head will bend the oil pan towards the block if it is tightened too much, so you want to flatten that area back out again.
There are some stamped-in ridges on the oil pan rail.......DO NOT FLATTEN THOSE OUT! They are there to strengthen the oil pan flange and should stay that way.
Torque them to spec as you install the pan and you'll need to go around it several times until you have them all tightened the same.....as you tighten one bolt, it will pull the pan a little tighter and the other bolts surrounding that bolt will need to be tightened again to keep it at it's specified torque........you'll notice this as you work your way around the pan.
Good luck with it all!
M
matt88brewer
+1y
Ok people's. Got the pan and flywheel put back on. Gonna let it sit overnight before i put oil back in it.hopefully this stupid pan doesnt weep oil... and anyone know how i can start the truck without the tranny on it? Cuz if it leaks itd be nice to not have the tranny in the way when I do it again.lol
1
1klrtoy
+1y
I don't think you can mount the starter without the bellhousing which is part of the transmission
M
matt88brewer
+1y
yea thats what i figured but i didnt know if there was a rig or some shit i could do just to mount the starter temporarily..
Related Discussions in Mazda 2.2L
Thread
Posts
Last Post
8
L
last post by
Lurkbeast666 +1y
6

last post by
Cusser +1y
3
M
last post by
mazdatweaker_2 +1y