S
Sickkidz 89 b2200

91b2200(cody)
+1y
i have a mechanical fuel pump as well and i don't have a FPR an mines ran fine since i put it together (1,500 miles ago)
an i'll get a recent pic in a minute
an i'll get a recent pic in a minute

91b2200(cody)
+1y
i wasn't sure but to be safe i did buy a vent gas cap so the tank vents. not sure if i want that or not ??
S
sickkid
+1y
Well i pretty much finished up the install on the carb, fuel pressure regulator, and gauge this morning. Got her running good to, but i do have a question or two that i haven't really found a clear answer to on here. The charcoal canister (decided to remove).....the small line that runs back down towards the fuel tank from the charcoal canister (the metal portion) is that just capped off? Somebody said something about a vented gas cap too, is this needed? Still need to delete the wiring portion i was planning on doing but its starting to get to hot out. Will post pics of install so far tommorrow sometime when i get the camera back.

mazdawg(mikey)
+1y
Got a good start to it man. Keep up the good work
S
sickkid
+1y
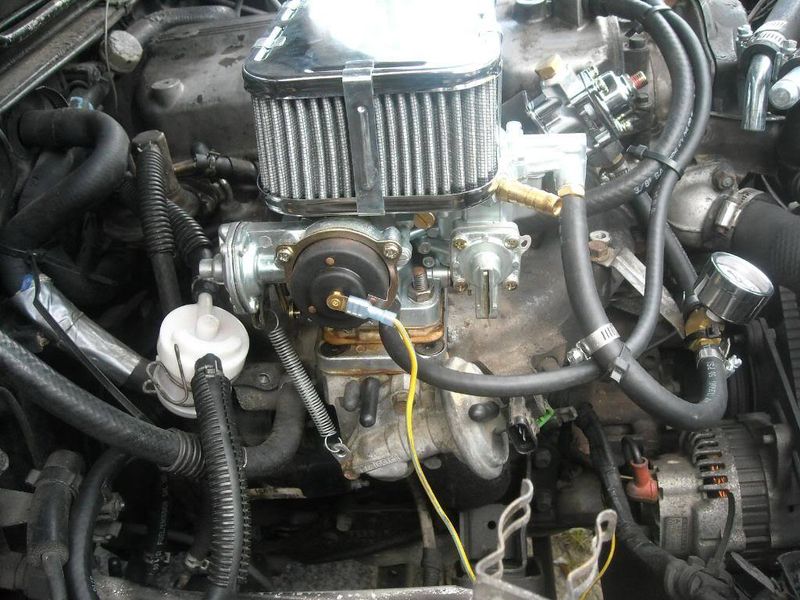
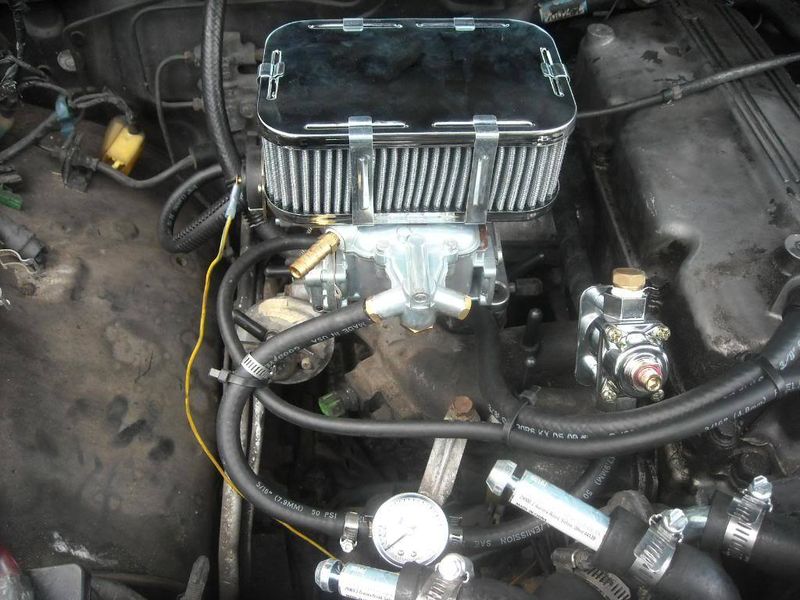
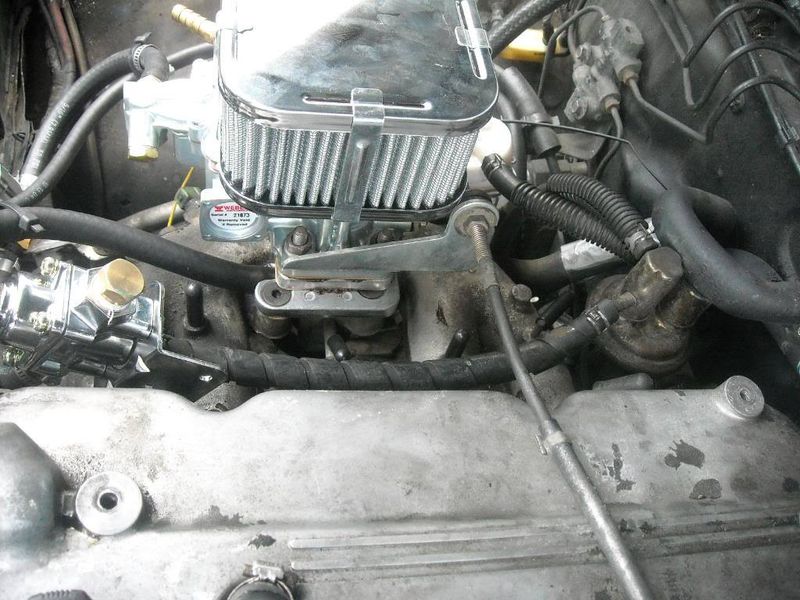
Well haven't had much time to do anything else to it yet but here are the pics of the carb installed as promised. Still kind of cluttered but ill rework it after i get the motor rebuilt, might wait on the header til then aswell. Its running atleast, tired of getting into something and having to push it around.


S
sickkid
+1y
Well got a bit of time to myself and got bored so i thought i'd start one of the more menial tasks i had planned. Center caps.
(Warning: if you plan on doing any type of plastic welding, please wear a respirator as the plastic vapors are very toxic)
Started out by getting the plastic code on the back of center cap which is >PPE+PA< which is Polyphenylene Ether + Polyamide
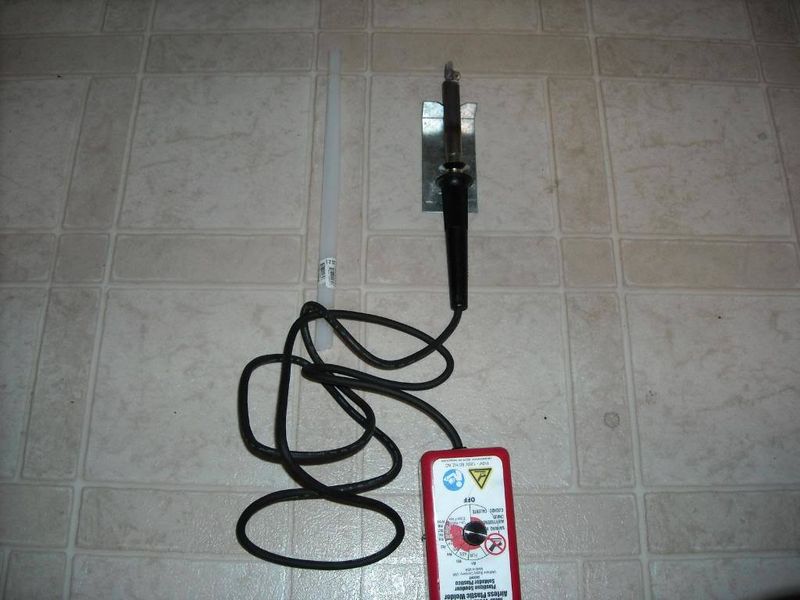
Preheated plastic welder and got the plasic rod ready to use.
Next i grinded out the "Hummer" logo with a small sanding bit
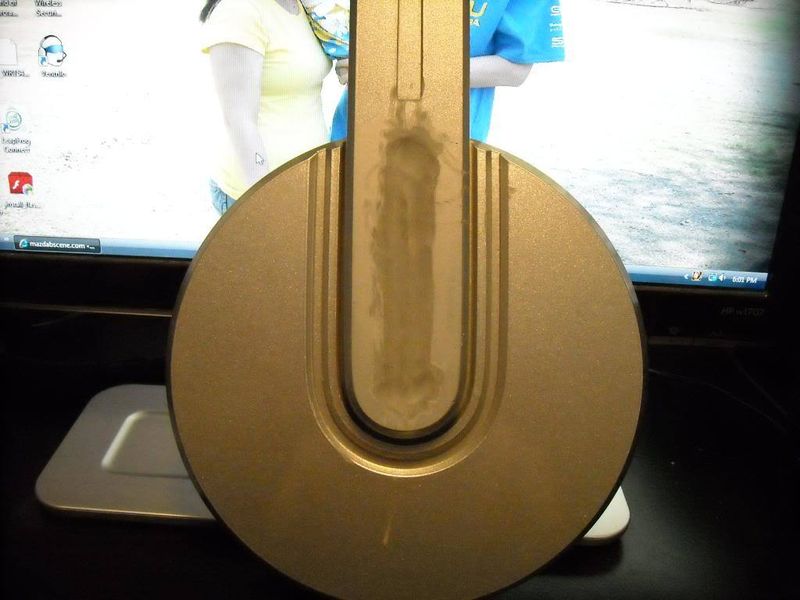
Then hand sanded the immediate area around the initial grind in order to give it a tapered edge and to remove existing paint.
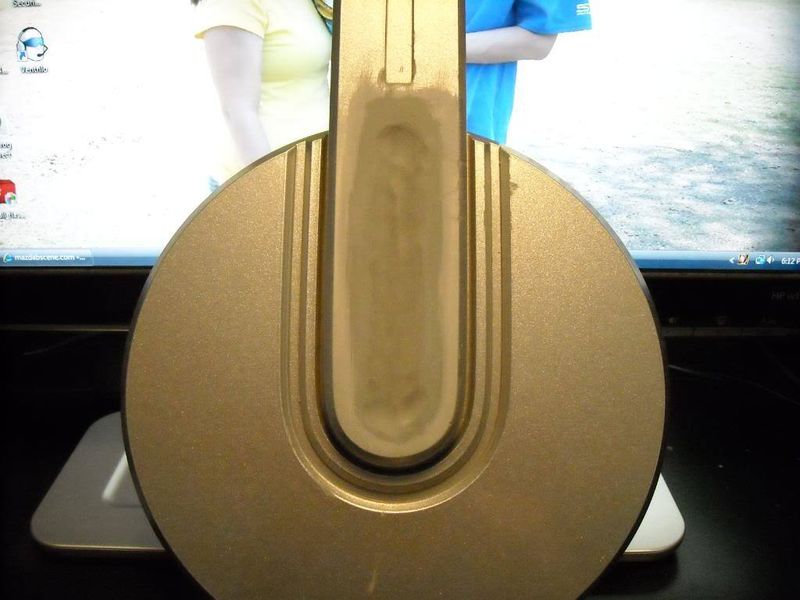
Preheated the weld area and welded it up
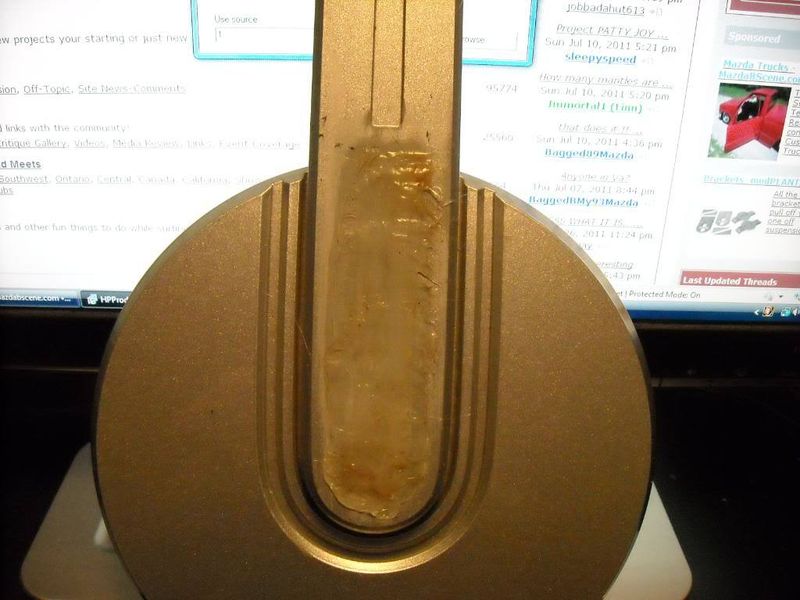
Block sanded with 80grit
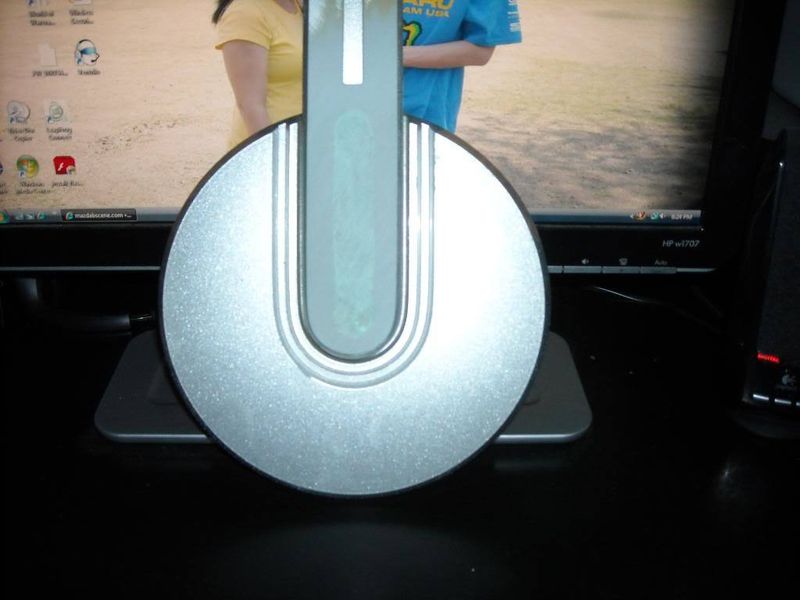
(Warning: if you plan on doing any type of plastic welding, please wear a respirator as the plastic vapors are very toxic)
Started out by getting the plastic code on the back of center cap which is >PPE+PA< which is Polyphenylene Ether + Polyamide
Preheated plastic welder and got the plasic rod ready to use.

Next i grinded out the "Hummer" logo with a small sanding bit

Then hand sanded the immediate area around the initial grind in order to give it a tapered edge and to remove existing paint.

Preheated the weld area and welded it up

Block sanded with 80grit

S
sickkid
+1y
To fill the 80grit scratches i used some Fusor 114 (which is kind of like glazing putty for plastic)
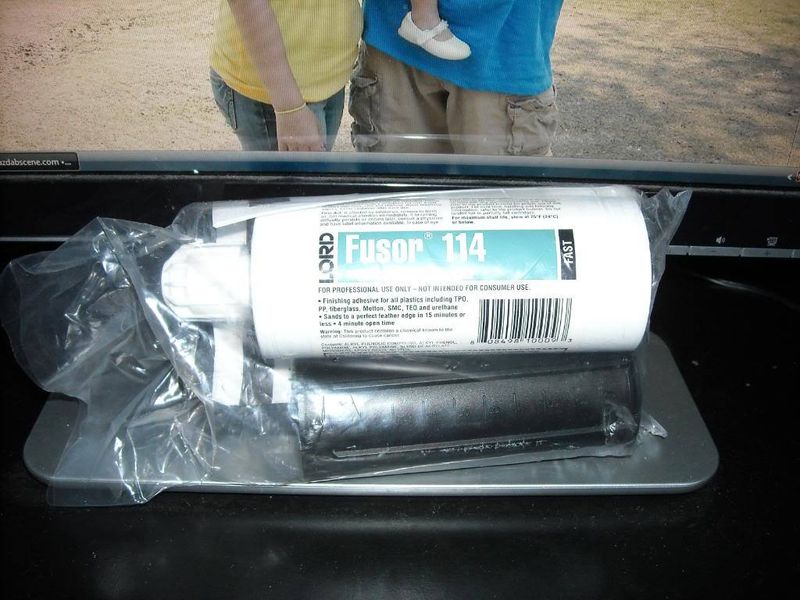
And put a thin coat on it (if attempting, use sparingly and don't use as a filler)
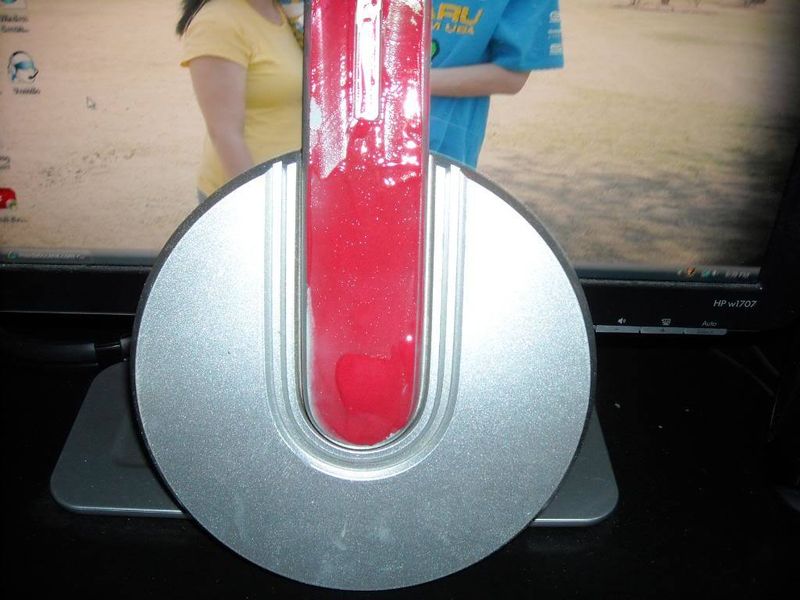
And now i realize that i don't have any 220grit with me on a sunday at 9:30 at night.....guess ill have to continue this another day.

And put a thin coat on it (if attempting, use sparingly and don't use as a filler)

And now i realize that i don't have any 220grit with me on a sunday at 9:30 at night.....guess ill have to continue this another day.

dropped90(justin)
+1y
I never even thought about doing that. Very interesting.
-Justin
-Justin
S
sickkid
+1y
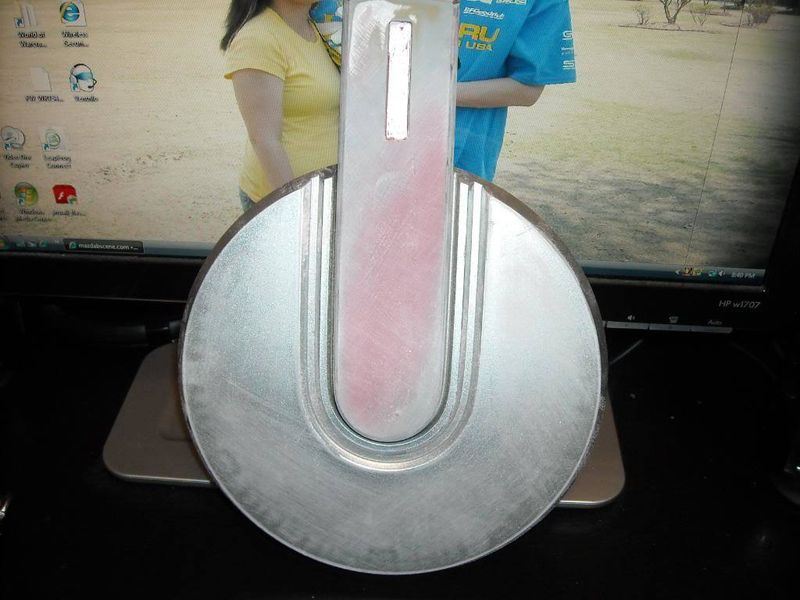
and now blocked with 220grit, still need to scuff it up a bit more before priming. Gonna wait til i get the others done before scuffing and priming them and rims. Should have the sealer, base and clear next week thou


kovz
+1y
Wow, very cool.
Did you figure out what to do with the lines from the charcoal canister or venting the gas cap? I am in the middle of installing a weber in my project too, but I haven't removed all the EGR and emissions stuff yet.
Did you figure out what to do with the lines from the charcoal canister or venting the gas cap? I am in the middle of installing a weber in my project too, but I haven't removed all the EGR and emissions stuff yet.
Related Discussions in Mazda Projects
Thread
Posts
Last Post
852

last post by
skrapinsask +1y
150

last post by
cherokeed +1y
