K
SFBD square with a Cummins and custom chassis
BD
bagged dually
+1y
Thanks sparky!!
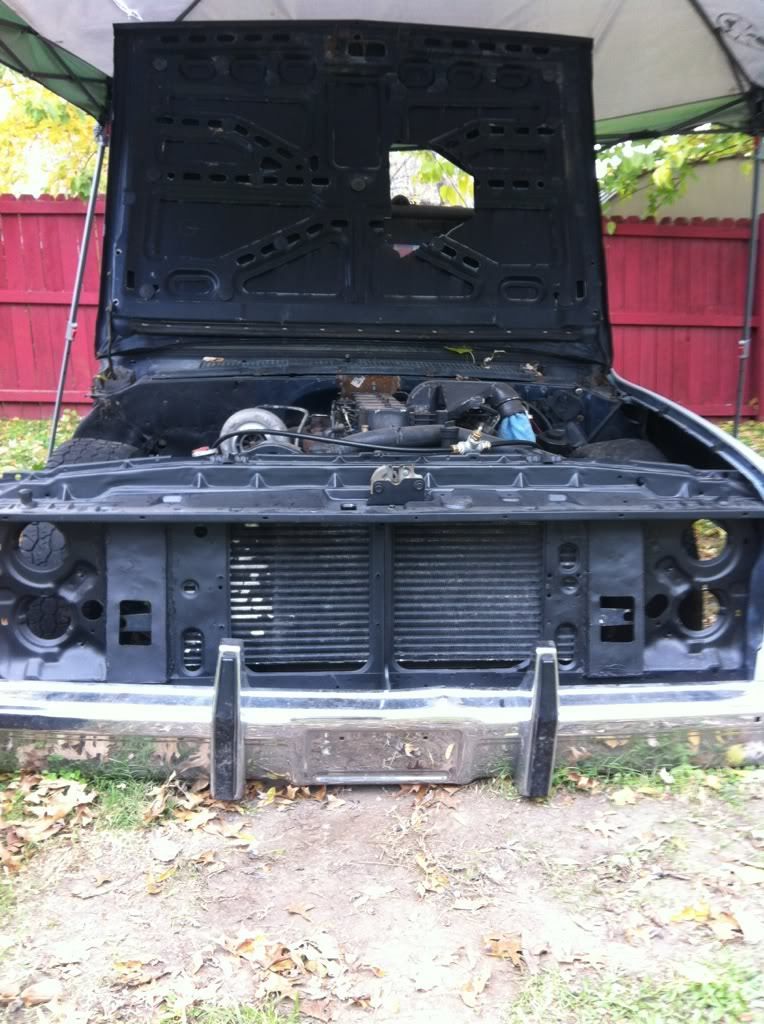
Their both the same engine the 4BT obviously just being 2 cylinders shorter. Since its shorter I wonder if it could be moved back farther. The only problem I have with clearance is the intake horn from the intercooler. It's about 2" to tall. If I could have gotten the engine a few inches farther back I don't think it would have been such a problem.
M
mdub4life29
+1y
Sparky don't waste your time on a 4btforum you'll want the power of the 6btu for ur dually.
Bagged dually im just about to dive into my swap and been researching everything. Do u plan on running dual tanks? If so u have to add a return line how do u plan on doing it.
Bagged dually im just about to dive into my swap and been researching everything. Do u plan on running dual tanks? If so u have to add a return line how do u plan on doing it.
BD
bagged dually
+1y
I'm only running 1 tank. My truck so low after the body drop I think I'm just going to run a cell in the front of the bed. Just to get it running so I can move the thing around I'm going to try and rig up one of my stock tanks. Just need a feed like to the lift pump and a return line off of the injector pump. I've heard that the square body burbans with a stock 6.5 have a tank that will drop right between the rear frame rails and the fittings are already correct. Not sure if all of that's true though. Just what I've been told by a couple of other guys.
I got my battery box fabbed up today out of 1.5" square stock. I'm going to take it into school tonight and finish weld it. Gunna run both batteries together under the front of the bed on the left frame rail. I'll take some pix when I get it put on the frame.
I got my battery box fabbed up today out of 1.5" square stock. I'm going to take it into school tonight and finish weld it. Gunna run both batteries together under the front of the bed on the left frame rail. I'll take some pix when I get it put on the frame.
BD
bagged dually
+1y
I haven't had time to get the new battery box on yet or finish my left side lower control arm. I did get the arm about half way done, and got the battery box done before I had to go out of town for the weekend.
My plan is to turn the batteries to were their together side by side and sticking off of the frame long ways. Their about 12" long so they should fit in the place where the stock drivers side tank was under the bed. I snapped a couple of pix of the battery tray I fabbed before I left town for all of you picture guys.
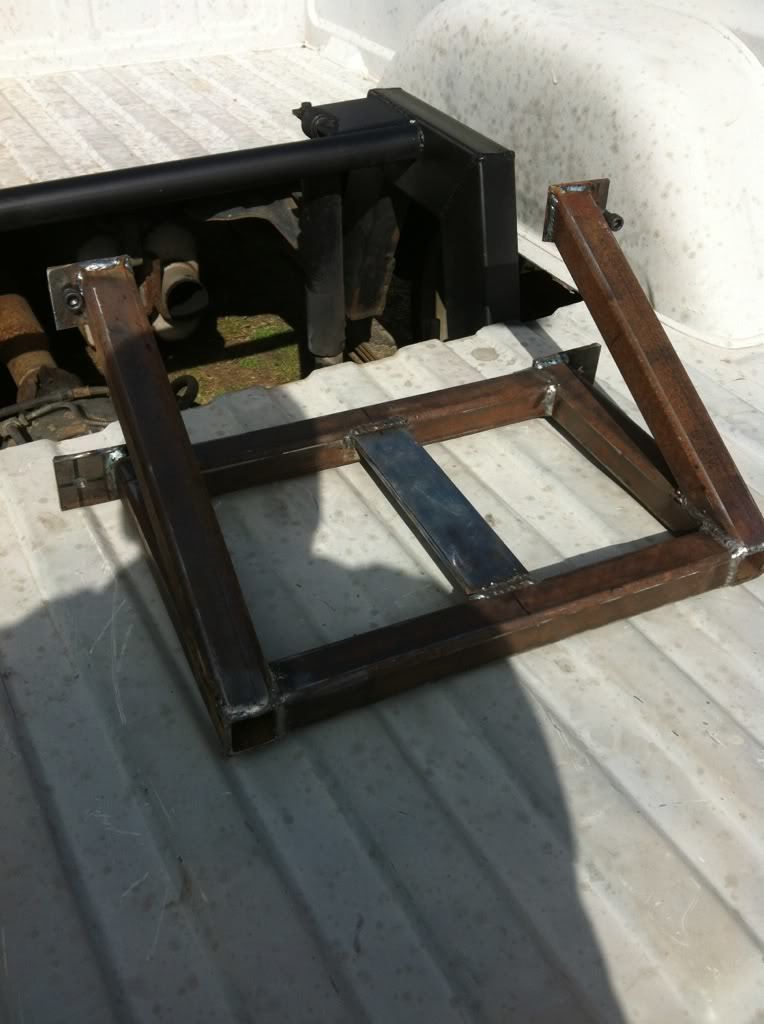
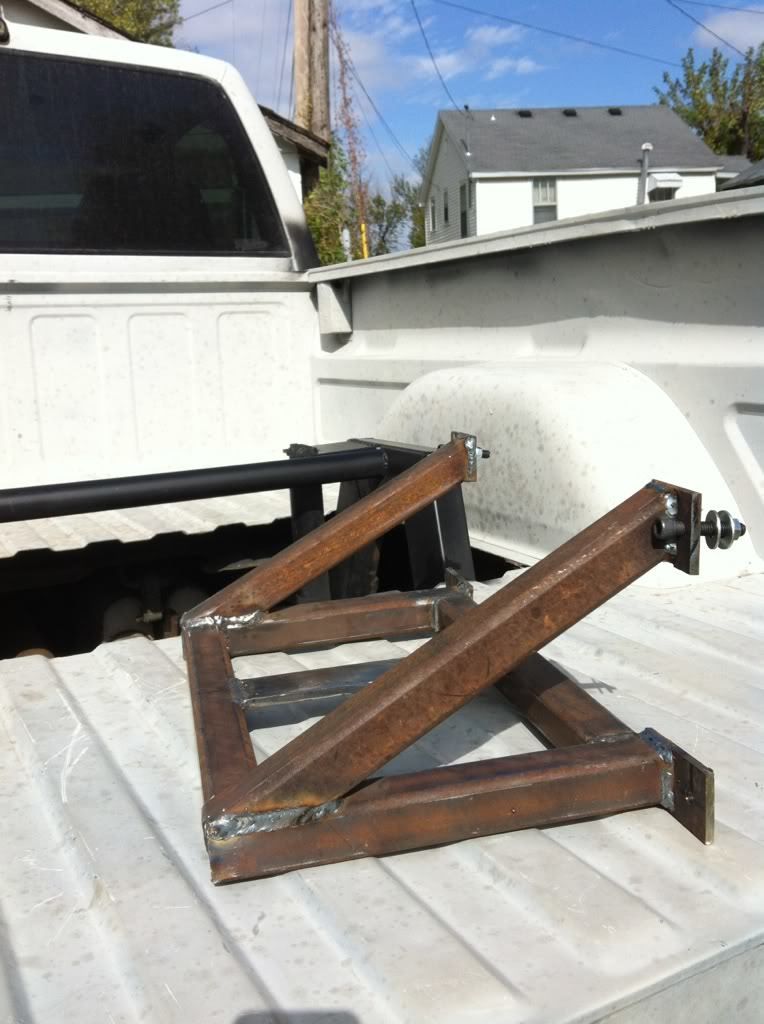
I'm really hoping it's strong enough to hold a 100 pounds or more of battery weight. I was going to weld it to the frame, but after a lot of thought decided I'd rather bolt it to the frame.
I've got A LOT of the body work done. Been putting about 15-20 hours a week into the body work at school. So it's the one thing that's getting done pretty quick.
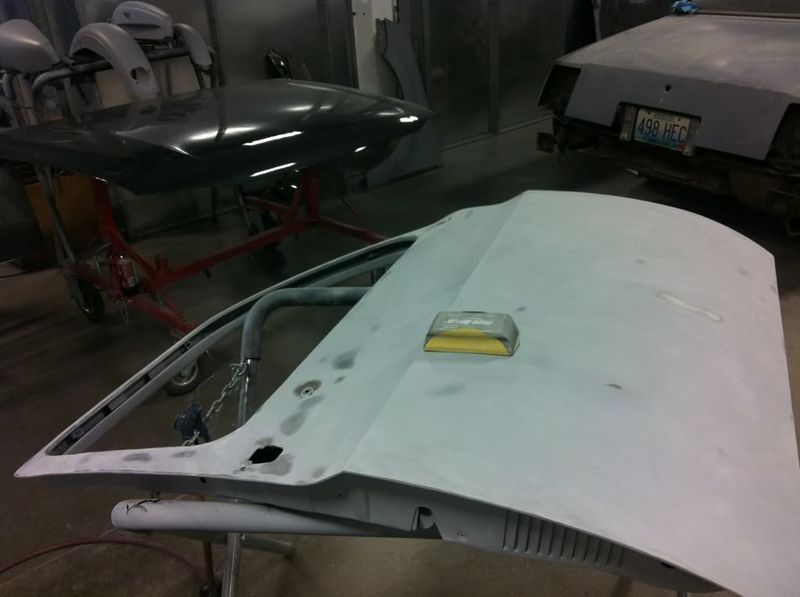
The front clip is done. Starting to finish up all the doors now.
My plan is to turn the batteries to were their together side by side and sticking off of the frame long ways. Their about 12" long so they should fit in the place where the stock drivers side tank was under the bed. I snapped a couple of pix of the battery tray I fabbed before I left town for all of you picture guys.


I'm really hoping it's strong enough to hold a 100 pounds or more of battery weight. I was going to weld it to the frame, but after a lot of thought decided I'd rather bolt it to the frame.
I've got A LOT of the body work done. Been putting about 15-20 hours a week into the body work at school. So it's the one thing that's getting done pretty quick.

The front clip is done. Starting to finish up all the doors now.
BD
bagged dually
+1y
I got my passengers side front door done finally. I shaved all of the 3 holes where the stock tripod mirrors went and shaved the hole where the door lock went. I've been completely gutting the doors and spraying an epoxy sealer on the inside and redoing all of the factory seam sealer around the door skin. I finally got it reassembled last night and start on the drivers side door. What a pain in the ass putting all of that window assembly back in. I'll take a couple of pictures when I get them bolted back on the truck. Hopefully after all of that they'll last a long time without any rust. Just have to get it all painted and install the weatherstripping and felt.

comegetsome
+1y
The batteries will fit just fine right where the gas tank was....thats where mine are mounted
BD
bagged dually
+1y
I thought they would. Glad to hear that they will for sure. I can take measurements all day long but until I try it ya never know what kind of issue you might run into. I was going to try and mount the new battery rack today and instead I ended up just finishing up both lower control arms. I wanted to get that done and get the truck back on the ground before it got any colder or the first snow hit.

75dually
+1y
That is one heck of a battery box! Made to take a lickin and keep on tickin!!!
BD
bagged dually
+1y
I went out today and got the left side control arm put back on. It lays a lot harder now that the bags aren't hitting the back of the arms. I had to notch the back of the arm and move the bag a little farther back in the arm. It was raining by the time I finished working so these pix aren't to great.
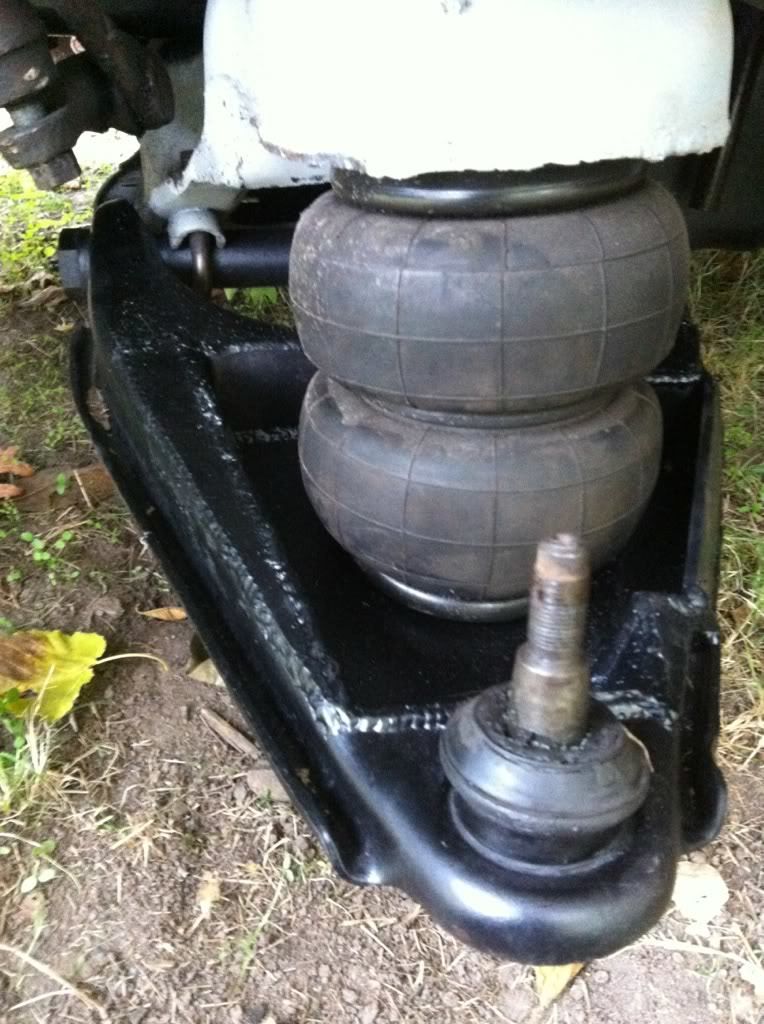
This is what the arms look like now. These bags are a lot bigger than I thought they were. Probably a good thing lifting this cummins.
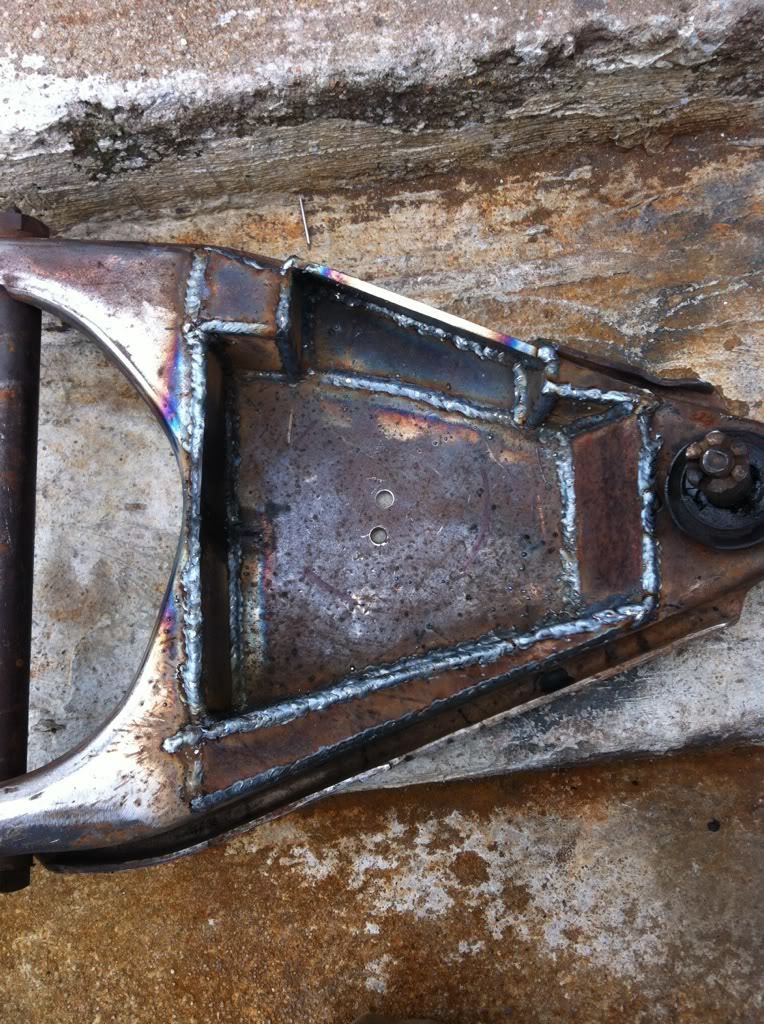
On the truck sprayed with sealer and the bag bolted in.
At about 120 PSI.
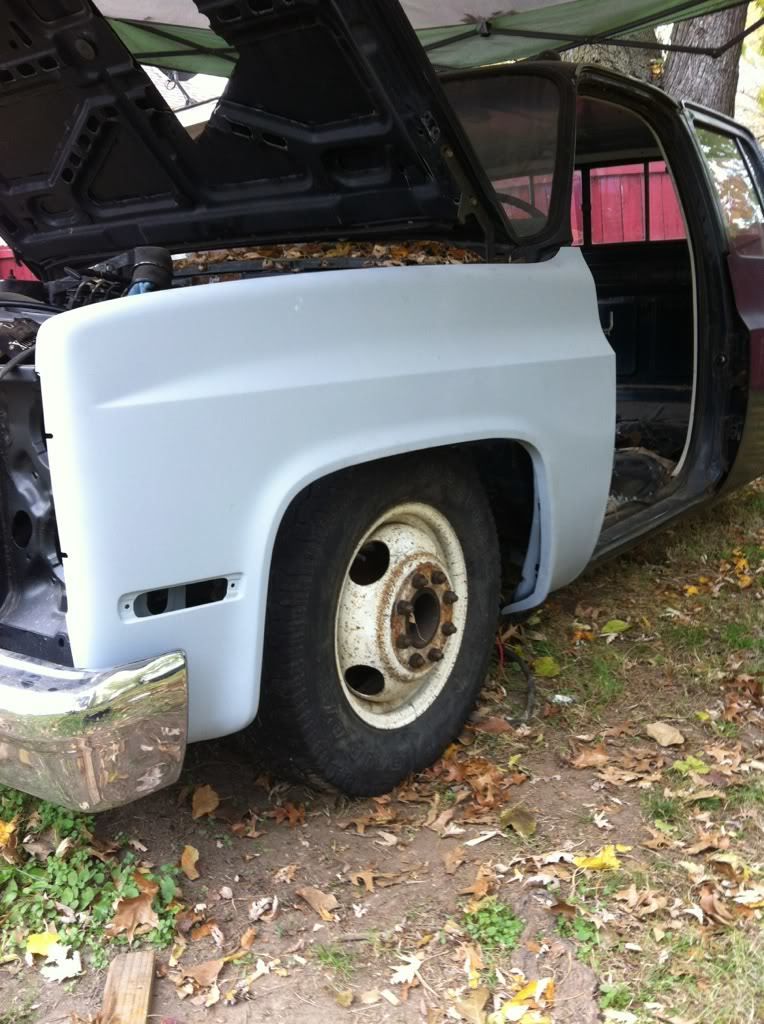
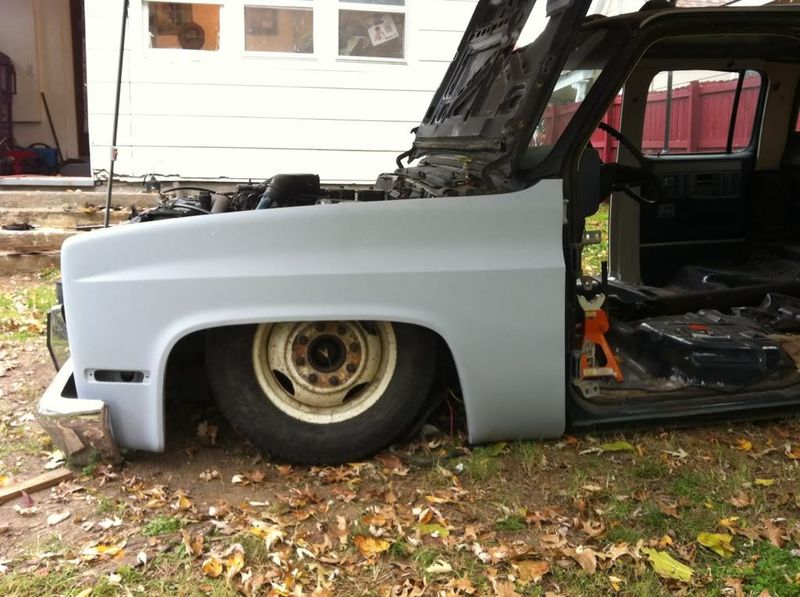
And a couple of shots of it laid out. The back is still not notched and is resting on the axle.
This is what the arms look like now. These bags are a lot bigger than I thought they were. Probably a good thing lifting this cummins.

On the truck sprayed with sealer and the bag bolted in.

At about 120 PSI.

And a couple of shots of it laid out. The back is still not notched and is resting on the axle.


BB
big bear
+1y
Hell yea man
Related Discussions in Dually Projects
Thread
Posts
Last Post
546
A
last post by
Airnewb91 +1y
193

last post by
Airnewb91 +1y