L
What Have you done to your truck today?

mazdaron
+1y
I put some Terro ant killer in the truck today. I park near a tree and spiders and black ants love my truck. I feel like Ace Venture ha haha
E
emjay
+1y
Alright, I know that I already have a computer to properly convert my car to VTEC, but I have yet to get to the junkyard to get additional wire connectors so I can properly connect my computer to the VTEC. The nearest junkyard to me is close to an hour away, and the dealership wants too much money for a pack of connectors larger than what I need. To top it off, I needed 2 different sizes connectors for the ECU harness, so it would be 2 packets that I would need.
I have been wanting a way to use my VTEC for quite some time, but don't wanna pay over $30 for 2 small pieces of metal. So, I made my own manual VTEC controller.
First stop was to Fry's, where I could pick up a momentary interrupter switch for $3. I had the rest of the stuff at home for this part.
First, take one stock 1995 Honda Civic shifter knob, drill hole in desired location. Careful, it's solid aluminum inside the rubber housing and plastic shell.
Next, take a screw driver and slip it under the rubber, get up to the hole. Insert wire from momentary switch (I soldered the wires to the switch at first) from the top.
Next fill hole with some sort of compound that hardens. Make sure that it is sensor safe and designed NOT to corrode copper. I use RTV Black that is sensor safe (there are two kinds, one that is and one that isn't.) Once the hole is filled with silicone I pushed the switch the rest of the way in, and smoothed out the hole. I did a little better job of the smoothing after I took this pic.
Next lesson will show the installation of the relay (to protect this switch) which might include a wiring diagram. Final lesson shall include a video of a with and without VTEC.
EDIT: Wire diagram
ok here is the diagram:

tucnrim
+1y
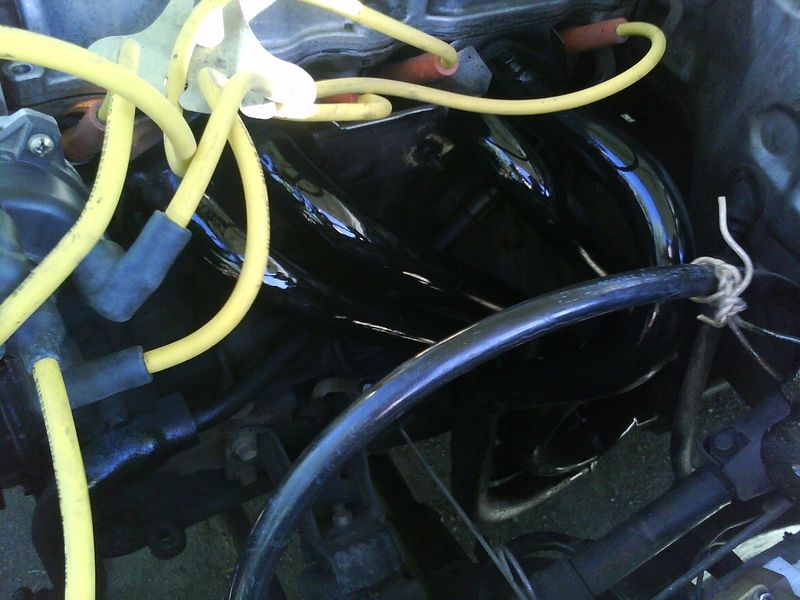
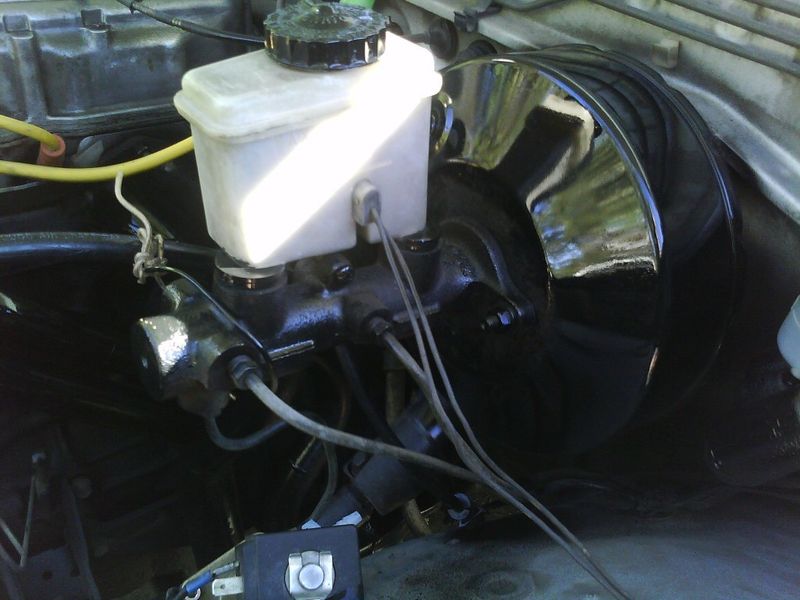
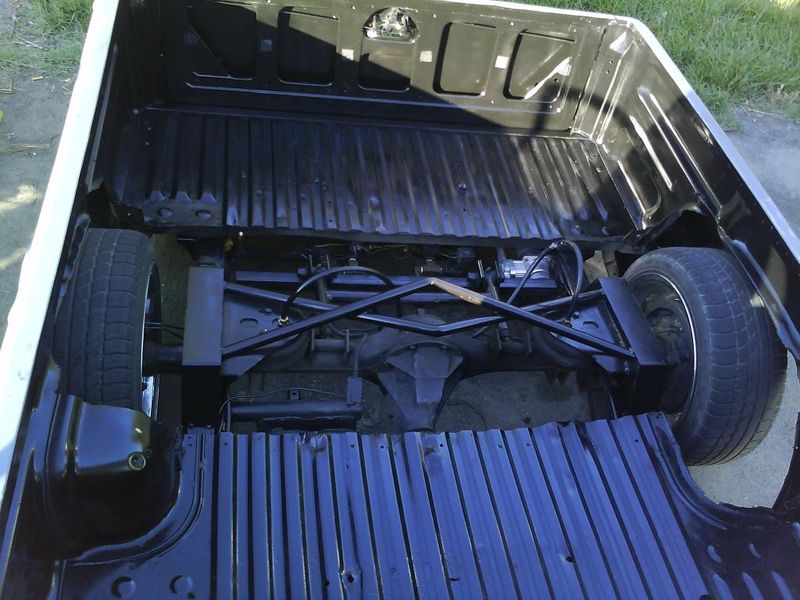
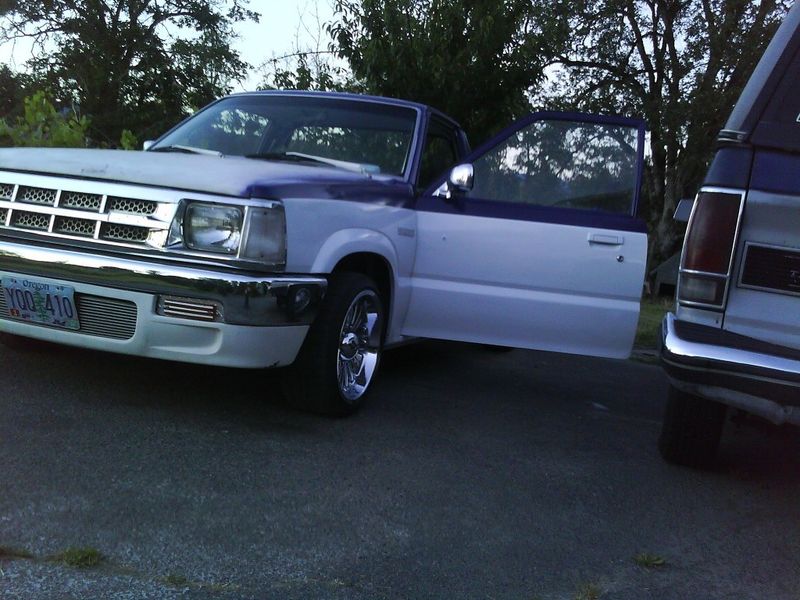
I painted a few engine pieces, frame, inside the bed, painted the outside, redid the interior, not sure what else since i been away, need to look at my build thread.



W
ward5kustomz
+1y
well i have put on a 140 amp alternator from a 94 mustang and got my belt routing done.

charlesskelter
+1y
I drove it to my new place of employment. Much more comfortable with the new bucket seats I picked up for $20. That worn out bench had to go, giving me back issues. I can't believe the difference. I think they're older Mustang buckets but the guy I got them from thought they were from a Honda.
A
amevl
+1y
I went to the bodyshop and looked at her bed is fixed but cant move her till the new torsion bar anchors come in on monday unfortunatly body shop guy is leaving for a week on saturday she will have spent 3 weeks away from home in 25 years of ownership this has never happened and i aint likin it!!!
W
ward5kustomz
+1y
I started building up a headache rack. and thinlking of way to do a rear disk brake conversion.

Cusser
+1y
If "we" can all remember back to August 1994, The Cuss was hunting for a Cab Plus B2200 like 1988-1990 so his kids could sit in the back seats. I found a 1988 Cab Plus with 50K miles and put my $5K down. It had a dent on the front bumper, right next to where the front license plate would be.
Jump ahead to August 2012, and my youngest daughter is now 21.5 and bought her own first vehicle ('98 Pathfinder), which needed a front bumper. So I finally bit and ordered a bumper from the same dealer as her parts.
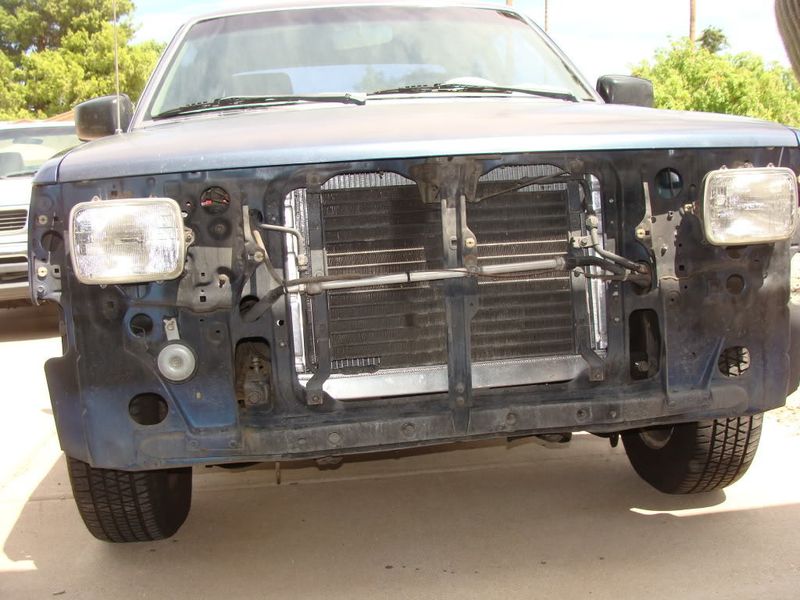
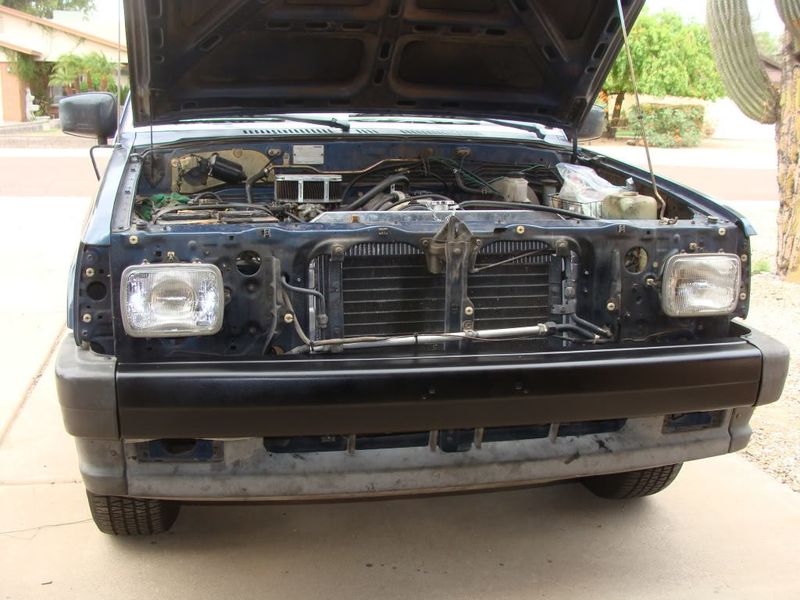
First parking lights and turn signal lights come off and get disconnected. Then grille (3 hidden screws in the honeycomb matrix). The four big 17mm head bolts. After that the lower bumper grille (plastic) and the side pieces unbolt. I got to clean off the AC condenser while the stuff was off, a fair amount of bees (maybe because I drive through Bumble Bee, Arizona ?).
It turned out (as most of my recent jobs have been) a bigger pain in the $%&&$#%^&%##%& butt than I would've expected. The bumper itself was nice enough, put the punched square holes were about 8mm, and the original carriage bolts had 10mm squares, so didn't fit, grrr !!! So rather than file down the seven which would've needed that, I went to Home Depot and bought SAE carriage bolts 1 inch x 5/16 thread, which had a 5/16 square part (17 cents each) plus washers and nuts for those.
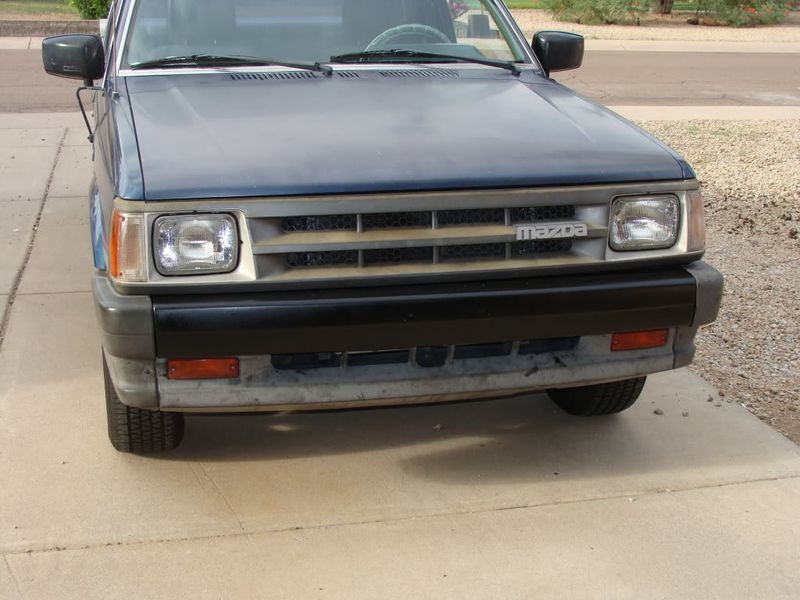
So it turned out OK, and good practice for when I do daughter's Pathfinder bumper. And one of my side pieces was a little loose, so I was able to add a washer to tighten that up.
Edit: if you buy a new old stock front bumper likely your existing hardware will all line up.
Jump ahead to August 2012, and my youngest daughter is now 21.5 and bought her own first vehicle ('98 Pathfinder), which needed a front bumper. So I finally bit and ordered a bumper from the same dealer as her parts.

First parking lights and turn signal lights come off and get disconnected. Then grille (3 hidden screws in the honeycomb matrix). The four big 17mm head bolts. After that the lower bumper grille (plastic) and the side pieces unbolt. I got to clean off the AC condenser while the stuff was off, a fair amount of bees (maybe because I drive through Bumble Bee, Arizona ?).
It turned out (as most of my recent jobs have been) a bigger pain in the $%&&$#%^&%##%& butt than I would've expected. The bumper itself was nice enough, put the punched square holes were about 8mm, and the original carriage bolts had 10mm squares, so didn't fit, grrr !!! So rather than file down the seven which would've needed that, I went to Home Depot and bought SAE carriage bolts 1 inch x 5/16 thread, which had a 5/16 square part (17 cents each) plus washers and nuts for those.


So it turned out OK, and good practice for when I do daughter's Pathfinder bumper. And one of my side pieces was a little loose, so I was able to add a washer to tighten that up.
Edit: if you buy a new old stock front bumper likely your existing hardware will all line up.
F
fearce
+1y
looking at it and getting ready to change to spark plugs and wires

ulrich
+1y
Tweaking the sound system. Last week I swapped the 2 way Pioneer 6.5s in the doors, for 3 way Pioneers, added two 12" JL woofers in a custom box (in the bed, under the shell), and a US made Phoenix amp.
Still needs sorting. I don't trust the various half assed crossovers in my head unit and one of my amps. In theory the JL 12s see <125hz, the 8" bazooka gets 125-400hz, and the 6.5s >400hz.
IDK what's up. Some tracks hit like a ton of bricks, others less so.
Still needs sorting. I don't trust the various half assed crossovers in my head unit and one of my amps. In theory the JL 12s see <125hz, the 8" bazooka gets 125-400hz, and the 6.5s >400hz.
IDK what's up. Some tracks hit like a ton of bricks, others less so.
Related Discussions in General Discussion
Thread
Posts
Last Post
7

last post by
Babyfartzmageezaks530 +1y
5
A
last post by
Alreadyhavingissues +1y
