K
SFBD square with a Cummins and custom chassis
BD
bagged dually
+1y
Can anyone tell me what U joints I need to make my steering shaft work again after the BD?? I've read that it takes 1-3/4" 48 spline joint and 2-3/4" joints. Is that right? I need to get the parts ordered ASAP, but unfortunately I don't have my truck in front of me.
BB
big bear
+1y
I cant remember right off hand..check sparkys thread out and possibly bk2lifes thread also.
BD
bagged dually
+1y
If anyone else needs to get these steering shafts U joints after your BD I found a website that has them CHEAP. It says these guys make these U joints for sand rails, dune buggy's, and race cars. Every where I've found wants $40-$50 per joint and this site sells them for about 20 bucks, and their black instead of chrome. That might be the best thing about these lol.
" target="_blank
Hope that helps someone!!
" target="_blank
Hope that helps someone!!
Post was last edited on Apr 11, 2012 11:00. Edited 1
time.
S
sparkys-crewcab
+1y
holy shit!..... those are cheap!
BD
bagged dually
+1y
Sparky I figured you'd like that site since it seems your almost as cheap as I am. I'm tighter than 2 coats of paint.
Well my little brother just got the new toy put in the shop where my truck and most of my tools are for us to use on the truck this weekend. I figured I'd give you guys a quick glance at the new toy.
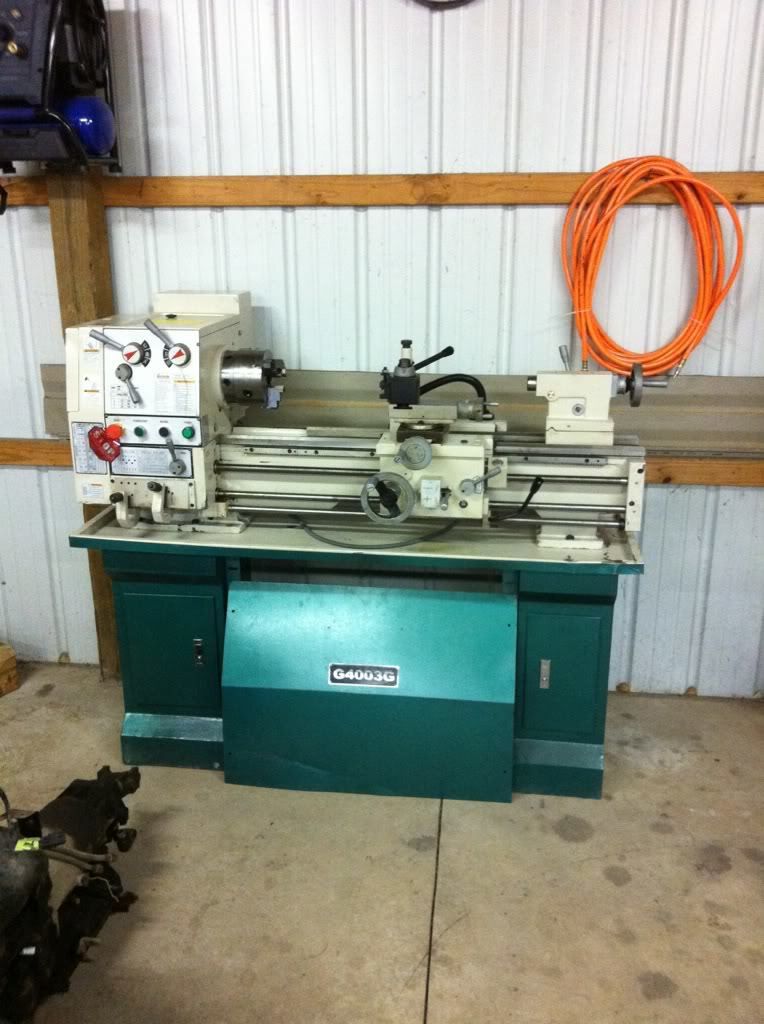
I can't wait!! Between the new lathe and my new plasma cutter it's going to be a fun weekend!!
Well my little brother just got the new toy put in the shop where my truck and most of my tools are for us to use on the truck this weekend. I figured I'd give you guys a quick glance at the new toy.

I can't wait!! Between the new lathe and my new plasma cutter it's going to be a fun weekend!!
W
watahyahknow
+1y
neat , i been thinking about a small lathe myself but the chuck to bed clearance at least needs to be able to hold something the size of a crankpuley , anything smaller just wouldnt work for me
you can make youre own shiny pullies now and some aloy covers for youre brakefluid coolingliquid powersteeringfluid containercaps the oilcap make a custom horncap maibe even a brushed aluminium steeringcolumb , aluminium indicatorstalk and all sorts of knobs and fobs inside the interiour
you can make youre own shiny pullies now and some aloy covers for youre brakefluid coolingliquid powersteeringfluid containercaps the oilcap make a custom horncap maibe even a brushed aluminium steeringcolumb , aluminium indicatorstalk and all sorts of knobs and fobs inside the interiour
BD
bagged dually
+1y
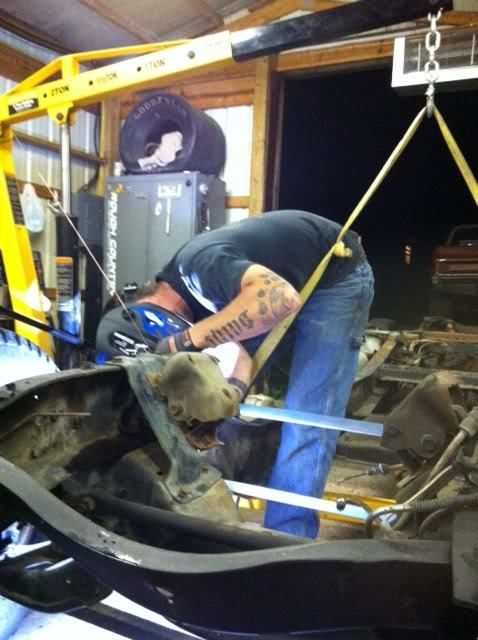
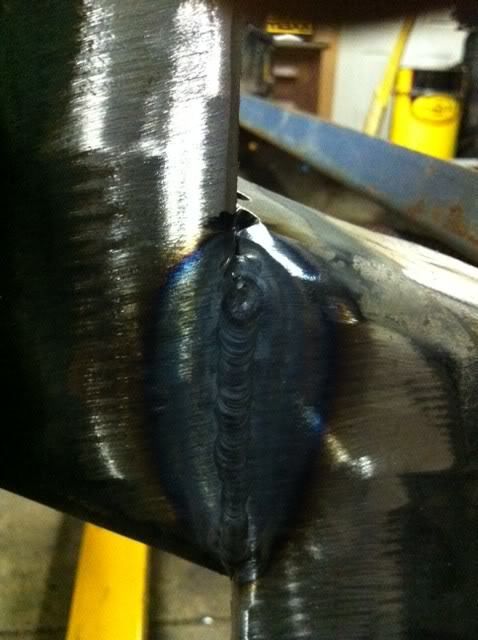
I got the frame Z'ed last night. Still need to do all the bracing but we got it chopped and rewelded. Not to much fun to Tig the Z upside down with a hoist in the way but we got it done.
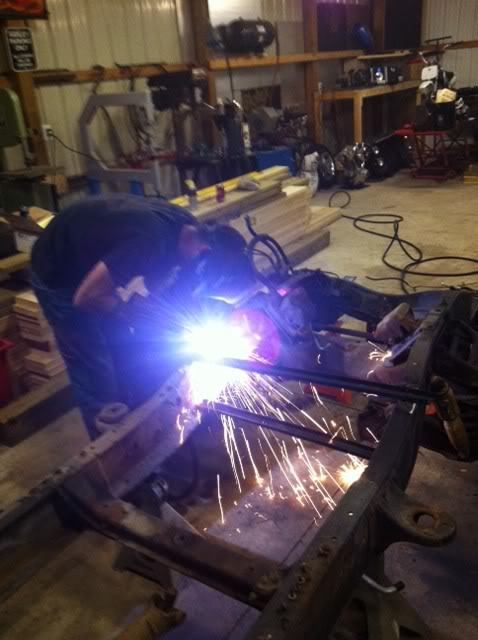
Cutting it in half with the plasma
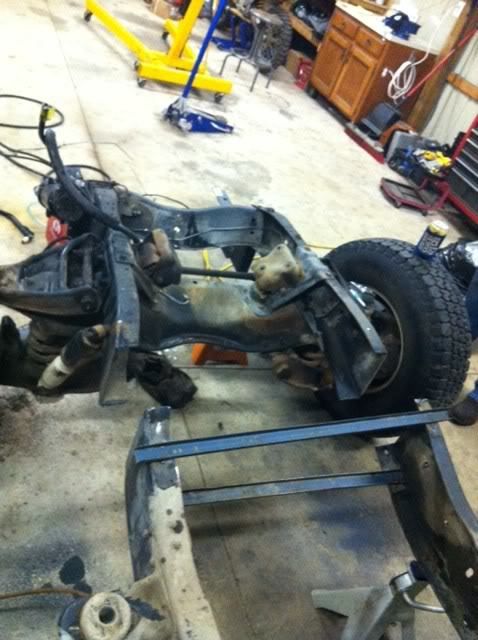
the frame in 2 pieces
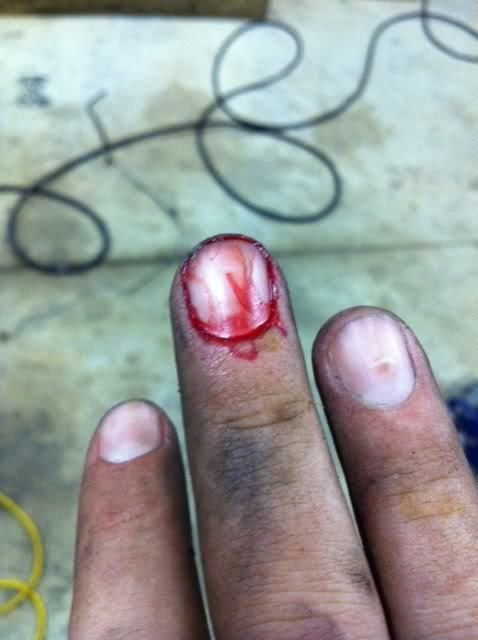
my finger nail. Not sure what I did. just felt my finger throbbing and my brother noticed I was dripping blood lol.
Tacked back together
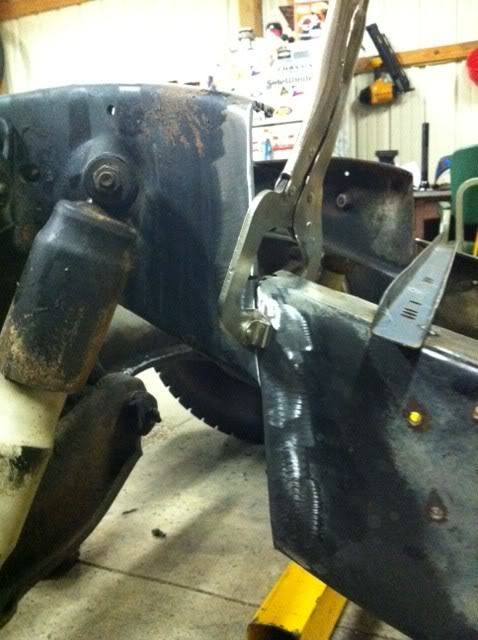
Tigging it back together in a wierd position.
the upside down weld. Not the best but come on it was done upside down.
Cutting it in half with the plasma

the frame in 2 pieces

my finger nail. Not sure what I did. just felt my finger throbbing and my brother noticed I was dripping blood lol.

Tacked back together

Tigging it back together in a wierd position.

the upside down weld. Not the best but come on it was done upside down.

BD
bagged dually
+1y
That's our progress from last night. I'm heading to the steel yard right now and than coming back to brace the Z and start cutting the bottom of the frame off. I wanted to get my 4 link done today also, but none of the steel yards in this area have any 2x2x1/4 right now for some reason. Someone went around and bought it all up for something i guess. I'll post up today progress this evening. Thanks for looking guys.
C
calfboy
+1y
Nice progress man, hope it's going smooth for ya.
BD
bagged dually
+1y
Thankx calf boy. Everything was just fighting us yesterday but I did manage to get the fuel tanks off and got all the brackets and fuel lines cut off the frame. We got the 2x4 tacked into one side,and welded the cab mounts on. I just tacked it up there through the existing bolt holes in the frame, after I hacked the cross member out.
The cab mounts welded on. I had to grind the back of the rivets off that hold them on so the 2x4 would sit flush inside the frame.
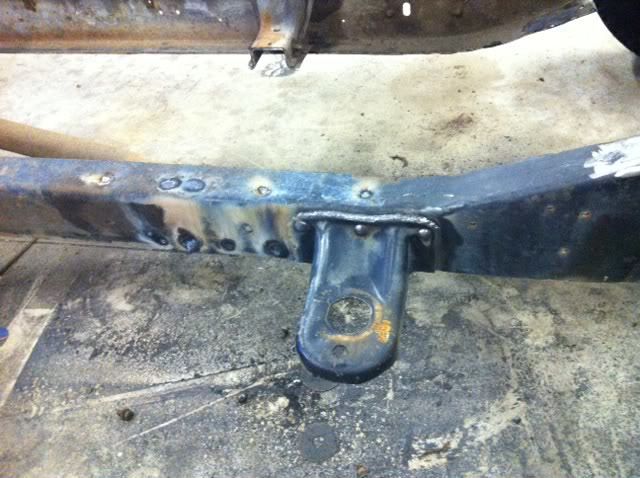
The frame with the 2x4 tacked in. I just used an arc welder to stick it on for now.
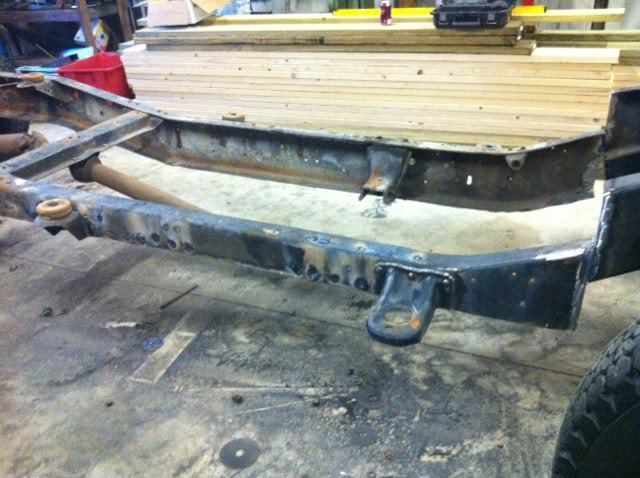
The cab mounts welded on. I had to grind the back of the rivets off that hold them on so the 2x4 would sit flush inside the frame.

The frame with the 2x4 tacked in. I just used an arc welder to stick it on for now.

Related Discussions in Dually Projects
Thread
Posts
Last Post
546
A
last post by
Airnewb91 +1y
193

last post by
Airnewb91 +1y