
B2200 Rebuilt top to bottom and going low!

mazdamandan
+1y
hey anytime,
back in 1996 most of us were not even on line lol
there is a great amount of help these days
And pros out there who are willing to help with advice at least.
Max is the MAN!
this is something I made up a while ago in paint where a person could use the formula to sort out ride height and full drop.

research is the difference between a job well done and a do - over, lol
I am building my truck to be drivable while slammed lowRIDER!!
I will use slammed height as my ride height, and only use the bags to get out of trouble lol
back in 1996 most of us were not even on line lol
there is a great amount of help these days
And pros out there who are willing to help with advice at least.
Max is the MAN!
this is something I made up a while ago in paint where a person could use the formula to sort out ride height and full drop.

research is the difference between a job well done and a do - over, lol
I am building my truck to be drivable while slammed lowRIDER!!
I will use slammed height as my ride height, and only use the bags to get out of trouble lol
Post was last edited on Mar 14, 2010 06:27. Edited 1
time.

mazdamandan
+1y
so bobviously I will not be laying frame, lol
I will be airbrushing the entire underside also so I wont be draggin it
I gave myself 1 1/4 inch off the ground
I will be airbrushing the entire underside also so I wont be draggin it
I gave myself 1 1/4 inch off the ground

itslikewhooa
+1y
Ok so another day out in the garage.... here's the update...
First we started off by tossing in a few extra cross members, so when we go to weld everything in solid, there's no chance of it going out of shape. (one on top of notch, and two on the bottom of the notch, one on each side these are just temporary)
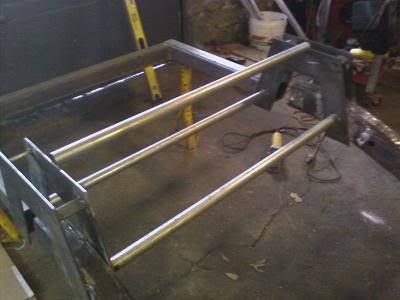
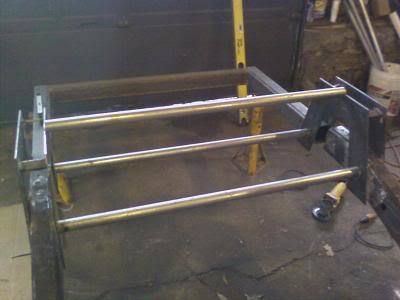
then we started cutting all the extra parts and pieces off the frame and notch that we didn't need...
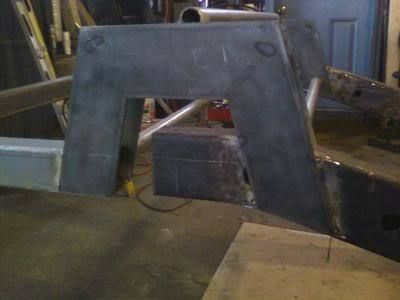
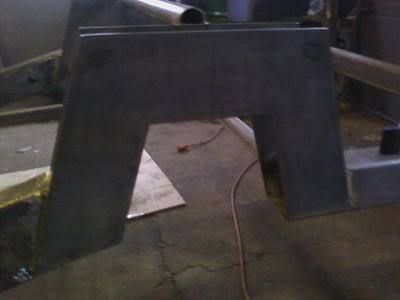
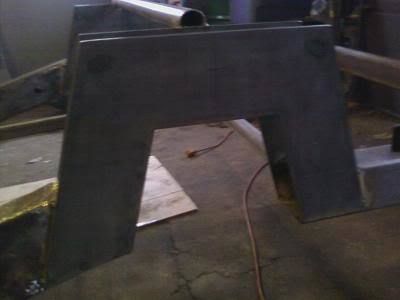
Next it was time to put the lower plate on the notch, so we used the clamps we had and got it in to position and tacked it in... and then cut out the extra
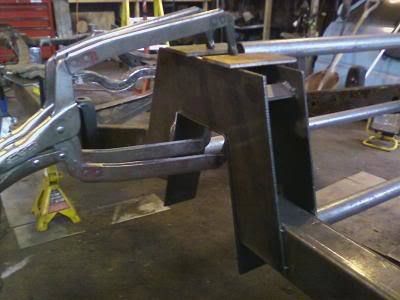
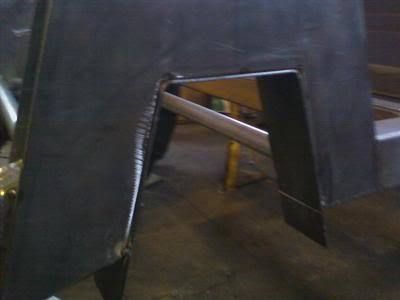
then we added another cross member... my fuel cell is going to be mounted in the rear, so I wanted a cross member on each side of it for mounting purposes
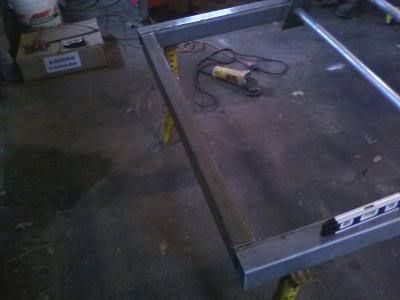
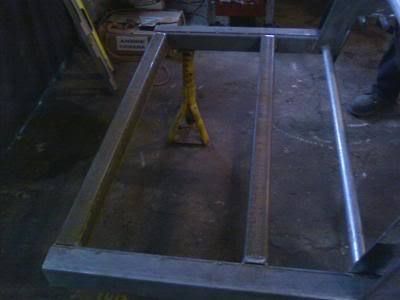
Now it was time to get the upper bag brackets mounted, to make sure everything was in the right place, we strung a string level at ground level from the bottom of the frame to two legs we tacked to the back of the frame, so we could attach the string....
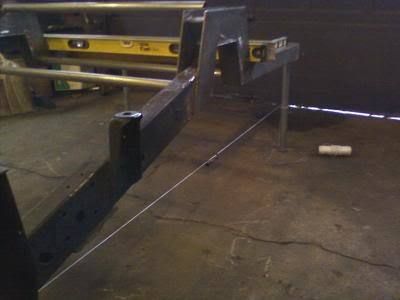
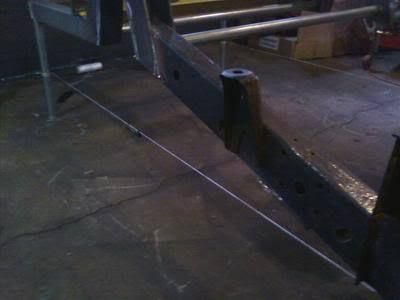
Made all the proper measurements, and checked everything a thousand times, and got ready to mount the upper brackets.
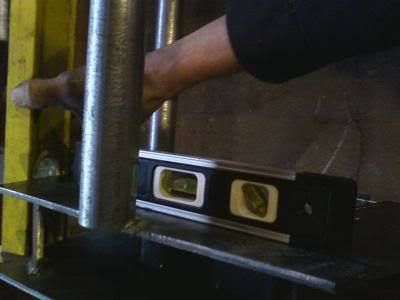
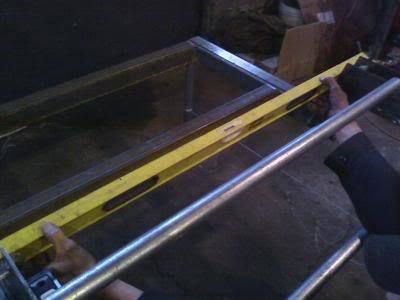
First one mounted !!
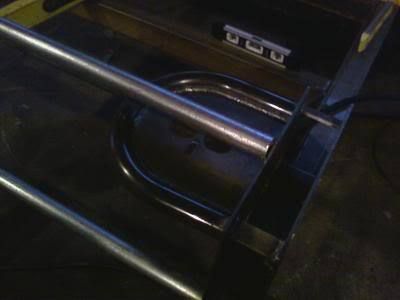
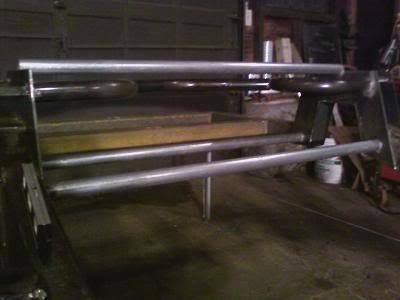
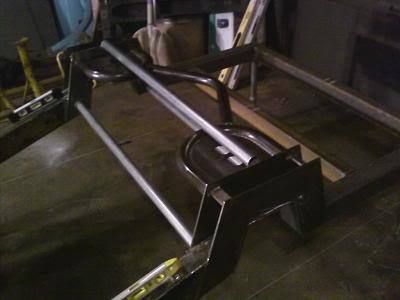
and in all the excitement, I forgot to take more pics as we went... but it was all basically repeating the same thing on the other side... but here it is all tacked up... the temp cross members are going to stay there until everything is welded solid and nothing is going to bow or bend during the welding process....
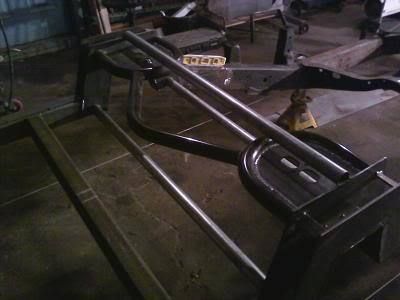
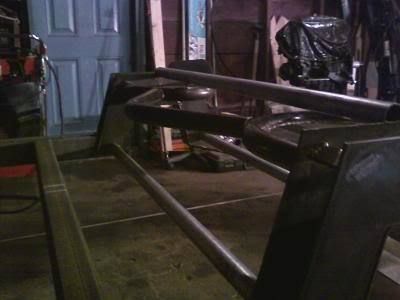
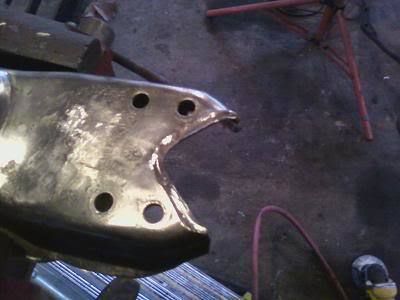
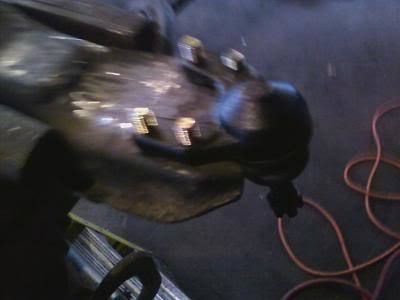
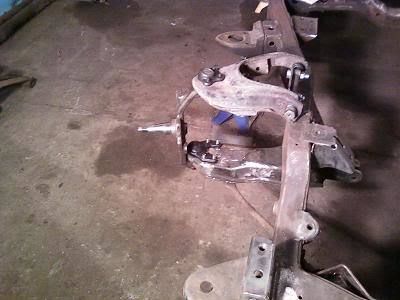
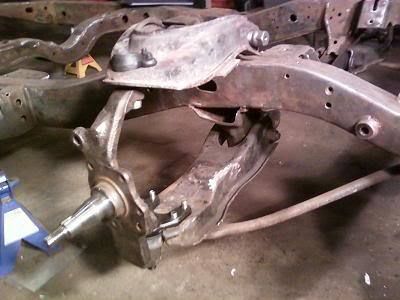
while my dad was doing some of the cutting and tacking up of some of the parts, I was busy working on getting the front control arms and spindles mocked up so when its time to cut the LCAs and the UCAs everything will be ready for test fitting... so here's a couple pics...
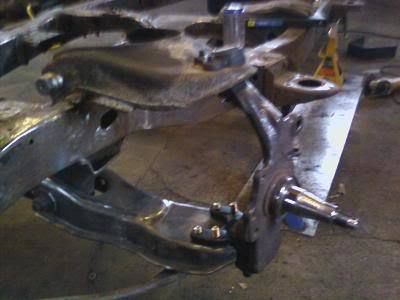
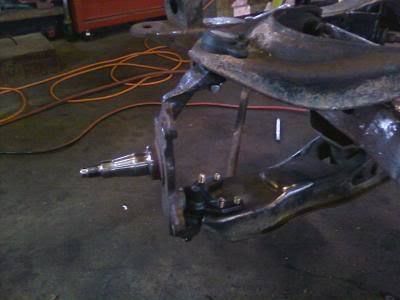
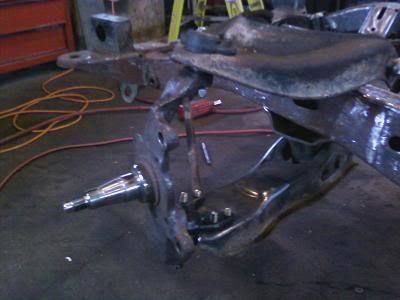
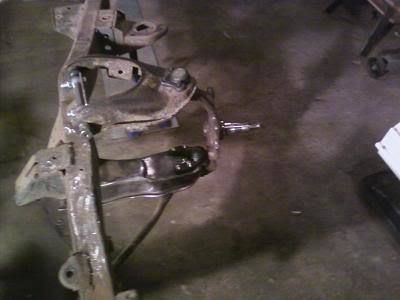
First we started off by tossing in a few extra cross members, so when we go to weld everything in solid, there's no chance of it going out of shape. (one on top of notch, and two on the bottom of the notch, one on each side these are just temporary)


then we started cutting all the extra parts and pieces off the frame and notch that we didn't need...


Next it was time to put the lower plate on the notch, so we used the clamps we had and got it in to position and tacked it in... and then cut out the extra


then we added another cross member... my fuel cell is going to be mounted in the rear, so I wanted a cross member on each side of it for mounting purposes


Now it was time to get the upper bag brackets mounted, to make sure everything was in the right place, we strung a string level at ground level from the bottom of the frame to two legs we tacked to the back of the frame, so we could attach the string....


Made all the proper measurements, and checked everything a thousand times, and got ready to mount the upper brackets.


First one mounted !!

and in all the excitement, I forgot to take more pics as we went... but it was all basically repeating the same thing on the other side... but here it is all tacked up... the temp cross members are going to stay there until everything is welded solid and nothing is going to bow or bend during the welding process....


while my dad was doing some of the cutting and tacking up of some of the parts, I was busy working on getting the front control arms and spindles mocked up so when its time to cut the LCAs and the UCAs everything will be ready for test fitting... so here's a couple pics...


itslikewhooa
+1y
OK so my dad is coming over my house tomorrow and is planning on helping me weld everything solid... if any of you think something needs to get changed or fixed or what ever, advice is more then welcome... if not then I guess that is the way it is going to stay... which I think is pretty good.
P.S. I'm ordering my bags, front bracket kit, air lines, tank, 4 link and valves this week, so I'm hoping to have a rolling chassis in a couple weeks
P.S. I'm ordering my bags, front bracket kit, air lines, tank, 4 link and valves this week, so I'm hoping to have a rolling chassis in a couple weeks

itslikewhooa
+1y
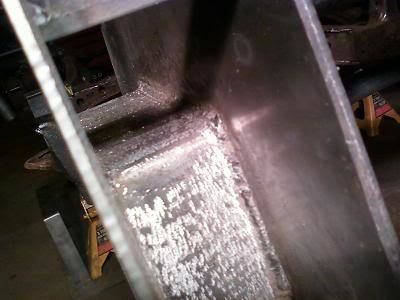
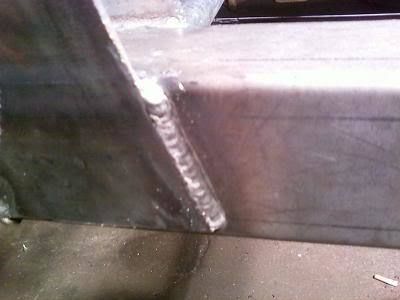
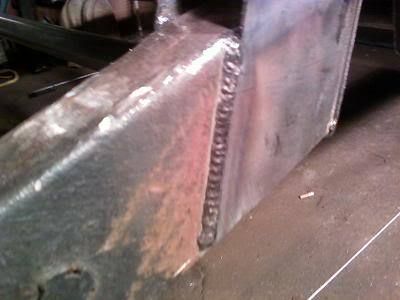
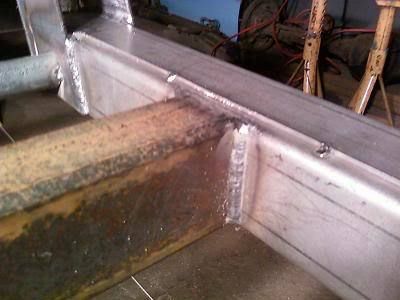
My dad came over tonight, and helped me weld some of the notch solid... didn't get it all done but got quite a bit of it solid.... so here's a few pics of his welds... I think they turned out really clean


skrapinsask
+1y
I'm jeaous! you have a great start on the back end!
mine is still just stripped down and ready for notch/link bars
mine is still just stripped down and ready for notch/link bars

mazdaman82
+1y
really looking good man keep it up

itslikewhooa
+1y
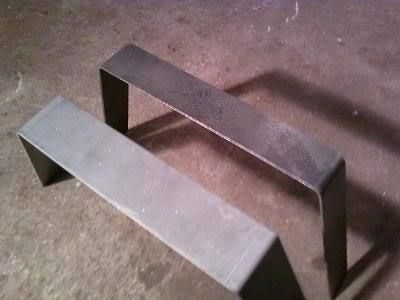
just a small update... when I got my notch kit the top of the notch was only 2 inches wide... deff. a Problem when the frame is 2.5 inches wide... didn't think I would be able to get some pieces made up, (my dad can usually get me steel bent when I need it) but he ended up pulling threw and made me some new top notch pieces.
here's a pic of the 2 inch one and the new 2.5 inch one
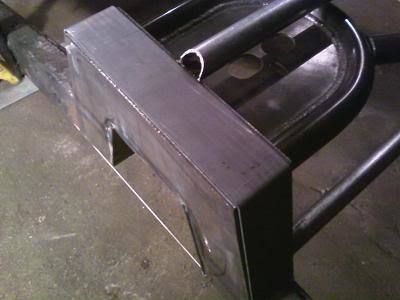
here's the one my dad made up fitting in
I'm Planning this weekend to finish welding the whole notch together and mod'ing the front LCA's and having everything ready to lay frame, so when my air stuff gets here I'm ready to rock and roll !!
here's a pic of the 2 inch one and the new 2.5 inch one

here's the one my dad made up fitting in

I'm Planning this weekend to finish welding the whole notch together and mod'ing the front LCA's and having everything ready to lay frame, so when my air stuff gets here I'm ready to rock and roll !!

fastonthetrack
+1y
Looking good man. Is that notch from illusive? i will have to make sure its 2.5" when i order mine here soon if so!

itslikewhooa
+1y
yeah I got it from Brian at Illusive... make sure you specify that its a 2.5 inch wide frame, i never even thought about it until I went to put it on and uhh ohhh lol
Related Discussions in Mazda Projects
Thread
Posts
Last Post
852

last post by
skrapinsask +1y
150

last post by
cherokeed +1y
