T
1986 B2000 2.5 T Diesel FOR SALE $750obo
E
emjay
+1y
Well I did 2 things to my truck the past couple of days.
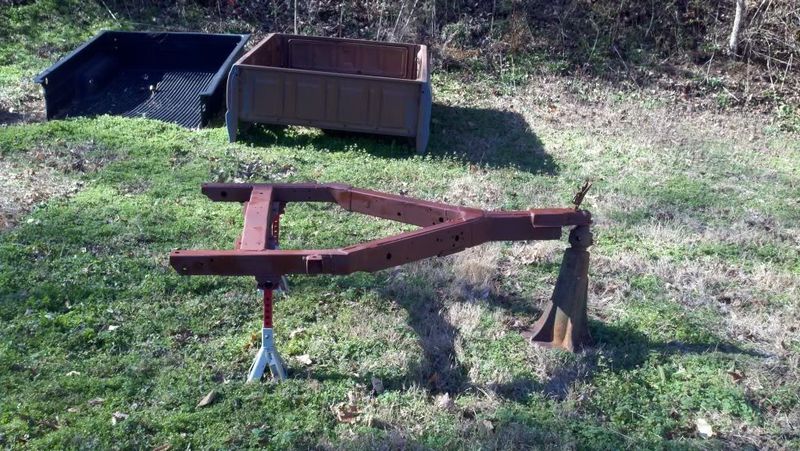
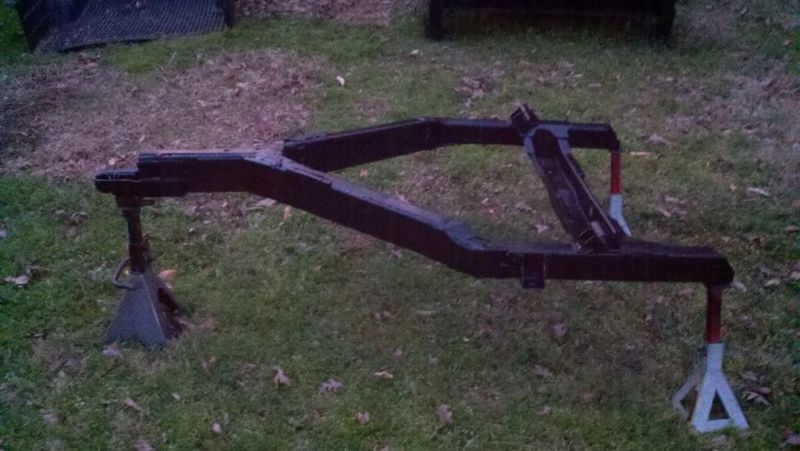
First off, I cleaned off the A frame that I have been working on and took it outside for paint.
primed:
black paint:
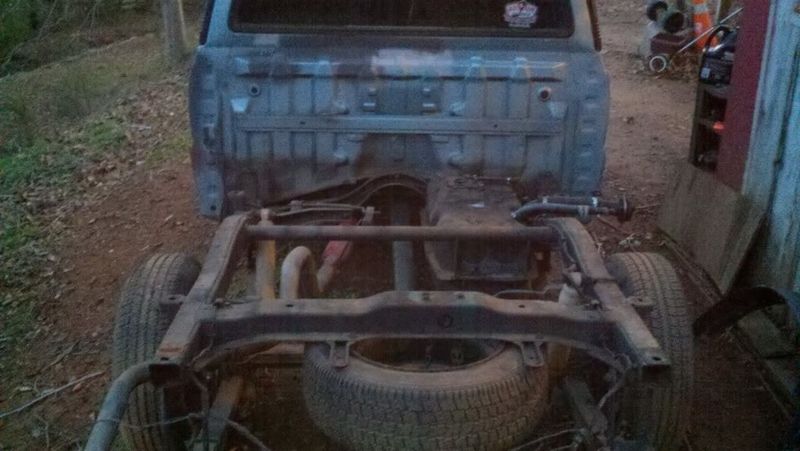
The second thing that I did was to take off the rest of the old wood bed that I made many years ago. I must say that this thing is HEAVY AS FCUK!!! The frame got lifted back up about 4-6 inches higher than it was with the wood bed on it. The stock bed is bound to be much lighter than this one was.
Frame:
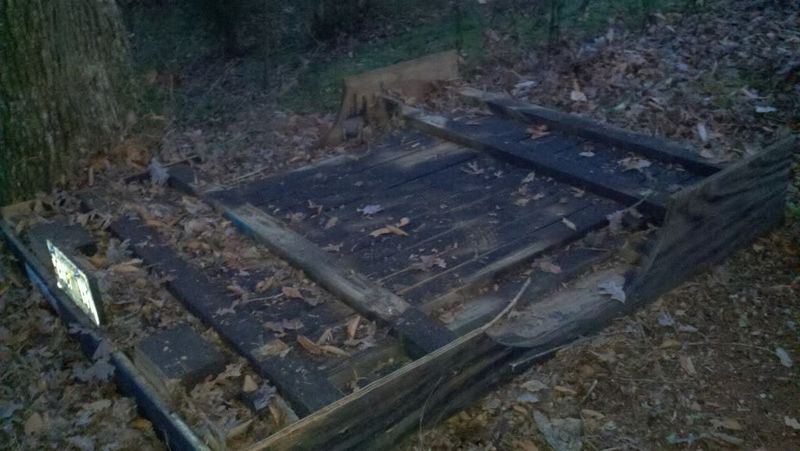
Future work table here:
Toying around with some ideas for paint themes on the old bed that is soon to be at the scrapper. Also practicing up my technique before I do it for real.
First off, I cleaned off the A frame that I have been working on and took it outside for paint.
primed:

black paint:

The second thing that I did was to take off the rest of the old wood bed that I made many years ago. I must say that this thing is HEAVY AS FCUK!!! The frame got lifted back up about 4-6 inches higher than it was with the wood bed on it. The stock bed is bound to be much lighter than this one was.
Frame:

Future work table here:

Toying around with some ideas for paint themes on the old bed that is soon to be at the scrapper. Also practicing up my technique before I do it for real.

E
emjay
+1y
also, played with paint themes some. Thought that I would visualize a 2 tone black/green. Shot it, I liked it, the GF didn't. She suggested that I darken the green paint some, so I did. SHE WAS RIGHT!
Here are pics from today's session:
Here is the old green that I was going for originally:
And darkened:
It's even darker now, rain set in so I had to stop. Don't worry about the bed, it's going to either be scrapped, or sanded down and repairs finalized, primed properly, and repainted.
Can anyone guess what I am going to try to do here???
It'll be a bit more fab work to get the whole idea, but I am thinking of an old school fuel filler which is up high next to the door almost (it'll be recessed with a fuel door, almost stock but not quite) and the diesel smoke stack along the back window, with the bed sticking out.
I'm toying with the idea of using the extended cab short bed on a short cab frame with a custom panel made to house the stack and the fuel filler. This will also make the truck look more like a longer bed, and not require a hole in the floor board for the stack. I gotta see how I will need to reposition the mounts (don't forget I have a spare set) and if I like how it will look. Thoughts?
E
emjay
+1y
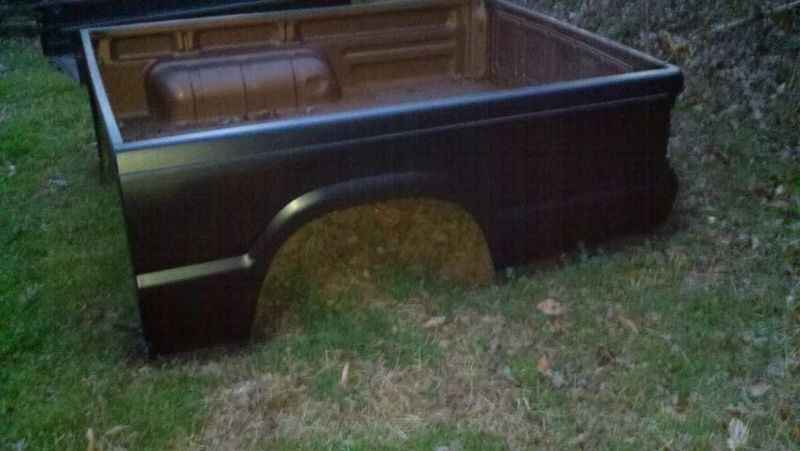
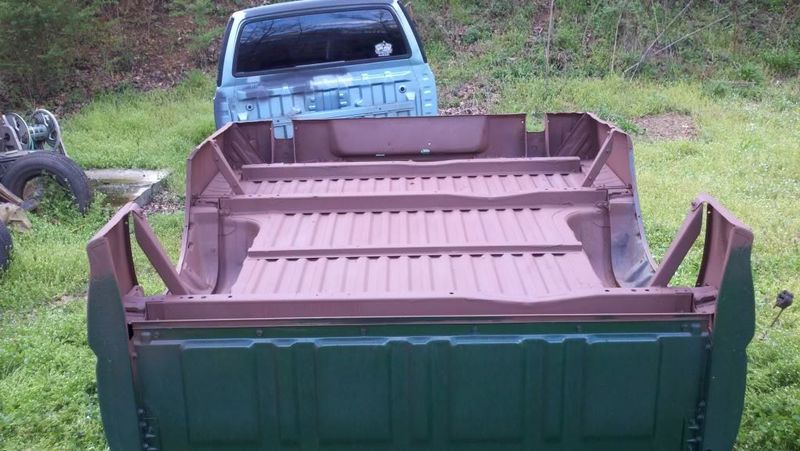
and some more of the bed. I finished the primer on the bottom
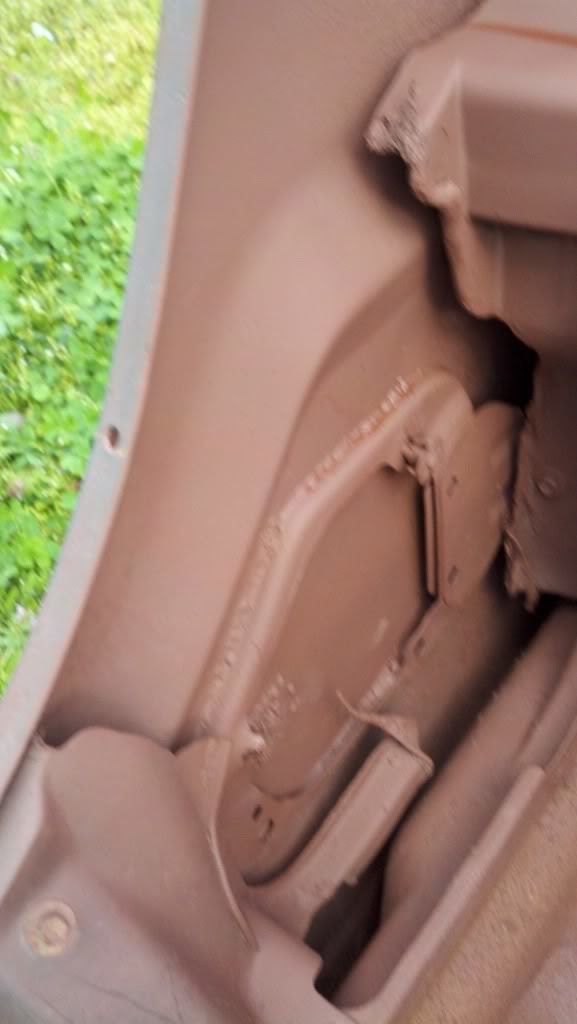
The old fuel door. I got something planned for the new one
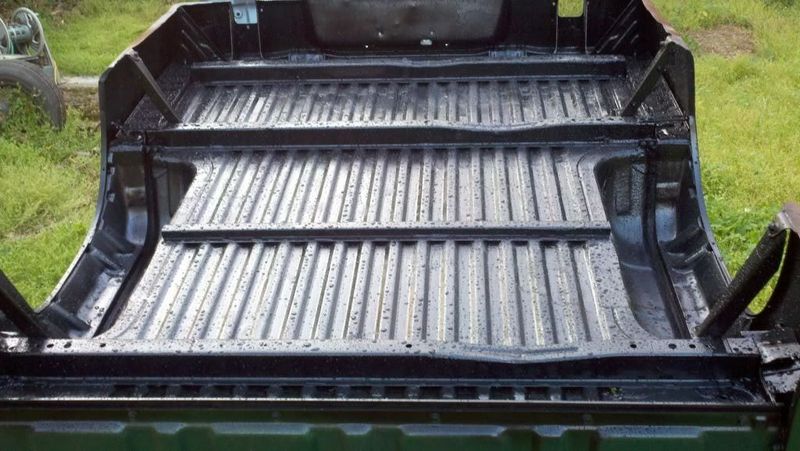
Update on the bed project. Got my first coat of thick black enamel down on the bottom. It beads water pretty nicely, went on nice and easy as well. Got some imperfections that I need to hit but that'll be easy.

The old fuel door. I got something planned for the new one

Update on the bed project. Got my first coat of thick black enamel down on the bottom. It beads water pretty nicely, went on nice and easy as well. Got some imperfections that I need to hit but that'll be easy.


mtrain
+1y
I see your still thinking about running smoke stacks on your truck.
Here is an idea that I think would look tasteful, and different without looking, well, redneck.
I would run the stacks to exit through the front of the bed, and only about two inches from the top of the bed.
This would look great with a bed lid with the tips sticking through them.
This was what I was going to do with my air filters on my twin turbo, but decided there were just too many bends to be efficient for an air intake setup.
E
emjay
+1y
Here is another updated pic of the upper part of the bed. Did my usual wire wheel grind, rusty primer (no pics) hole fill and thick enamel. Note that I will be using a factory bedliner on this, so I wasn't concerned with making it perfect.
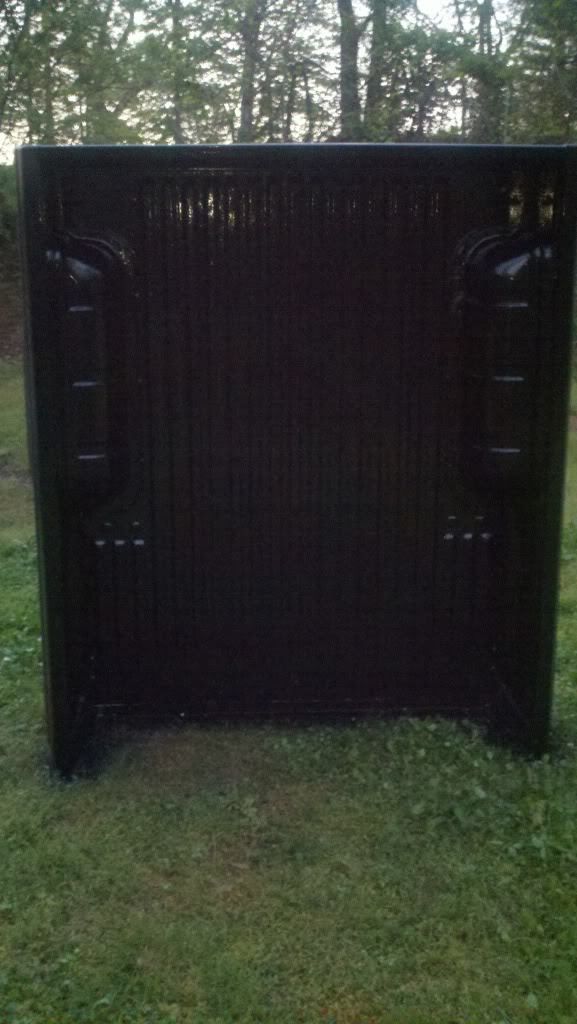
ps, still drying in this pic.
pps
great idea on the stacks, but I did ditch the idea of using them. They shall be recycled as scrap with the rest of my scrap pile.

ps, still drying in this pic.
pps
great idea on the stacks, but I did ditch the idea of using them. They shall be recycled as scrap with the rest of my scrap pile.
E
emjay
+1y
Worked on the bed extensions today.
Here is what I started with:
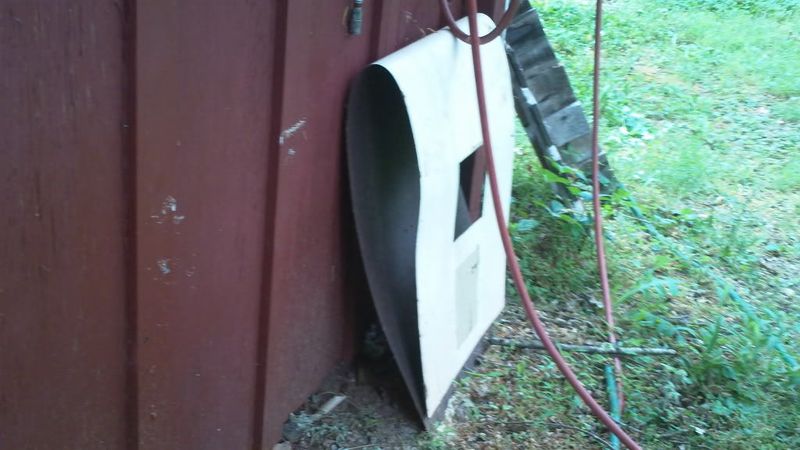
then part of it cut:
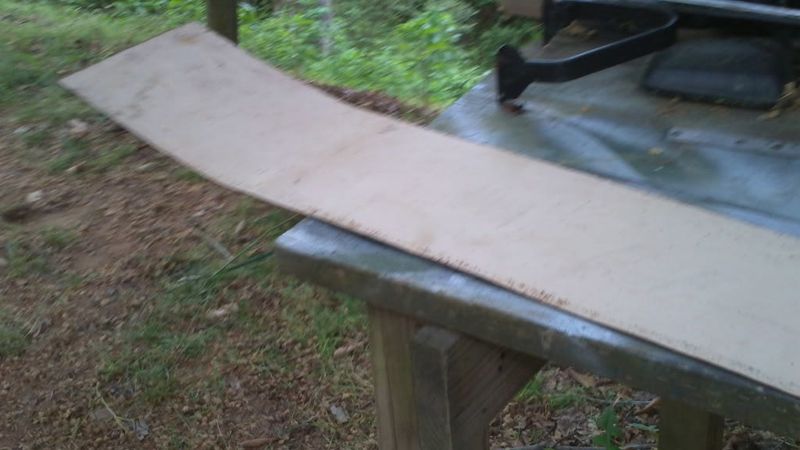
some bending:
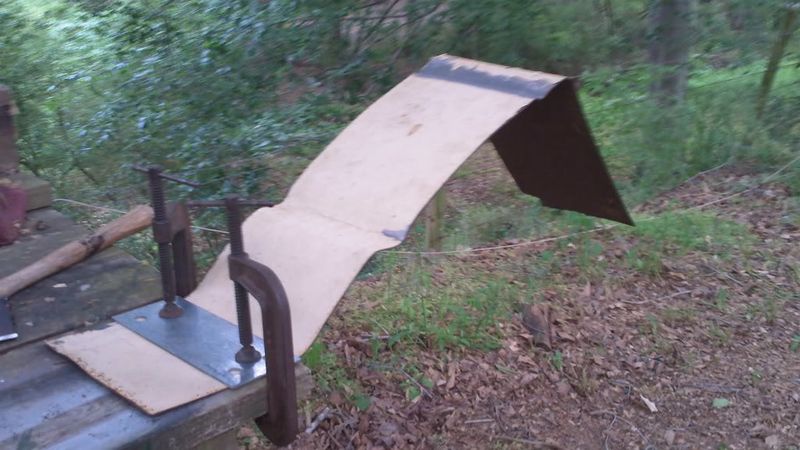
one nearly finished:
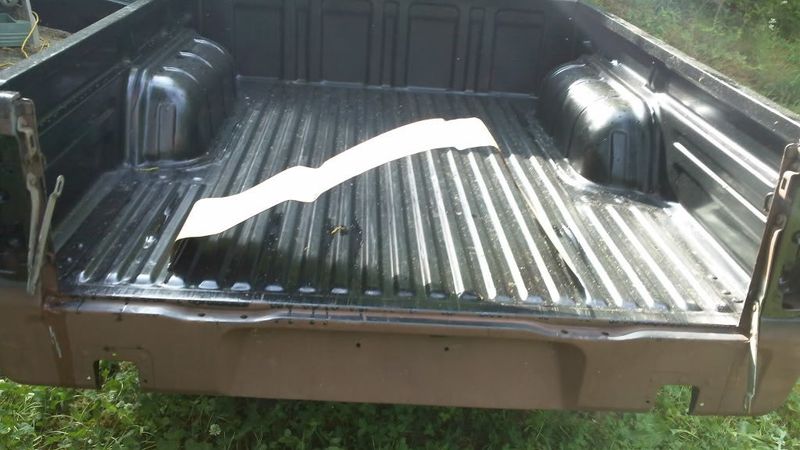
and 2 near completed skins:
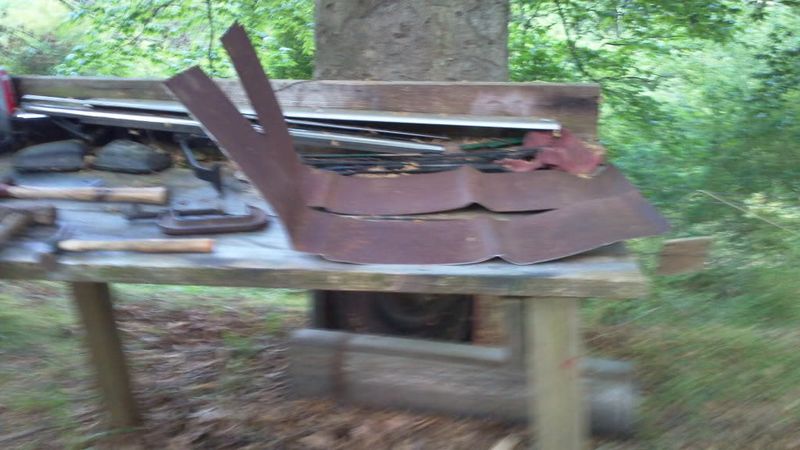
gonna weld em on , grind fill and smooth.
Here is what I started with:

then part of it cut:

some bending:

one nearly finished:

and 2 near completed skins:

gonna weld em on , grind fill and smooth.
E
emjay
+1y
Did some more grille work, I believe that I will be satisfied with the first side that I completed. A recap on what I was doing, I was not satisfied with how the grille looked for the ranger conversion for 3 reasons.
#1, I didn't like how a few areas were made to be more flimsy and thin, I wanted my grille to be more rigid, solid.
#2, I didn't like how the edges looked when cut, it looked hollow and cut from a small distance. So I was filling them in and making the contours fit a bit better in my opinion.
#3, I accidentally took a bit too much off and it looked uneven from side to side. With the filling done around the first headlight, it looks a lot more formed and smoothed.
photo recap now:
before, pay attention to the edges around the lights:
some preparation to the grille, also an archived photo:
finished side, nearly. I still have some imperfections to fill, sand and smooth:
Starting on the other side now. Funny thing, I forgot that the first time around I used a sheet of fleece to make the corner, this time I used a milkshake. I am thinking that was a mistake, but I'll find out later. I can still cloth around the milkshake if I need.
driver side, fiberglass start (archive)
passenger side, milkshake start.
E
emjay
+1y
Well I'm considering using the smaller extended cab bed on my pickup. However this is going to be harder than I realized. To get the necessary spacing with the bed that I plan to use, I would need to move the bed 9.5" forward, and also move the axle forward the same amount. Relocating the spring mounts and shock mounts won't be as easy to move forward as the frame isn't straight, it is slanted. Also I am going to need a shorter driveshaft. Pushed in all the way I only get an extra inch of spacing, so you can see where I am going to have trouble with this.
After doing some math I was able to figure out that moving both the front and rear spring mounts that I would be gaining an additional 2.88" lift. Combined with my 3" shackles in the rear that would be nearly 6" in the rear. I don't know if I want that much of a lift to be honest, I might bump down the lift from the shackles an inch or two.
I'm awaiting a frame diagram from K6 so I can make more accurate measurements.
E
emjay
+1y
I got my diagram made up, I just need to measure it out on the frame for real. The first diagram is the stock unmodified frame, the second one illustrates what I have to move forward to make this bed work for my truck.
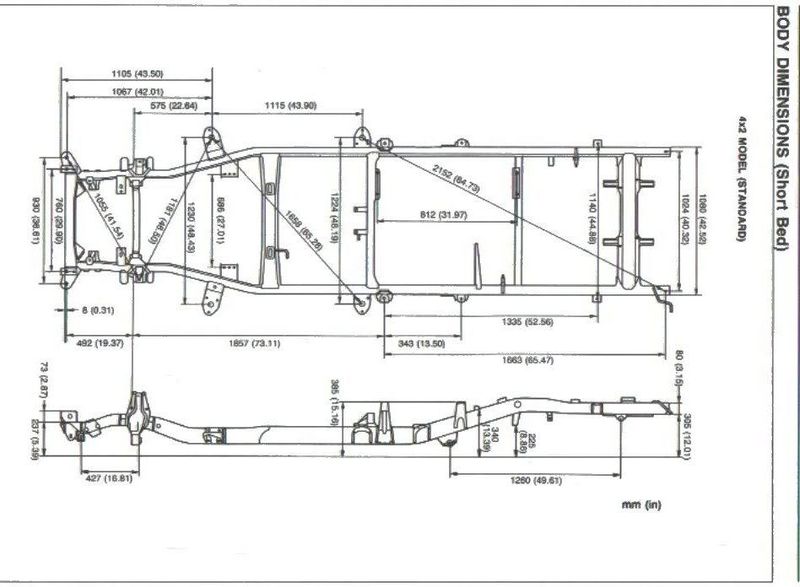
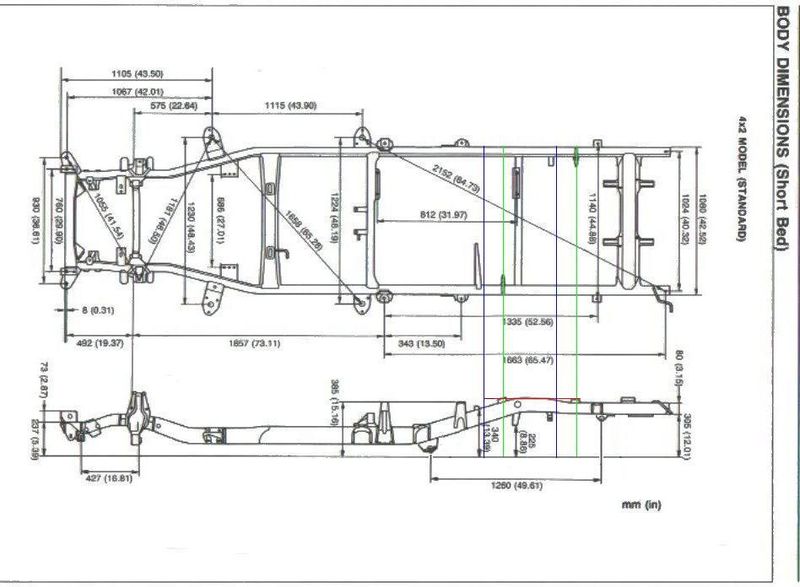
Notice that the green lines are for the factory shock absorber mounts, and the blue lines are where they would need to be mounted to keep the same suspension geometry for the shocks. This also should illustrate how the relocation is going to lift the frame, I calculated it to be 2.88" higher, however my math could be a bit off since I don't know how accurate to scale my drawing.
The last part is to find a driveshaft that is 9-9.5" shorter but the same diameter. I don't care about how the ends are configured as I can always put the right ends on.
E
emjay
+1y
said screw it to the suspension relocation idea, decided it was far too much work for far too little gain. I made some progress on my trailer project (no I didn't forget, yes I know I started this 2.5 years ago.....)
Will (R90baron) made his delivery today, it's been hard to line up our schedules. Rain made it hard for me to work on it yesterday, but the nice sun and low winds are perfect for today
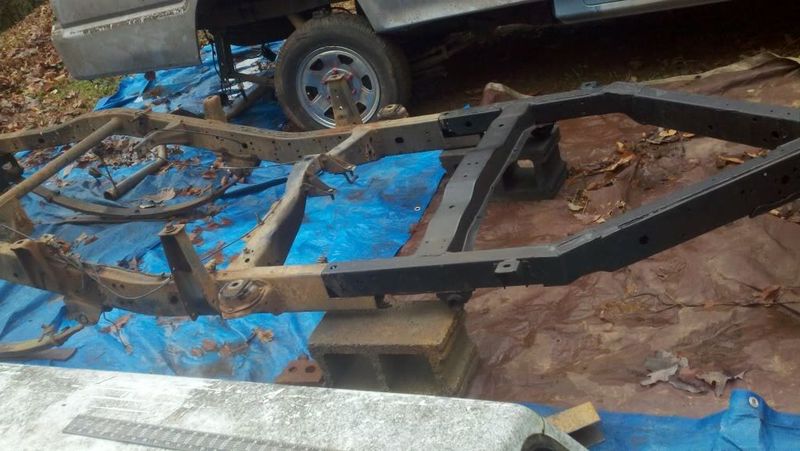
more pics to come, it is welded and 1 piece right now, but I still need to get the fish plates welded on completely.
I have decided that the trailer itself is going to be a long bed, and I am just going to cave and (somehow) get a standard cab short bed for my truck's replacement.
I welded all of the plates into place, but now I need to get another spool of wire and another tank of ar/co2 as I'm almost out. I still need to grind down the welds nice and smooth, strip and clean the entire frame, get it painted up, and then do the same for the bed. Here is some progress though, it rolls around
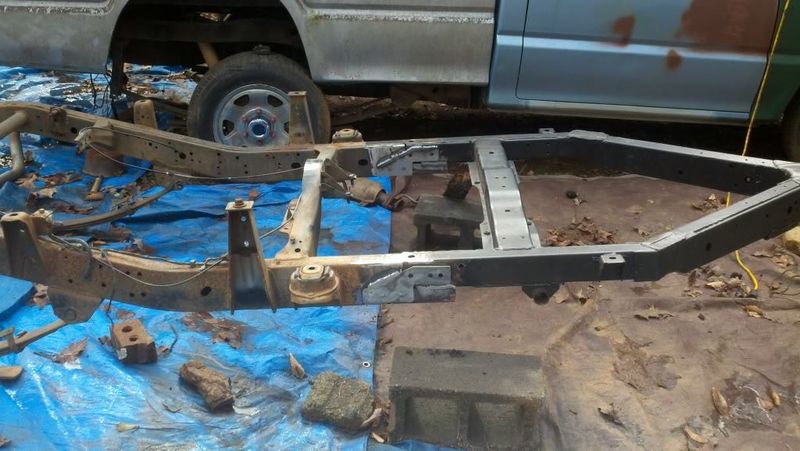
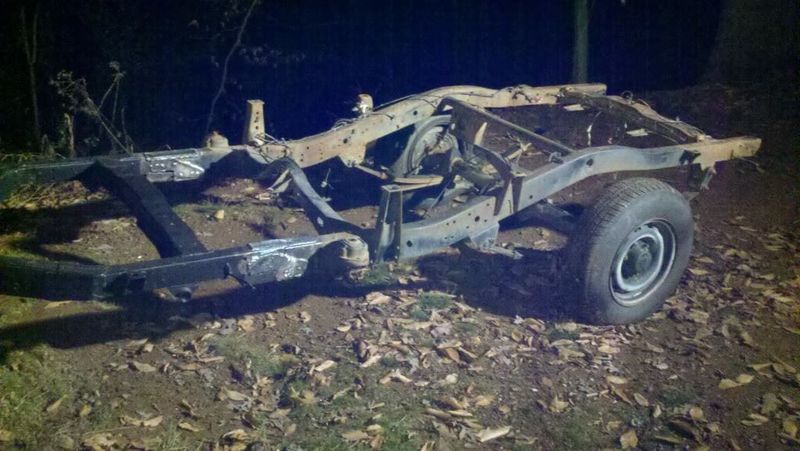
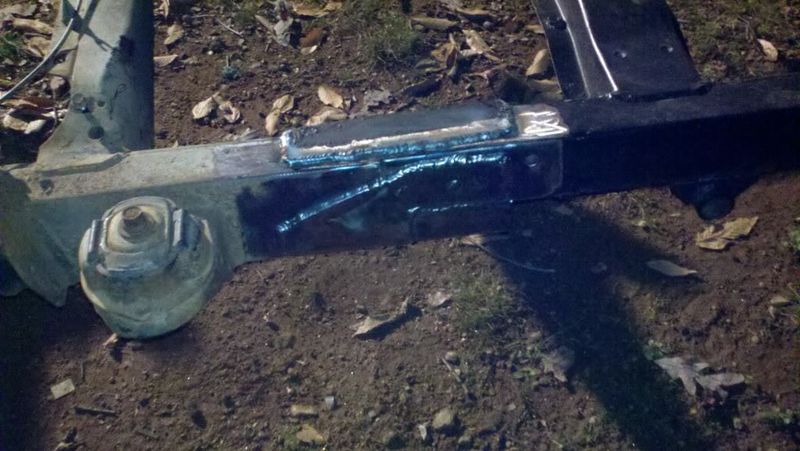
and the reason why a long bed won't work on a standard cab frame
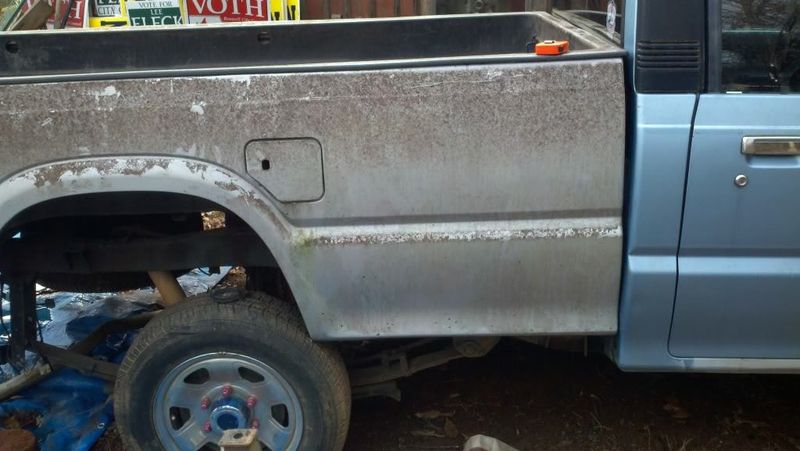
Will (R90baron) made his delivery today, it's been hard to line up our schedules. Rain made it hard for me to work on it yesterday, but the nice sun and low winds are perfect for today

more pics to come, it is welded and 1 piece right now, but I still need to get the fish plates welded on completely.
I have decided that the trailer itself is going to be a long bed, and I am just going to cave and (somehow) get a standard cab short bed for my truck's replacement.
I welded all of the plates into place, but now I need to get another spool of wire and another tank of ar/co2 as I'm almost out. I still need to grind down the welds nice and smooth, strip and clean the entire frame, get it painted up, and then do the same for the bed. Here is some progress though, it rolls around


and the reason why a long bed won't work on a standard cab frame

Related Discussions in Mazda Projects
Thread
Posts
Last Post
852

last post by
skrapinsask +1y
150

last post by
cherokeed +1y